Holiday card season!

It is holiday season again, which means it is time to send greeting cards to friends, family and neighbors.
This year, I decided to make my own cards. I have made quite a few cards in the past, but it has always been one card at a time, usually for somebody's birthday. Now, I sat down and made 18 of them in one day, and that was one of the most exciting things I did this month!
The idea of "mass production" came to me after we had a holiday card-making event at work. When I went there, I thought we would just get the raw materials, and then spend the next two hours coming up with card designs. To my disappointment (and probably everybody else's relief), we were given three sample designs that we needed to replicate, making one of each. Those designs were really cute, but I wanted to make something of my own.
I set a budget for craft supplies, and headed to the local store. Miraculously, I only spent 6 cents over what I had planned, even though I forgot to add things up when I found myself wandering around all those isles filled with too-cute-to-pass items (and dropping them in my basket).
I wasn't sure whether I was going to create just one design, and make all of the cards very similar, or make each one completely different. In the end, I ended up doing a combination of both — I repeated some of the designs that I liked most.
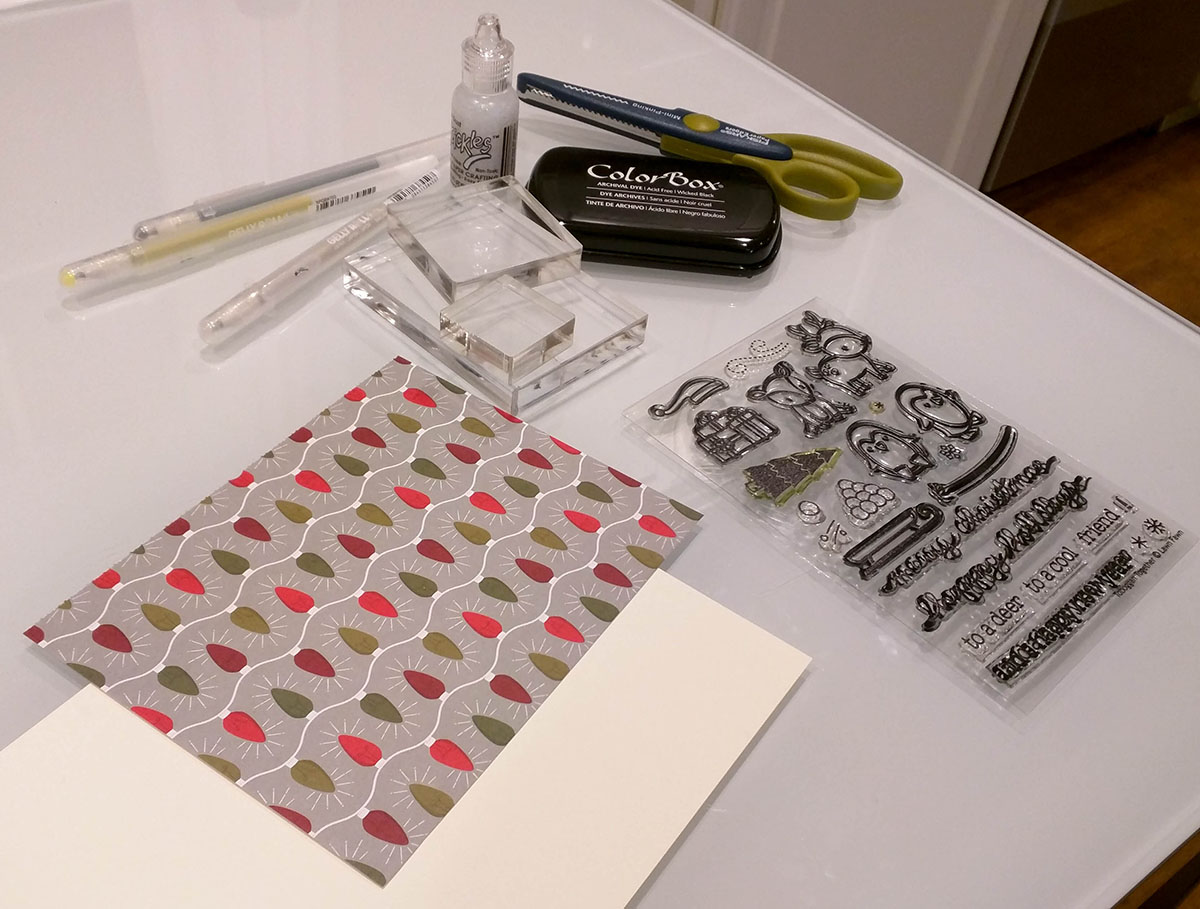
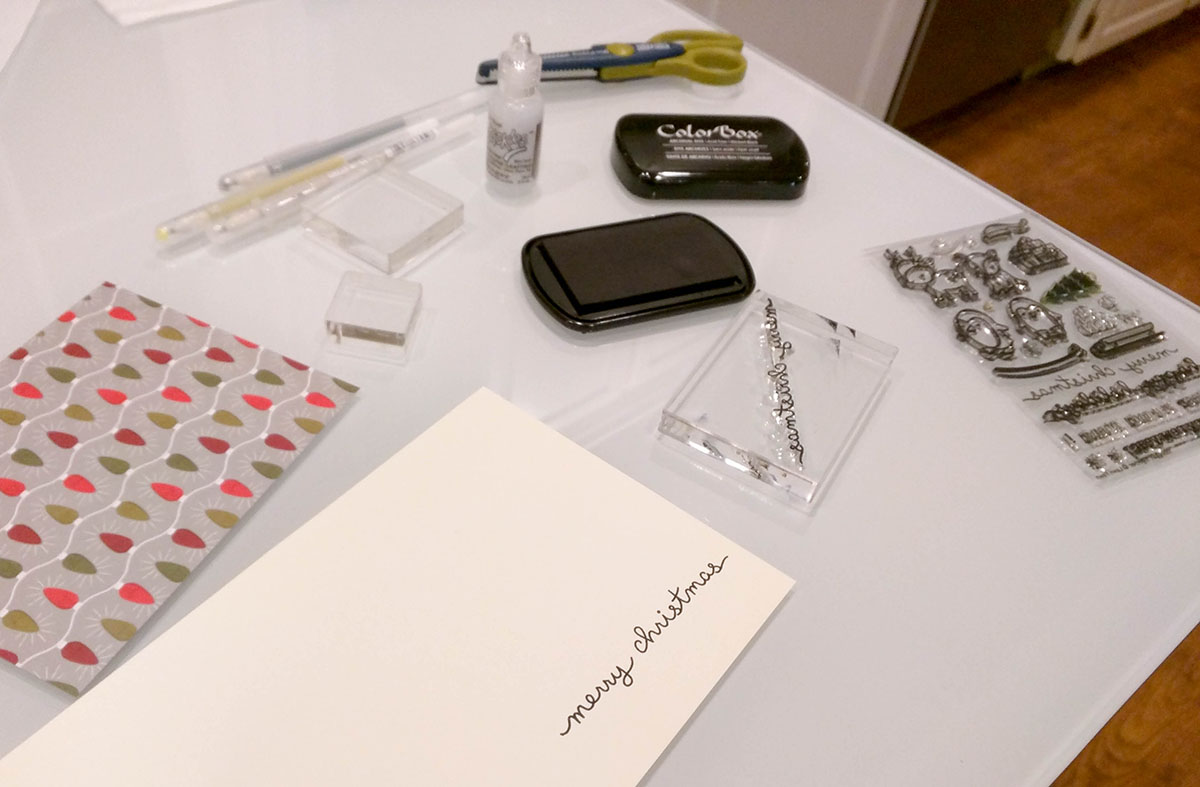
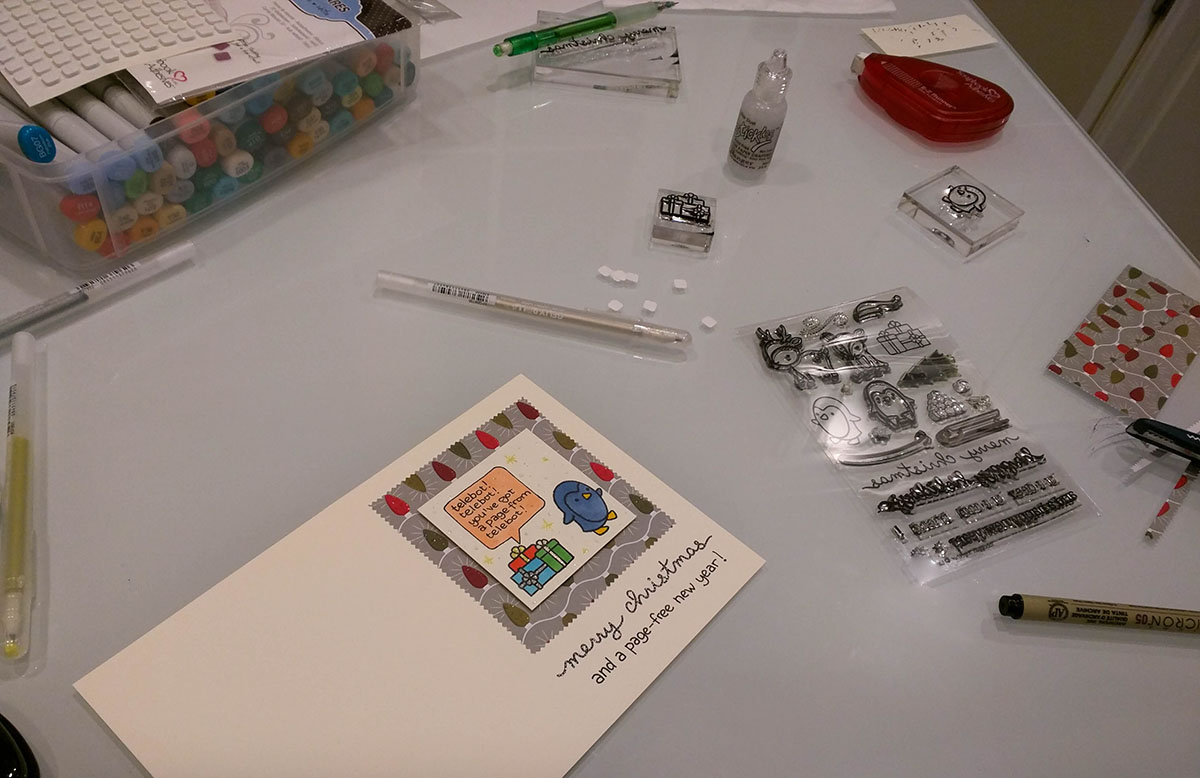
Here is a picture of a card in progress along with some of the supplies that I used for this project.
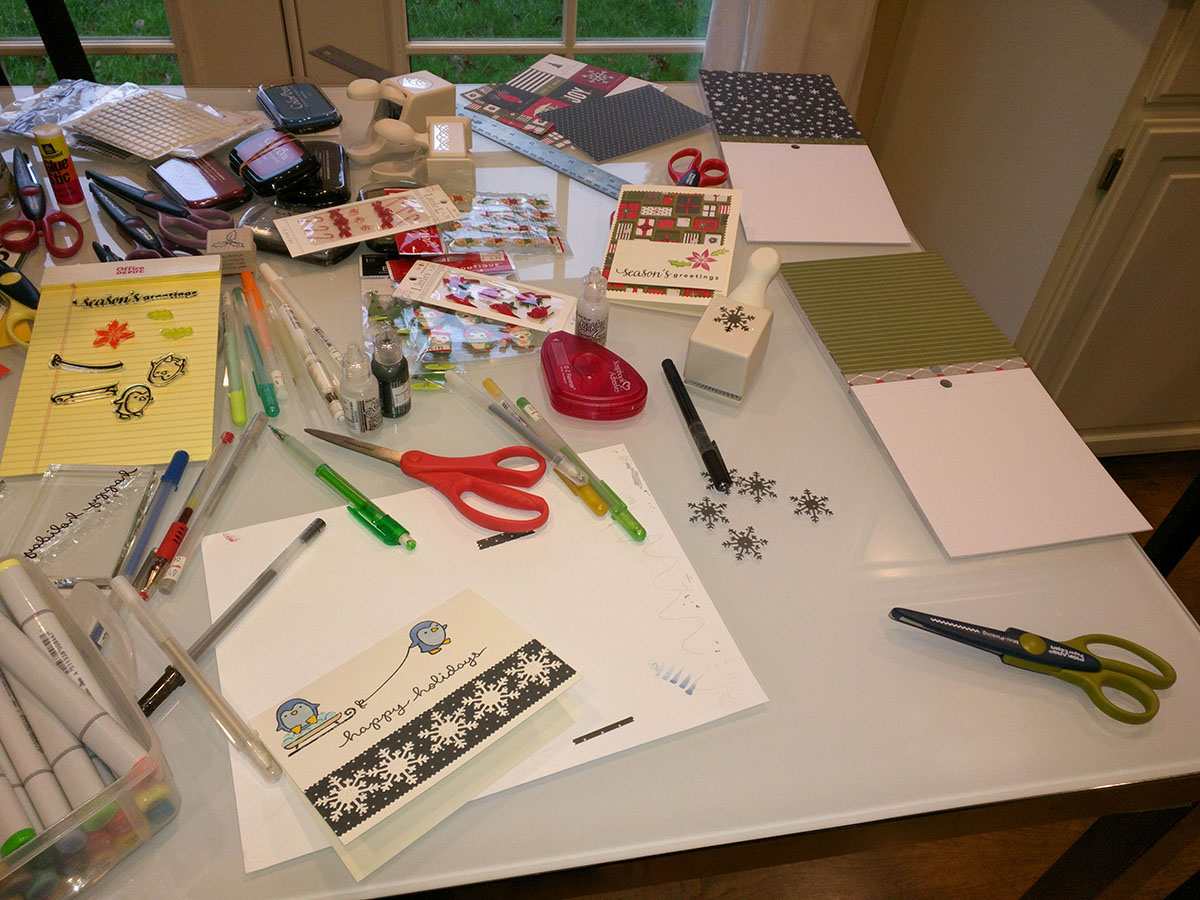
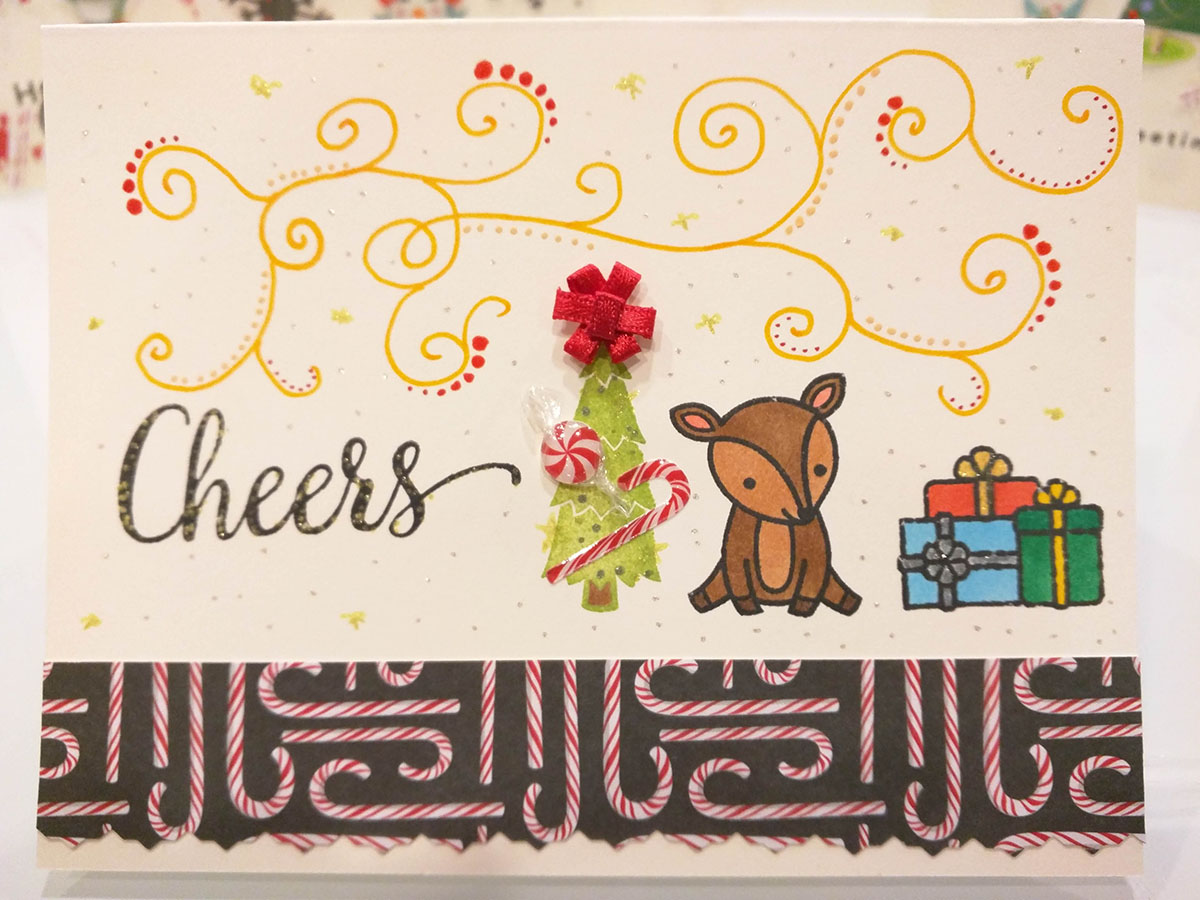
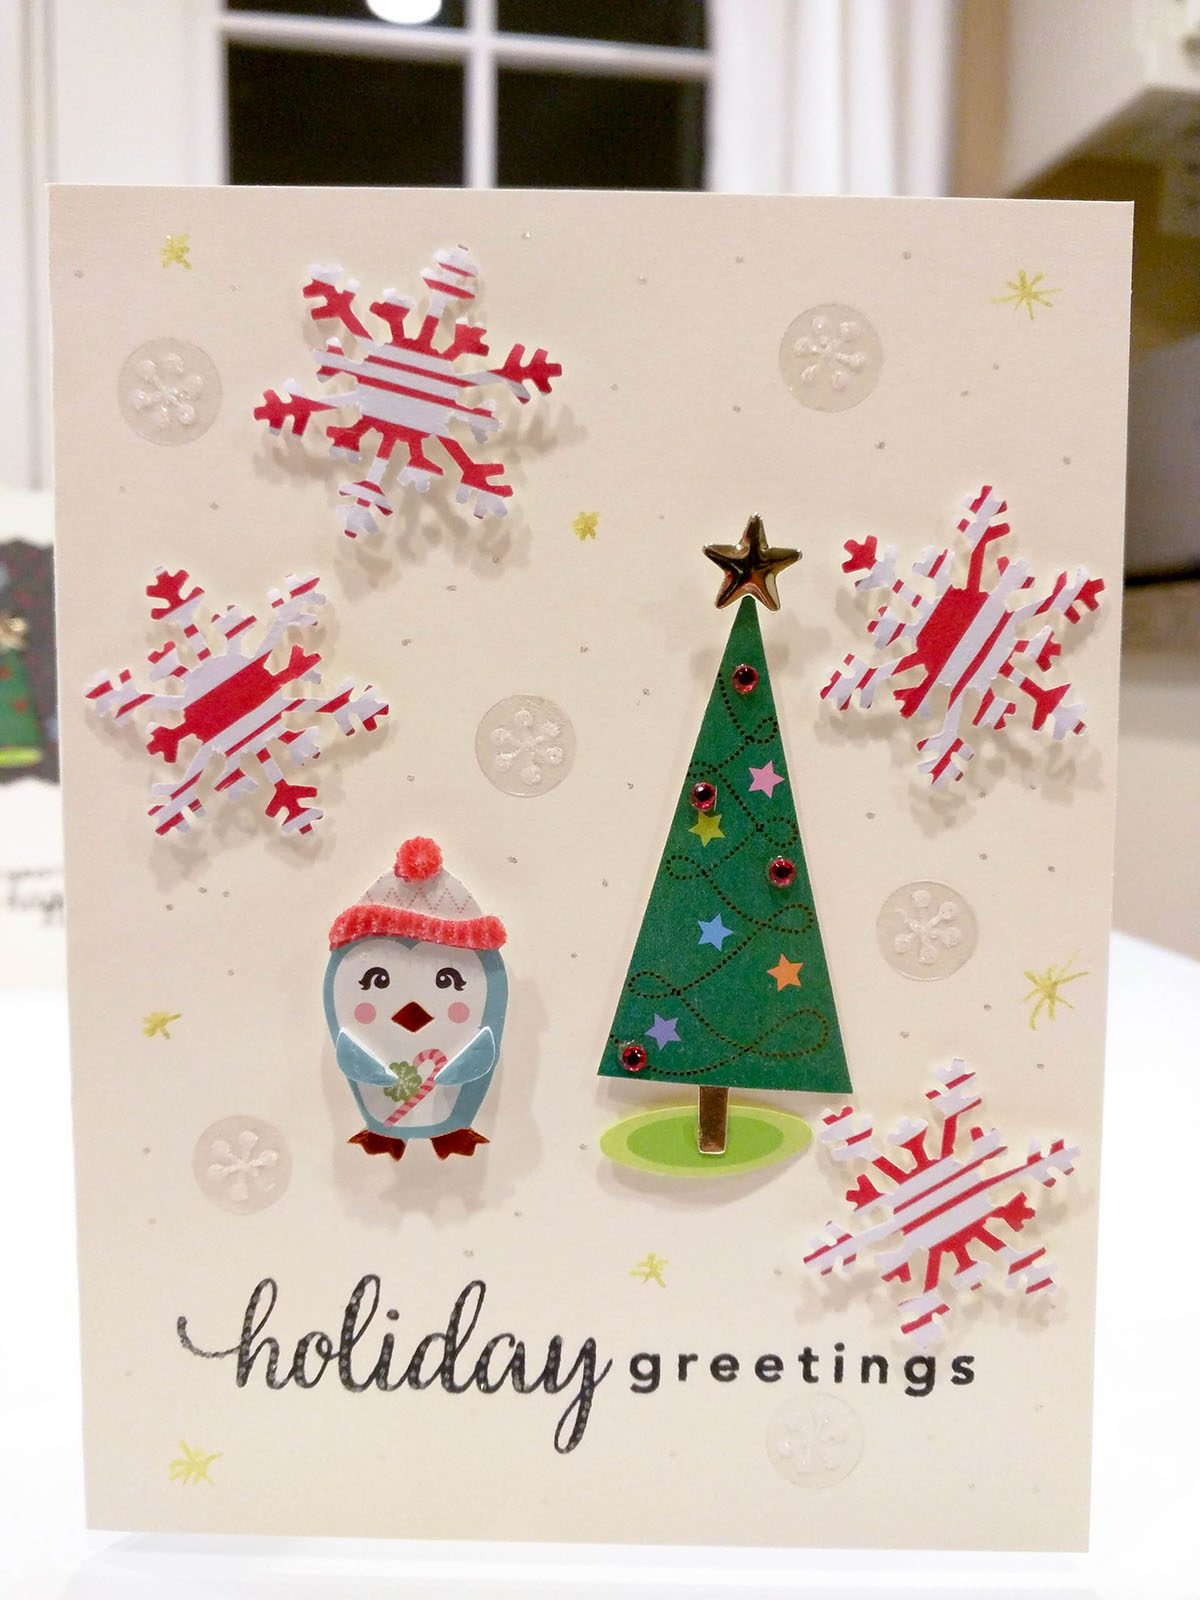
Finally, I found an excellent use for all of those glitter pens: they make the cards sparkle and look festive!
It took me the whole day to finish all of these cards, but I am happy with the result. I am also proud that I wasted none of the card bases, and didn't have to redo any of the cards :D
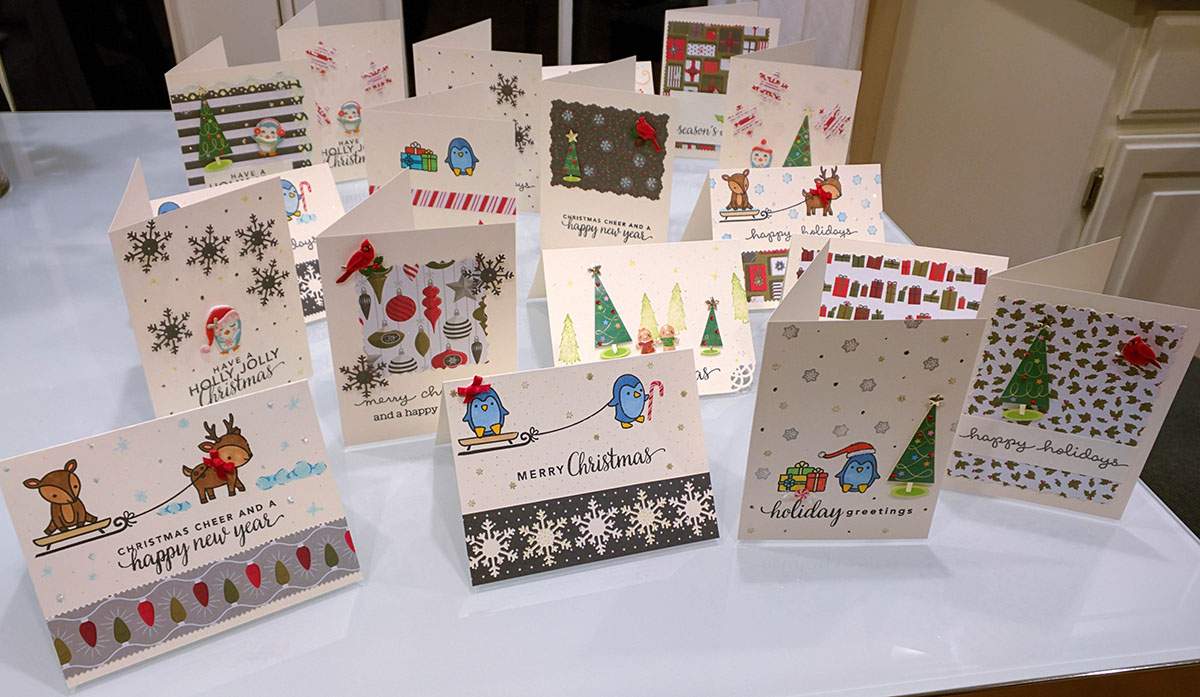
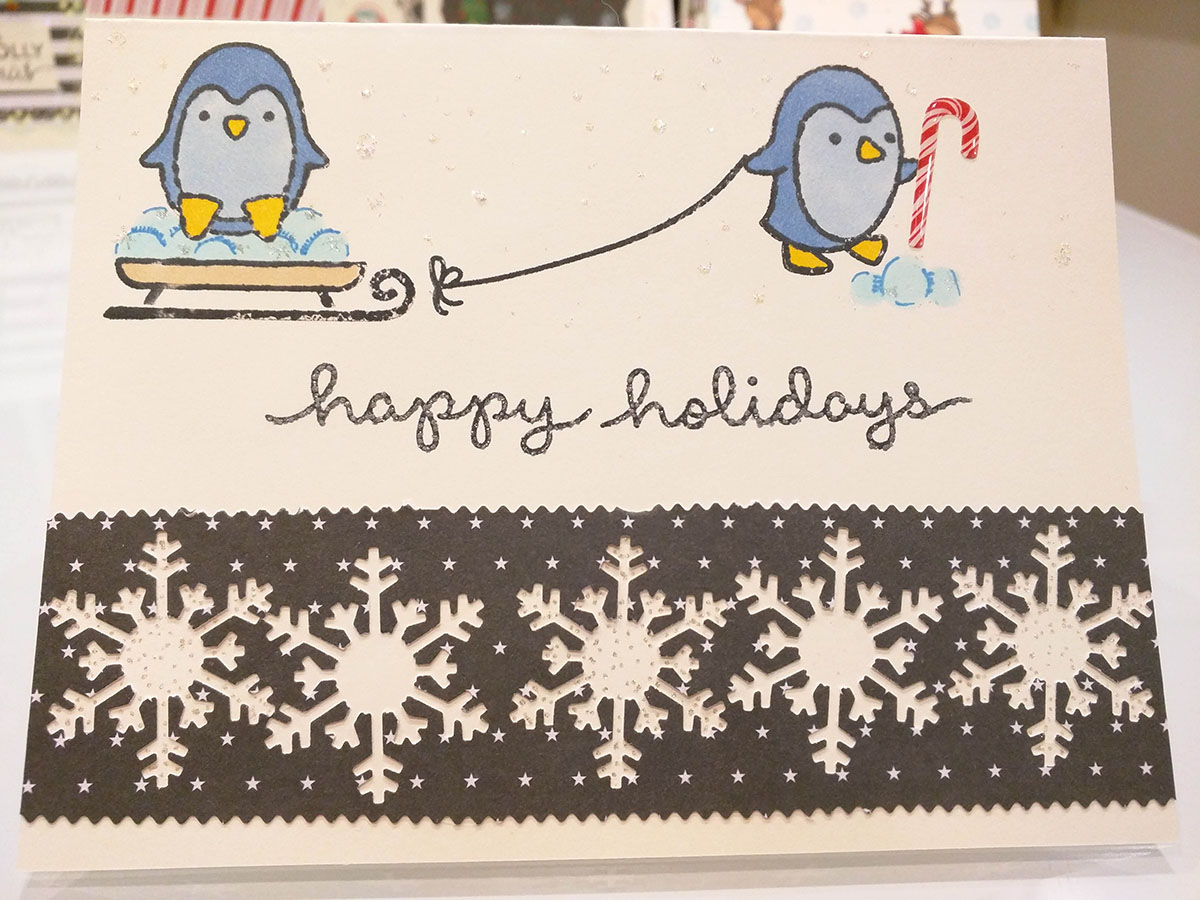
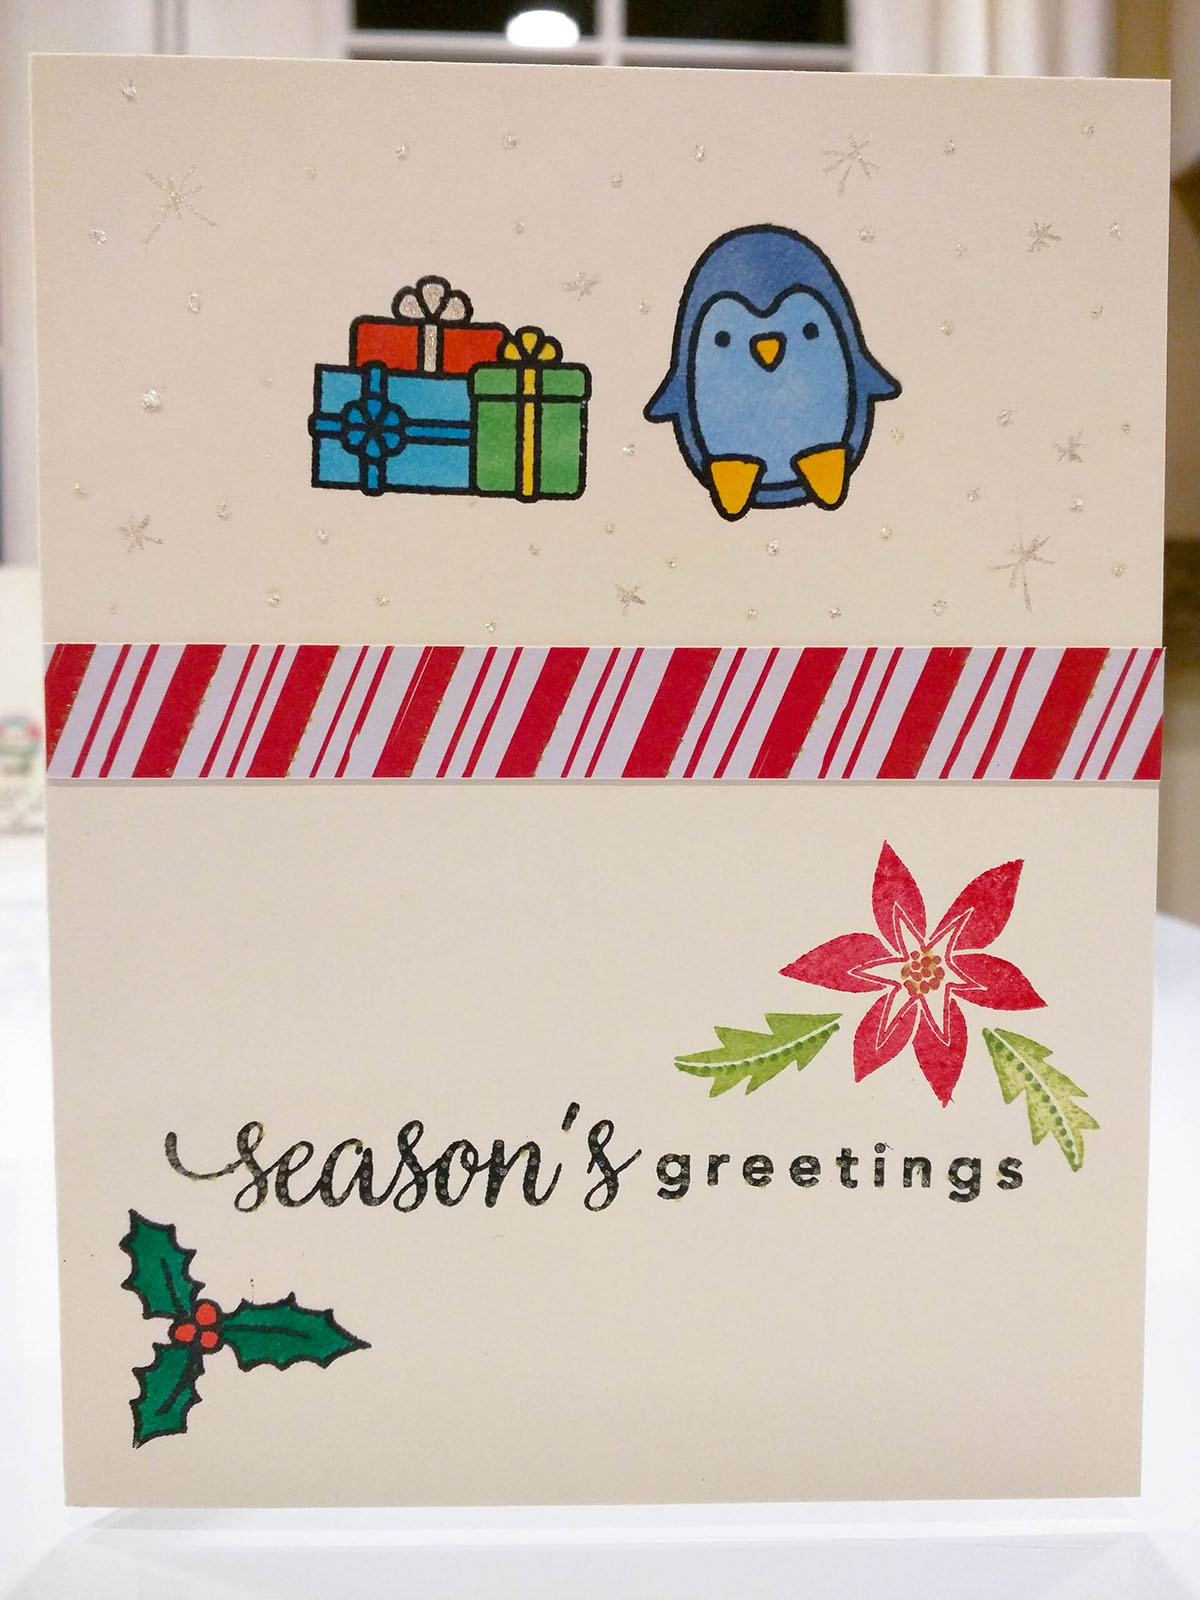
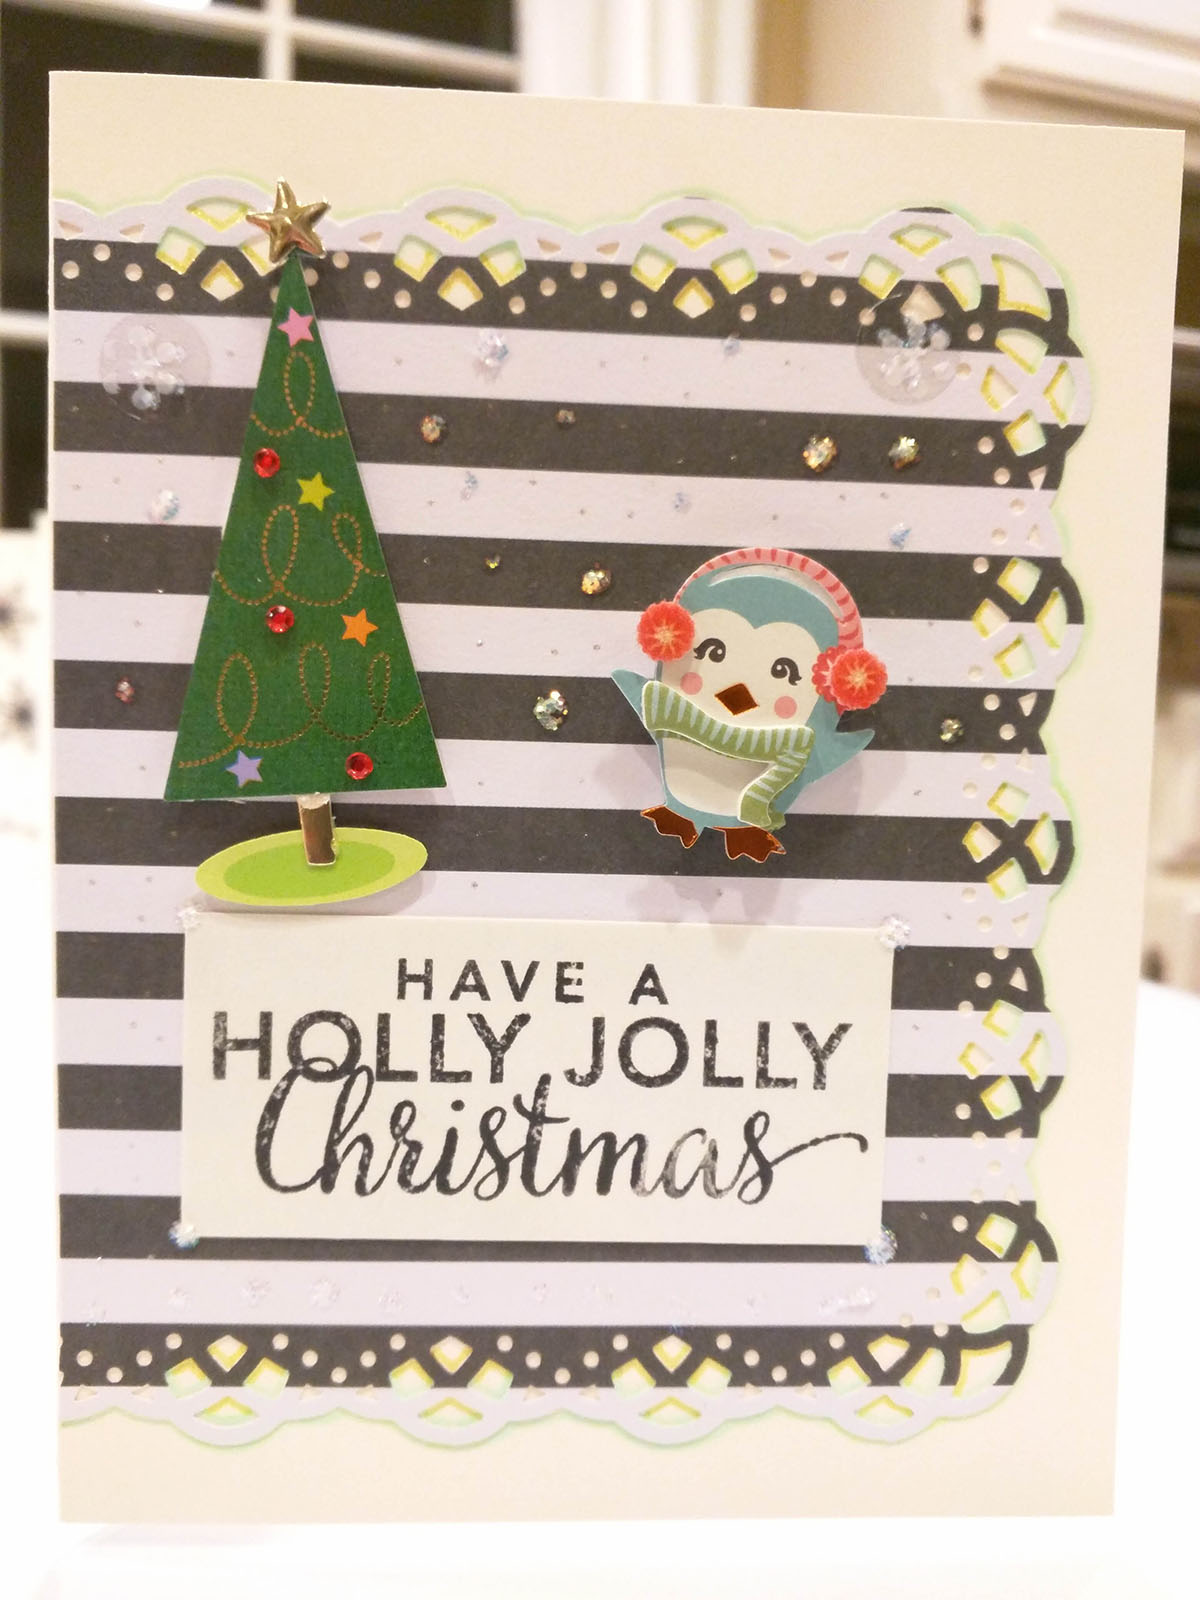
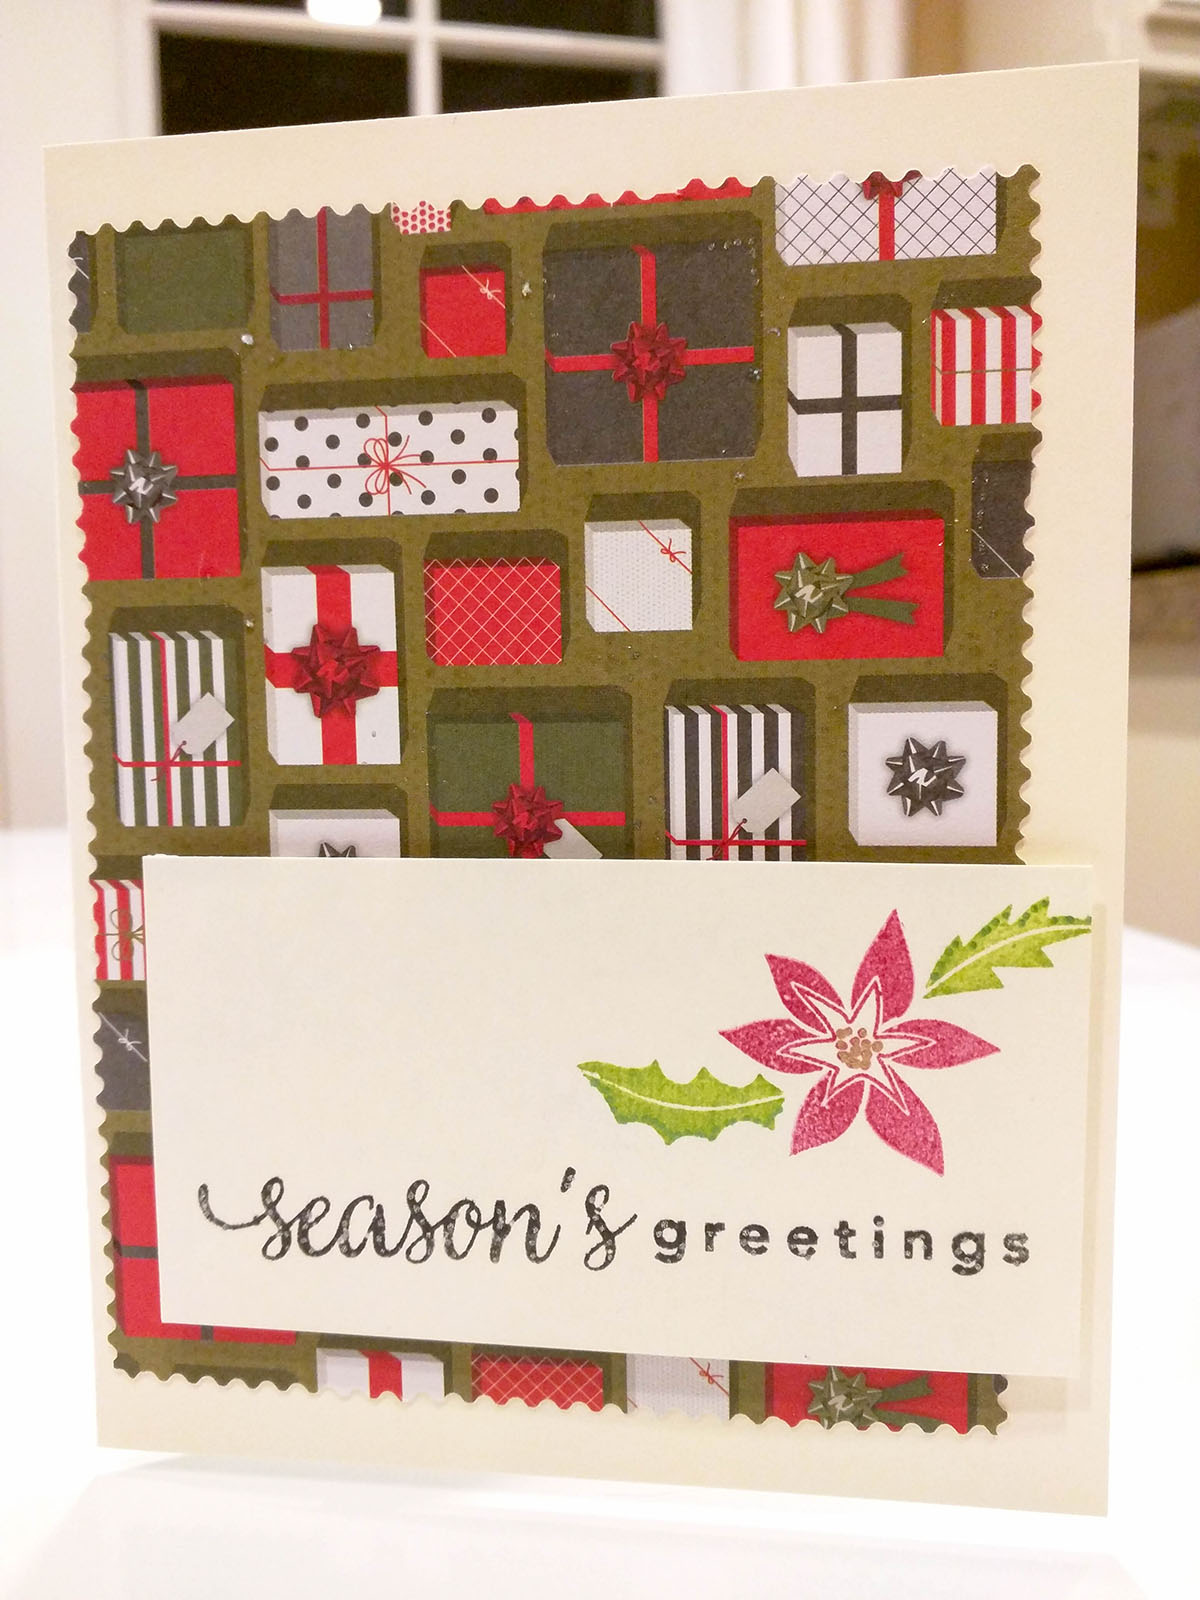
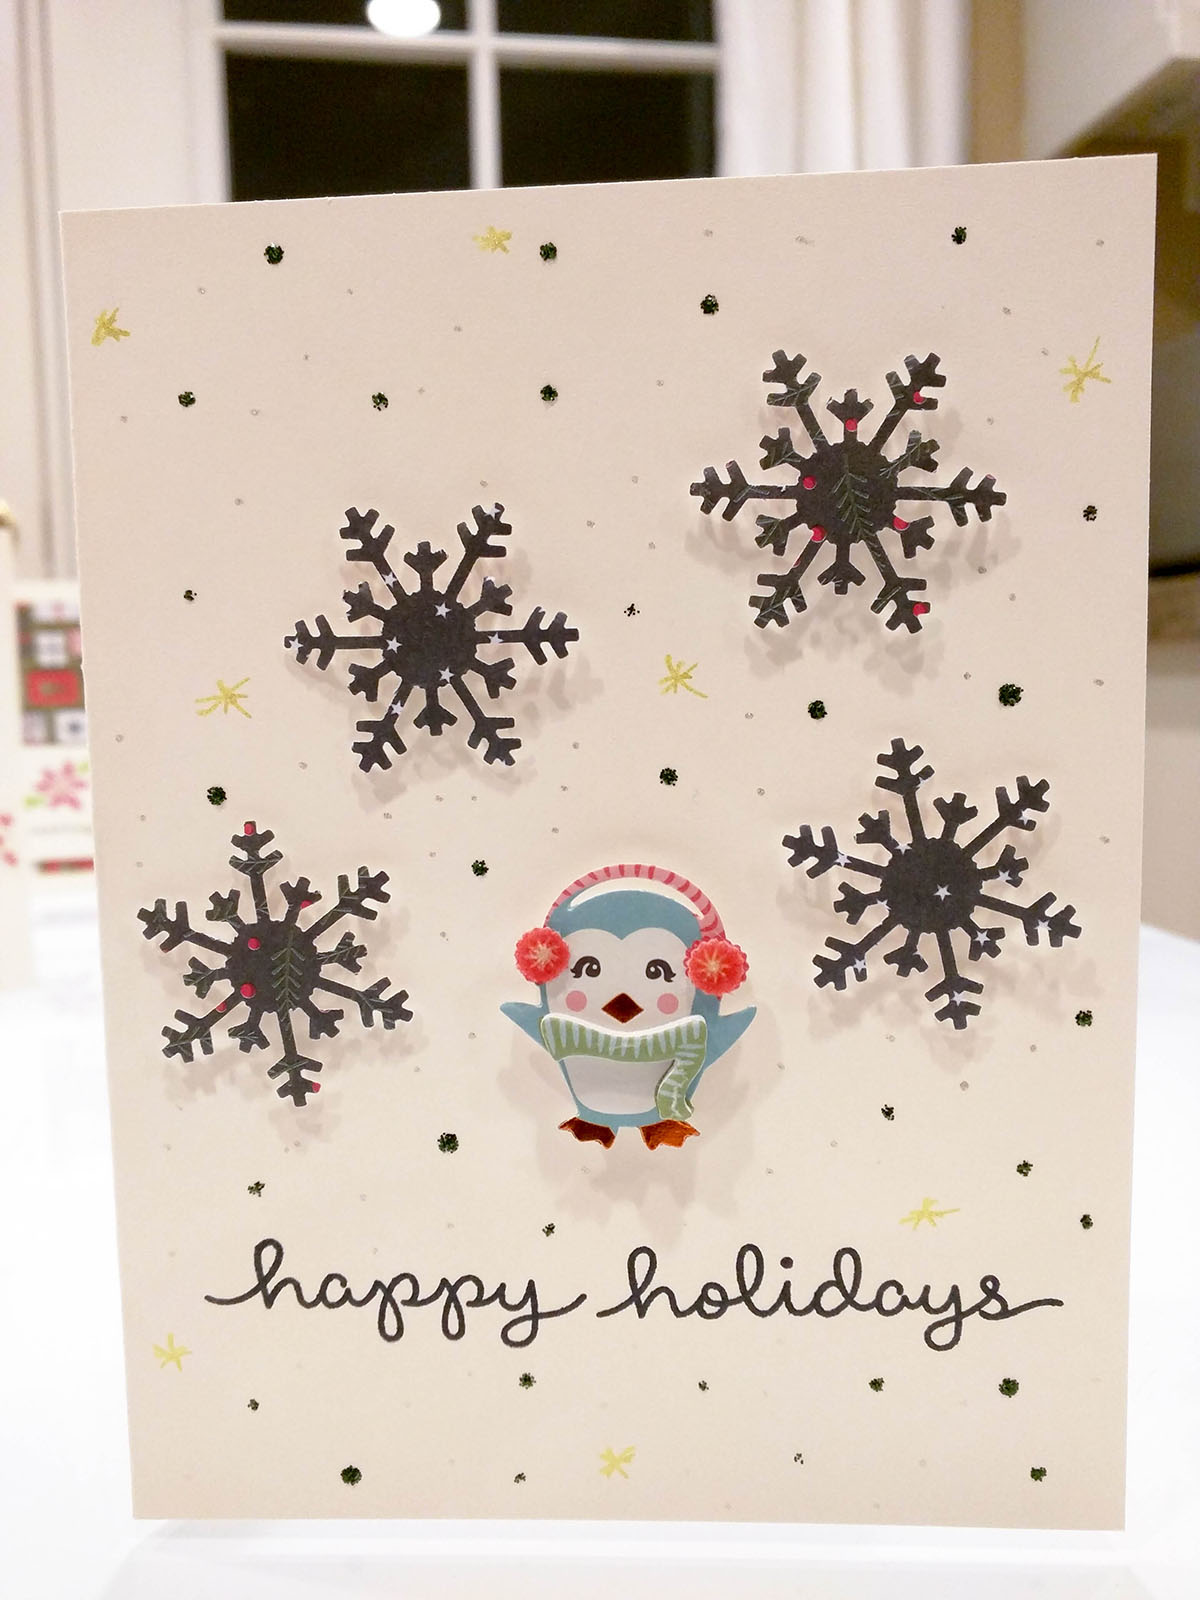
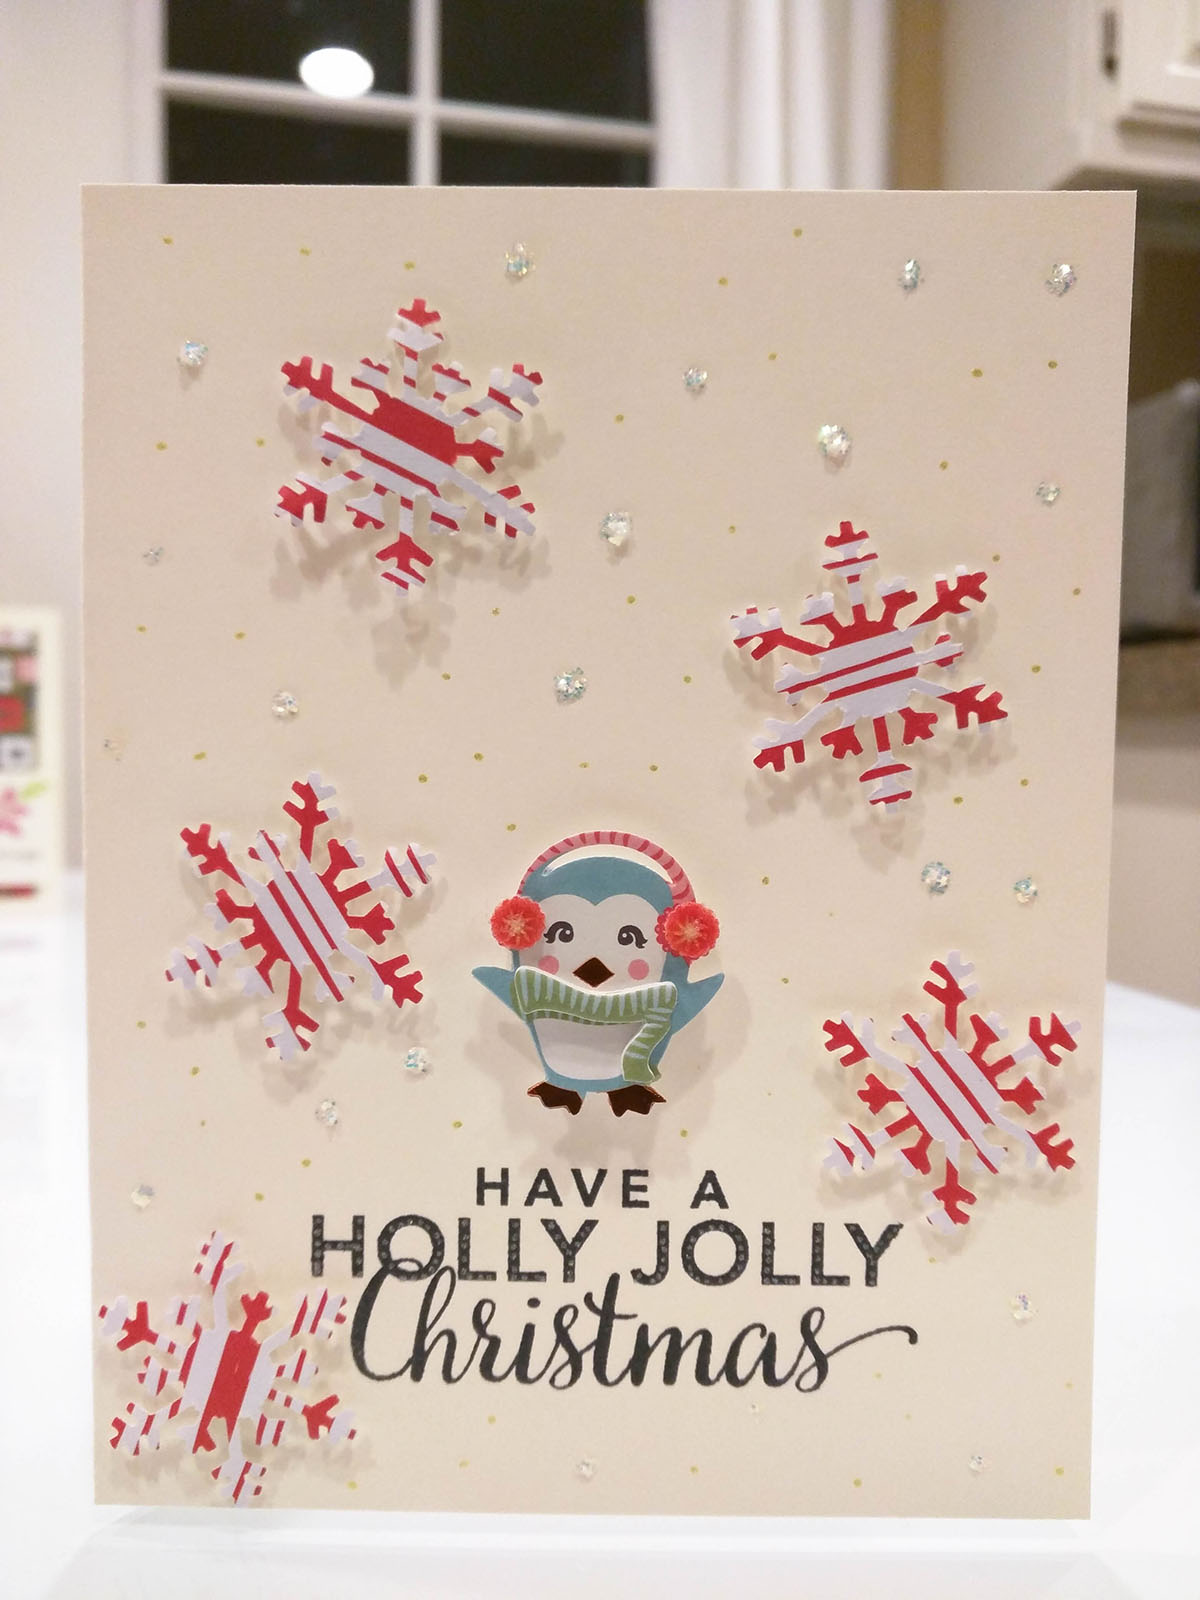
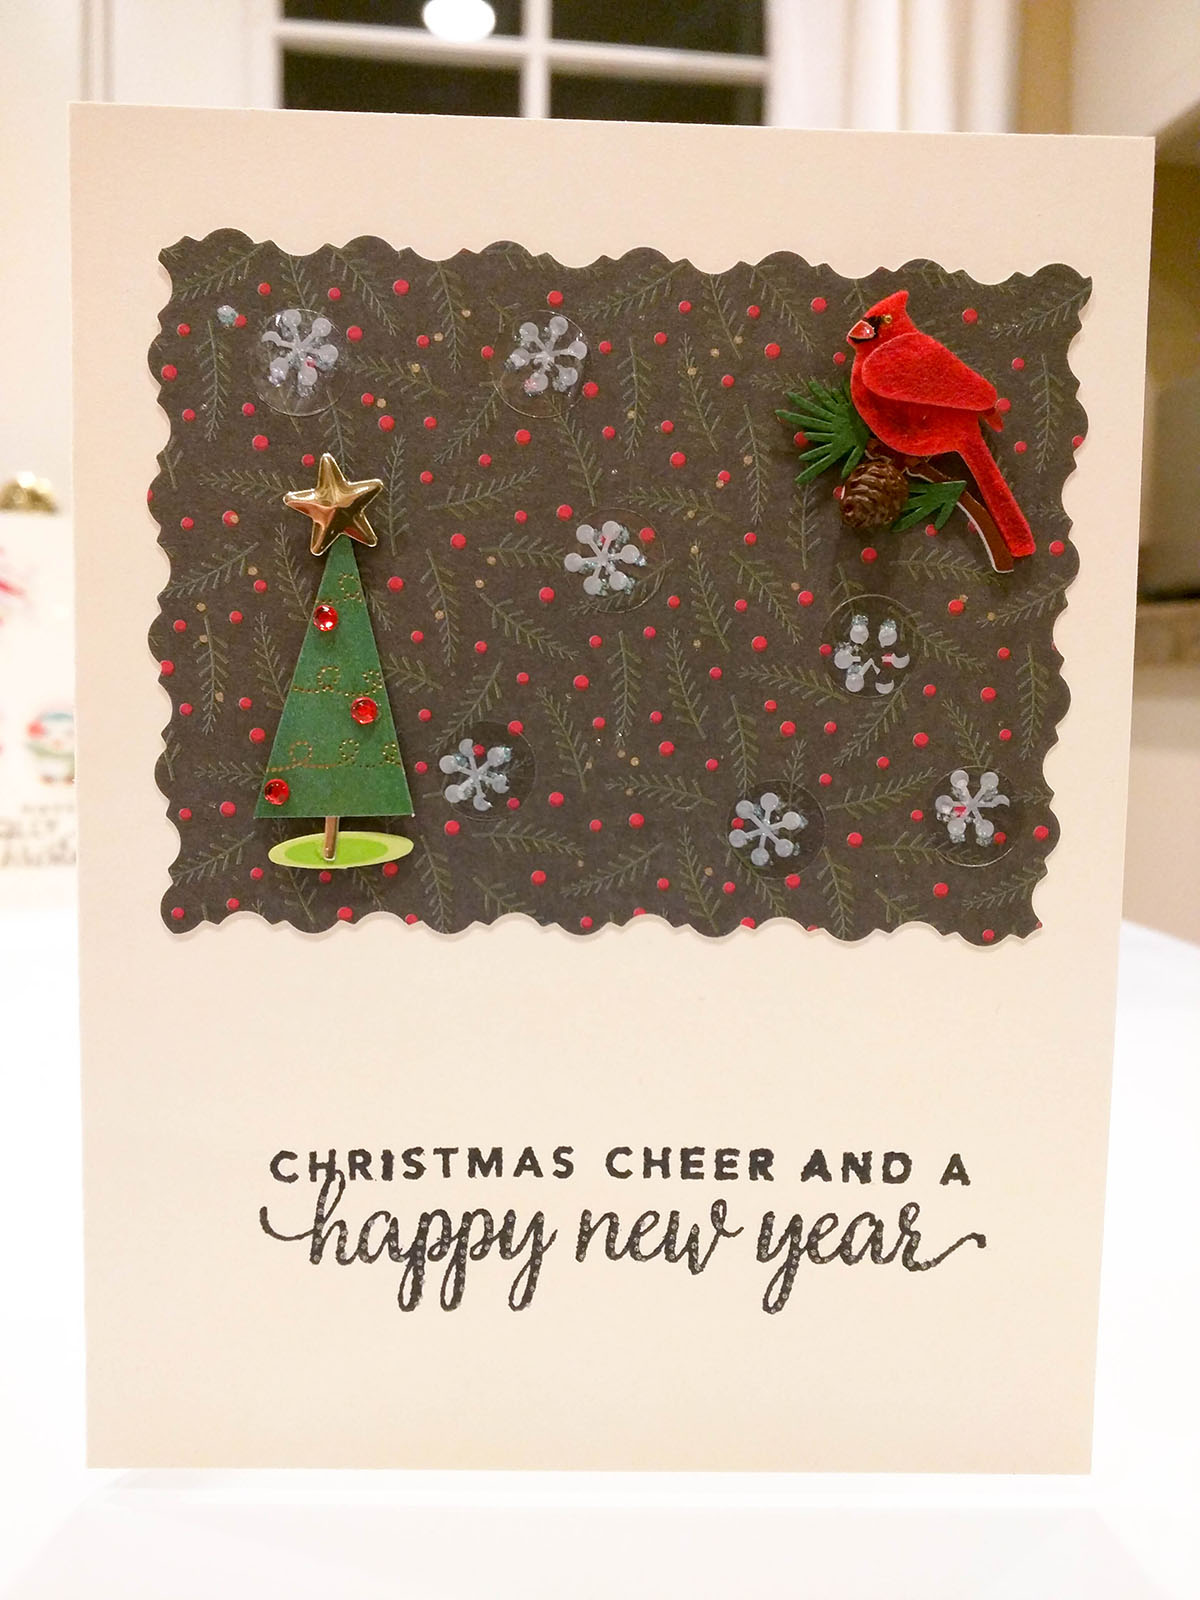
Below are the individual pictures of each card. If you weren't only my (tiny) card-mailing list, but would like to be added next year, drop me a note ;)


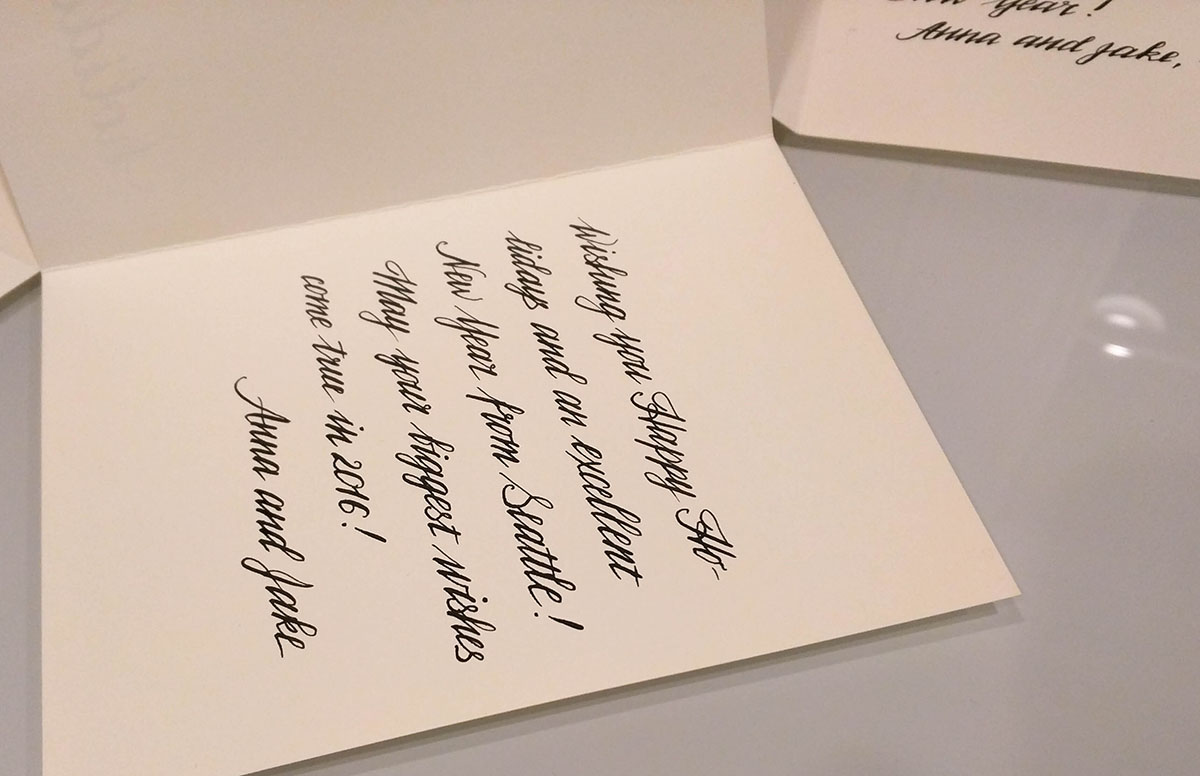
Of course, each of these cards has a hand-written message. I used my 12" Artograph light box so that I would not have to draw and erase the lines in every card. I had to tape the cards down to make sure the line template doesn't shift, but otherwise it was much easier that drawing lines or trying to squint at the template through card stock.
This is what it looks like when the card and the template are on the light box.
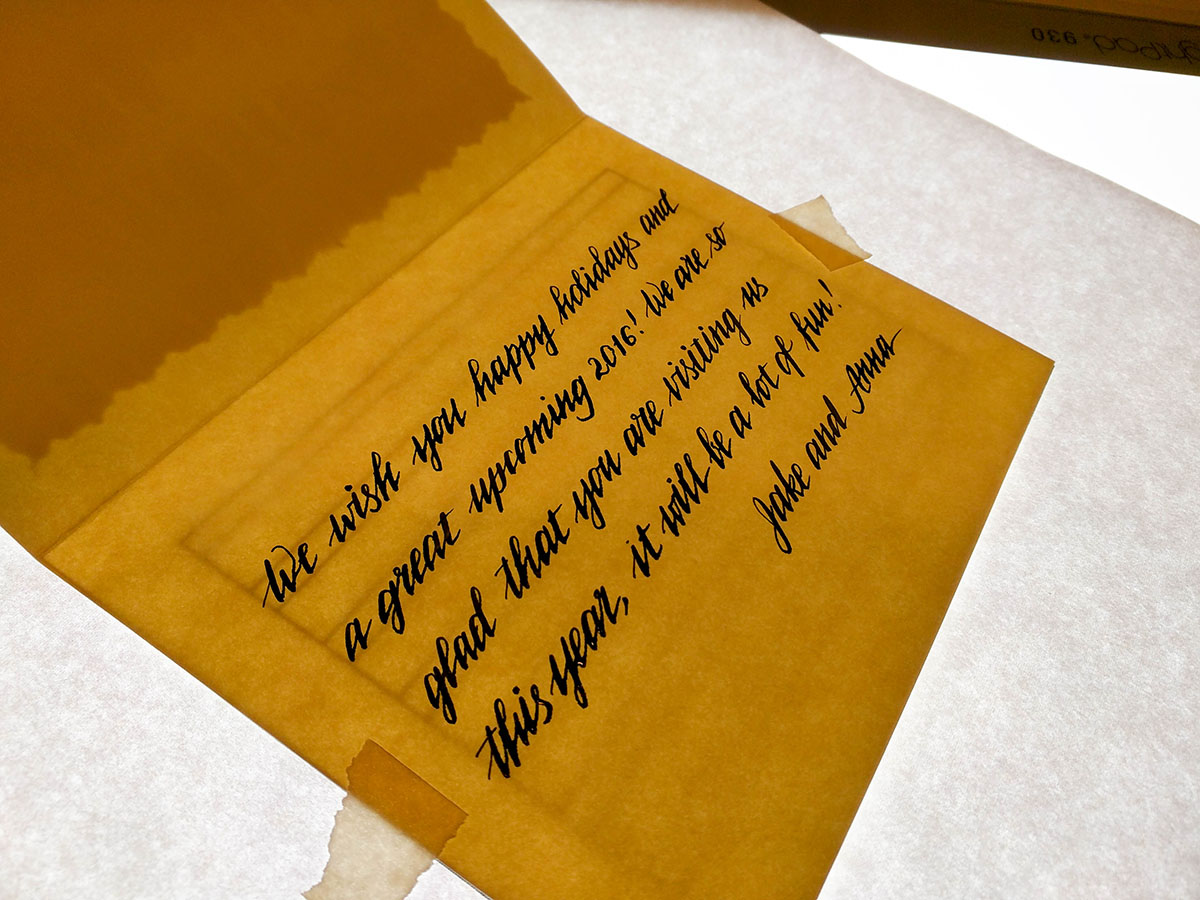
Finally, I don't have to worry about smudged ink and poorly erased lines!
Bonus: Creation of card #19
I knew that I would inevitably forget to make a card for someone, and remember about it last moment. For this exact reason, I have several dozen commercially-made cards that I can mail out at a moment's notice.
However, there was one person for whom I made an exception. I had threatened promised to make a card for my manager last year, but all of my craft supplies were packed up for the move, so I didn't get around to it until it was too late.
Of course, he has forgotten all about it, and I almost forgot too, until I woke up one morning and realized I have a promise to keep.
This card is a bit of a private joke, so the text would only really make sense to a few people. However, the process that I used to make it is the same as for the other cards, and this time I remembered to document it.
First, I picked out the paper that I was going to use, along with the edge scissors to trim it, stamps, and some glitter pens.
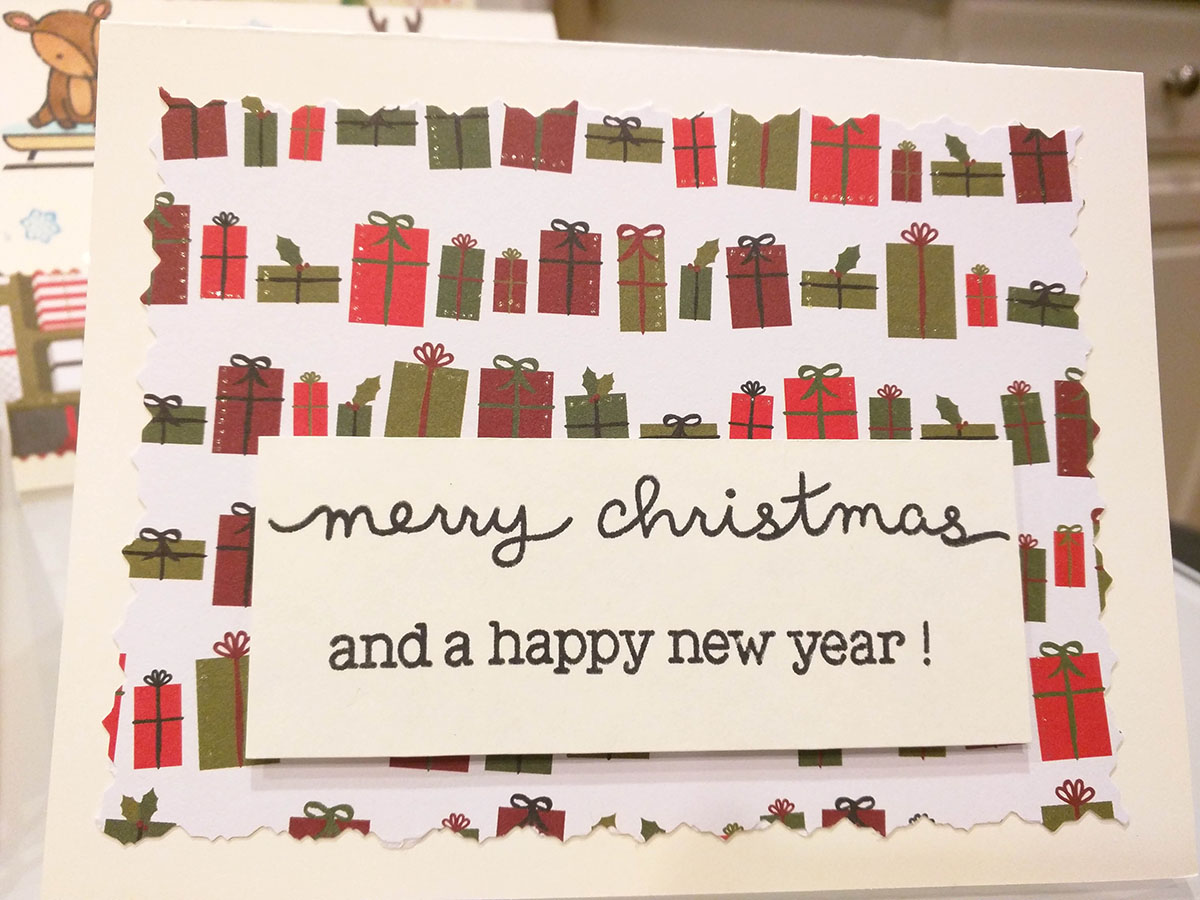
Then, I stamped the "Merry Christmas" message onto the card base.
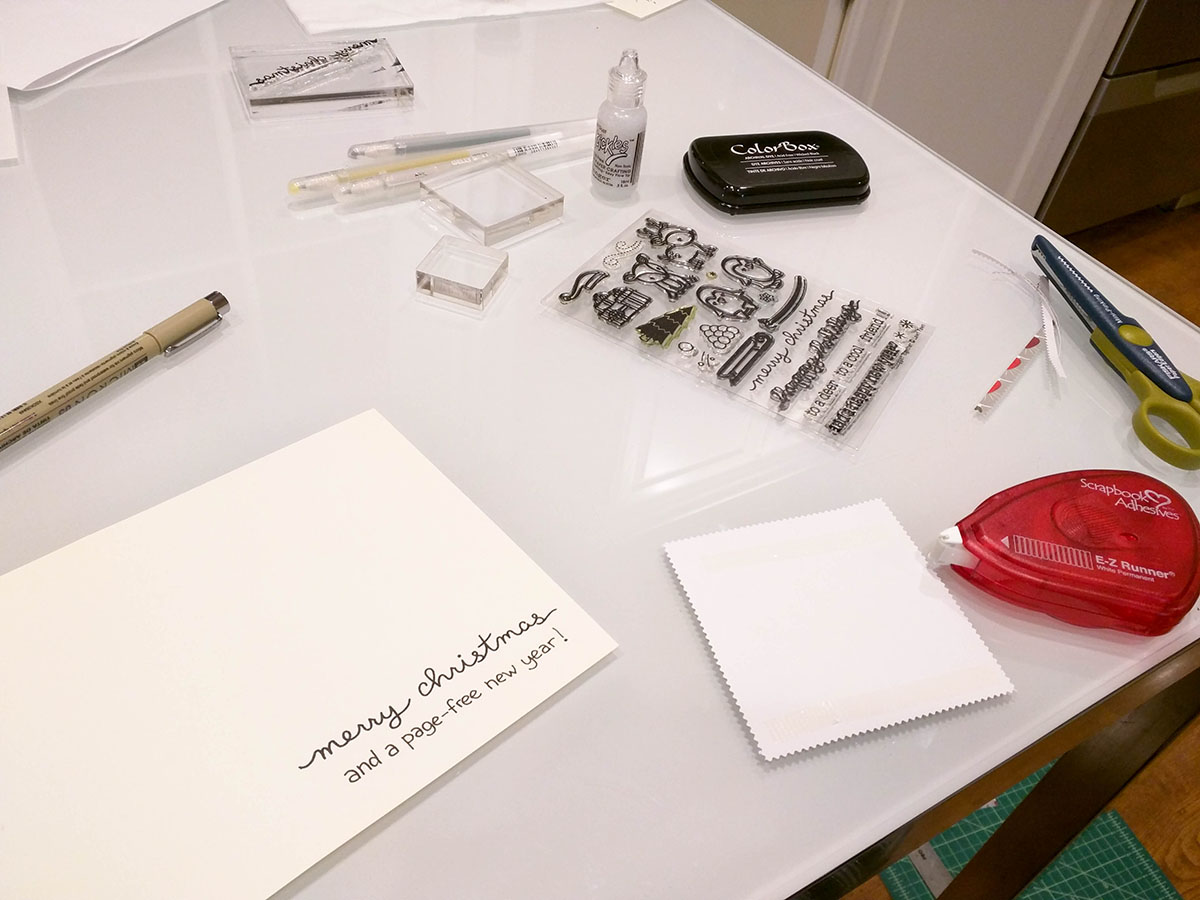
I didn't have the stamp for the rest of the message, so I wrote it by hand. I trimmed the paper to the correct size, and applied the double-sided adhesive to it.
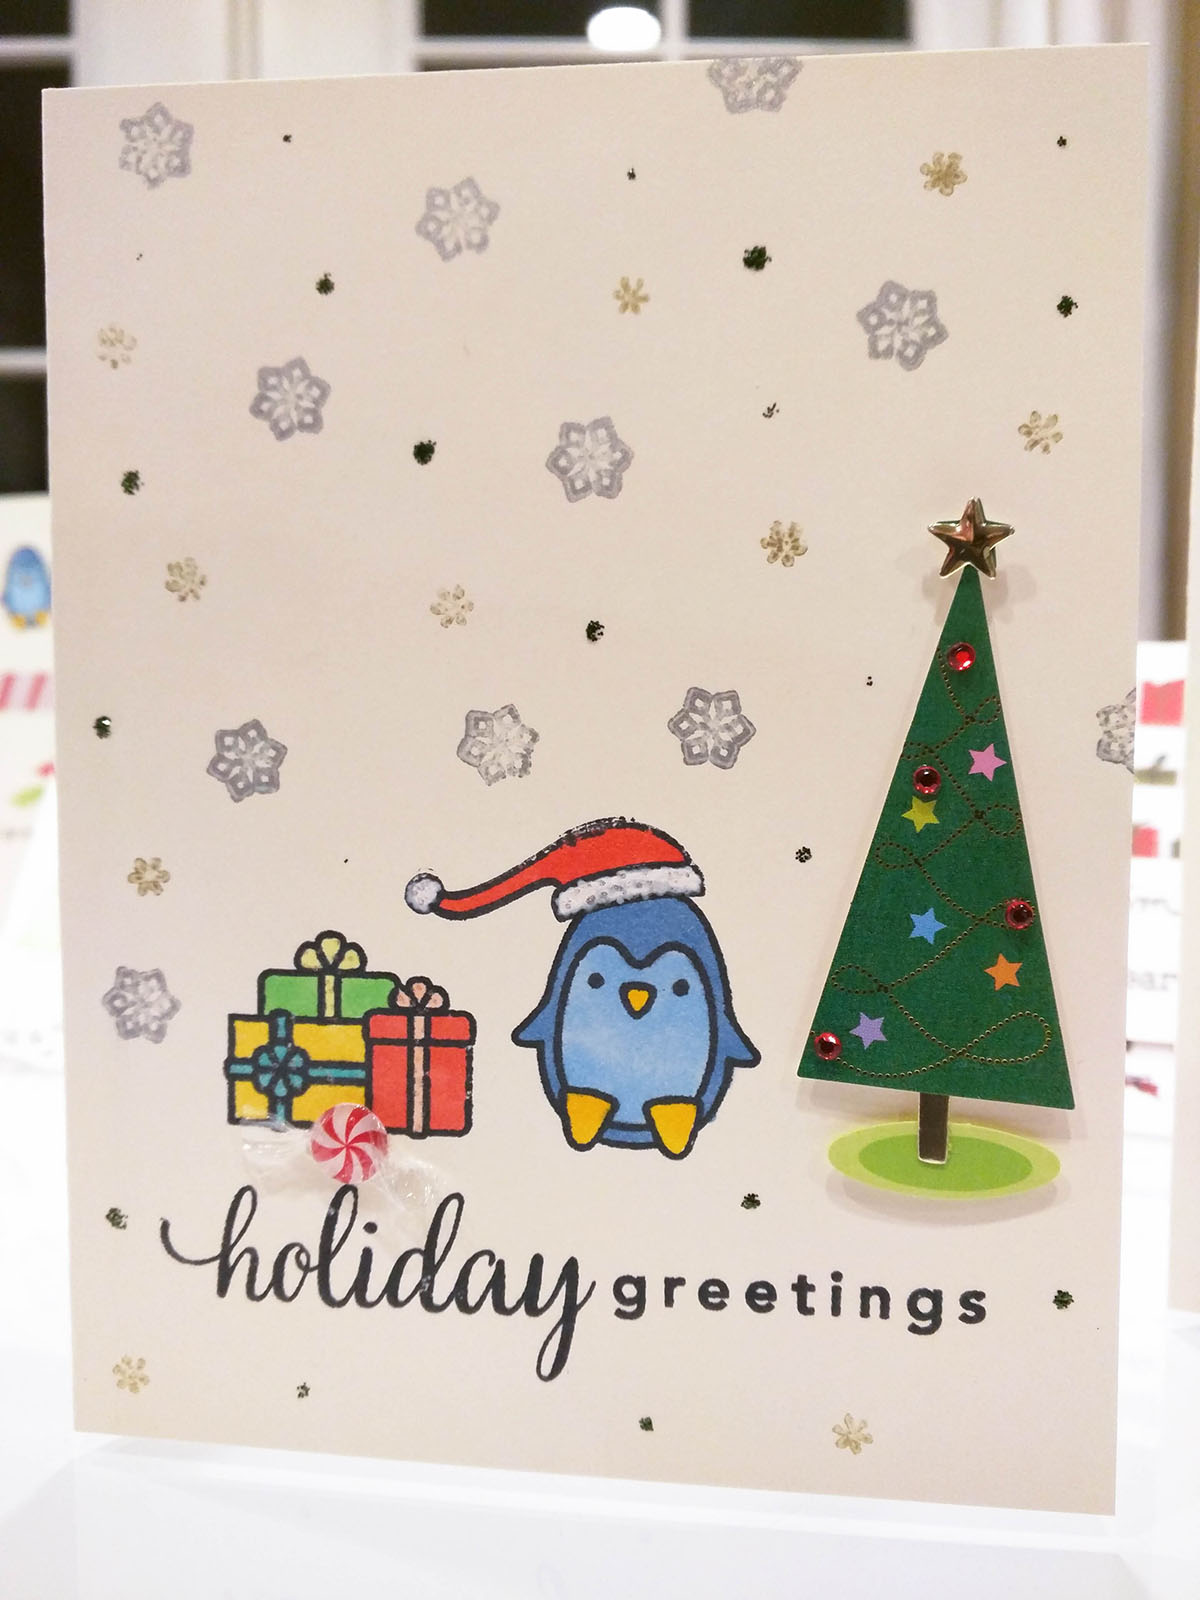
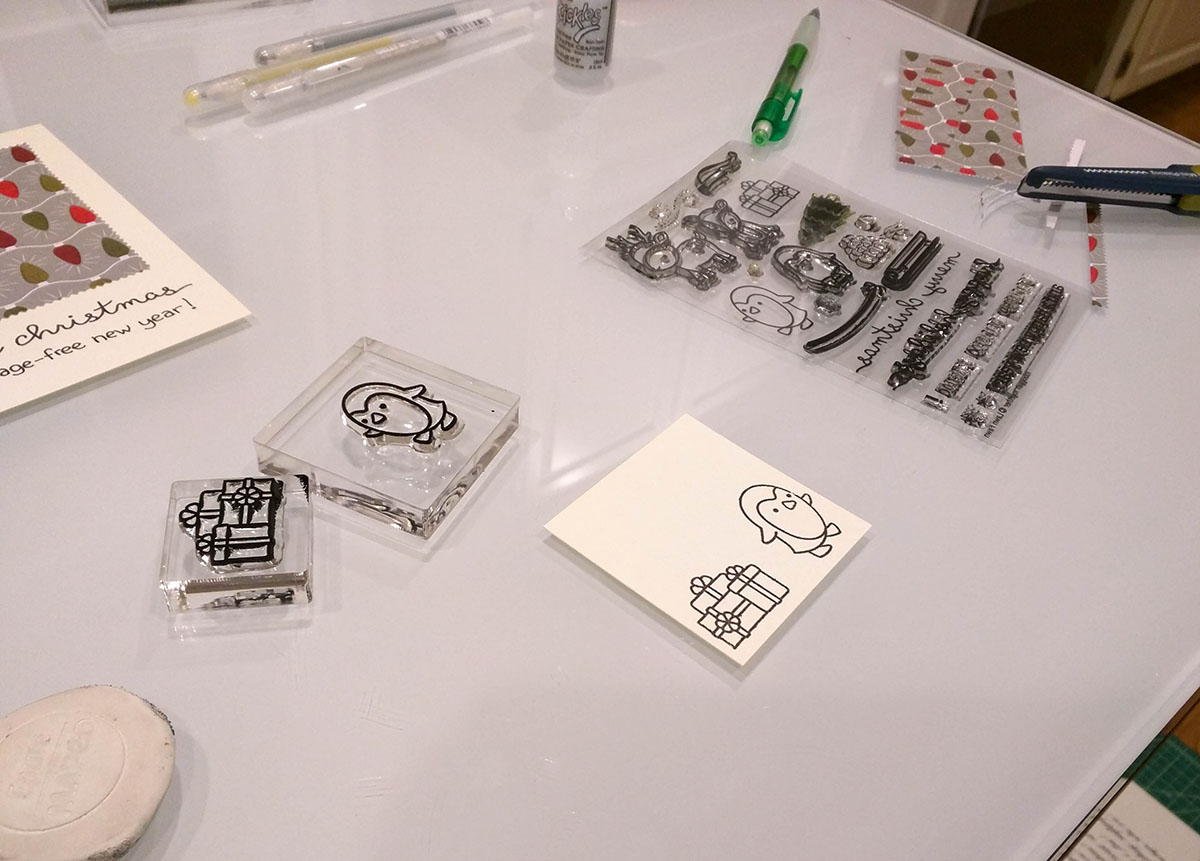
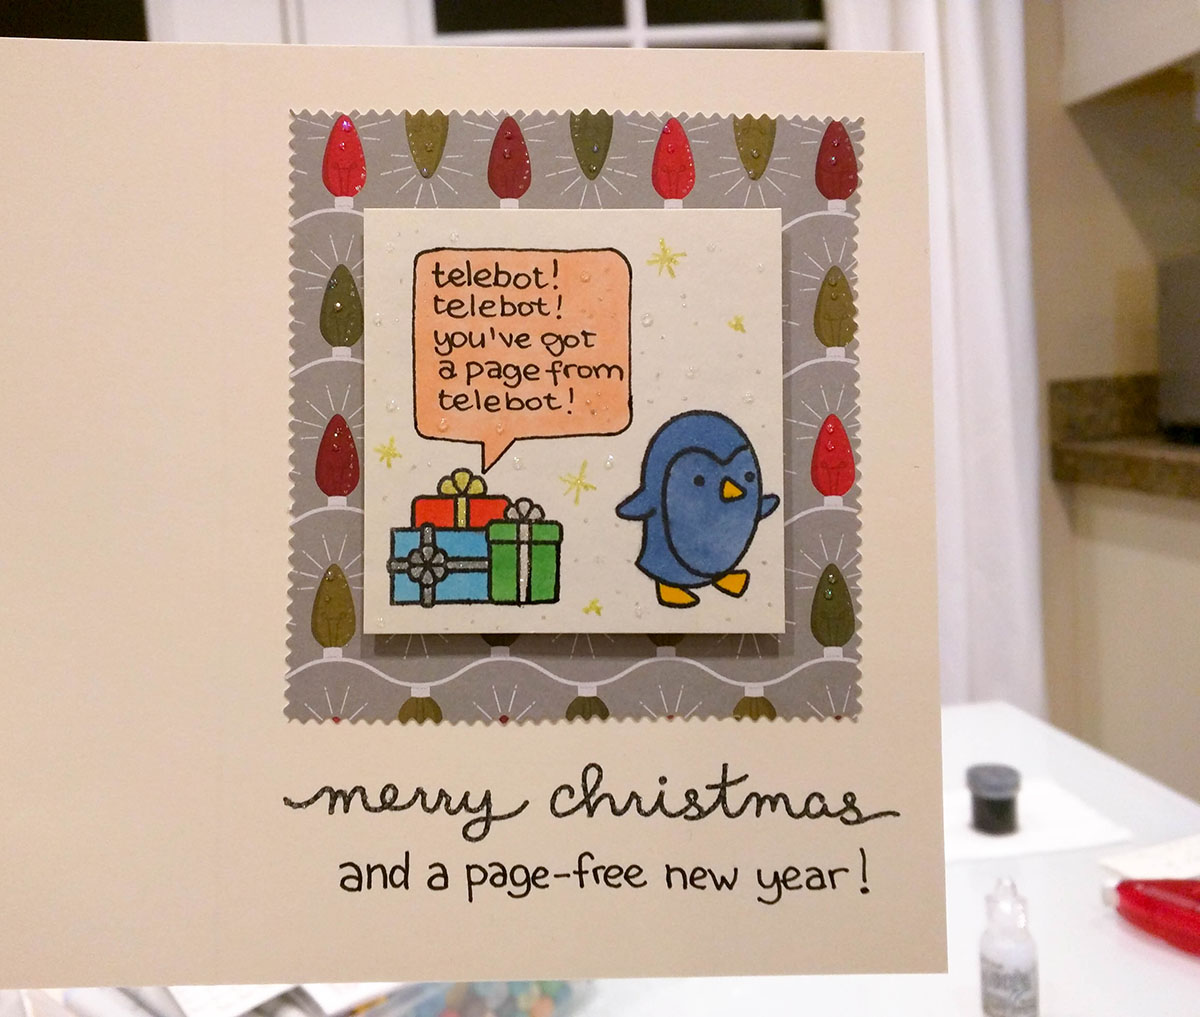
Next I cut out a square of cream-colored paper for the little image that would be pasted on top of the patterned paper. I stamped the penguin and gifts onto it.
Then, I colored the picture and added a message to it.
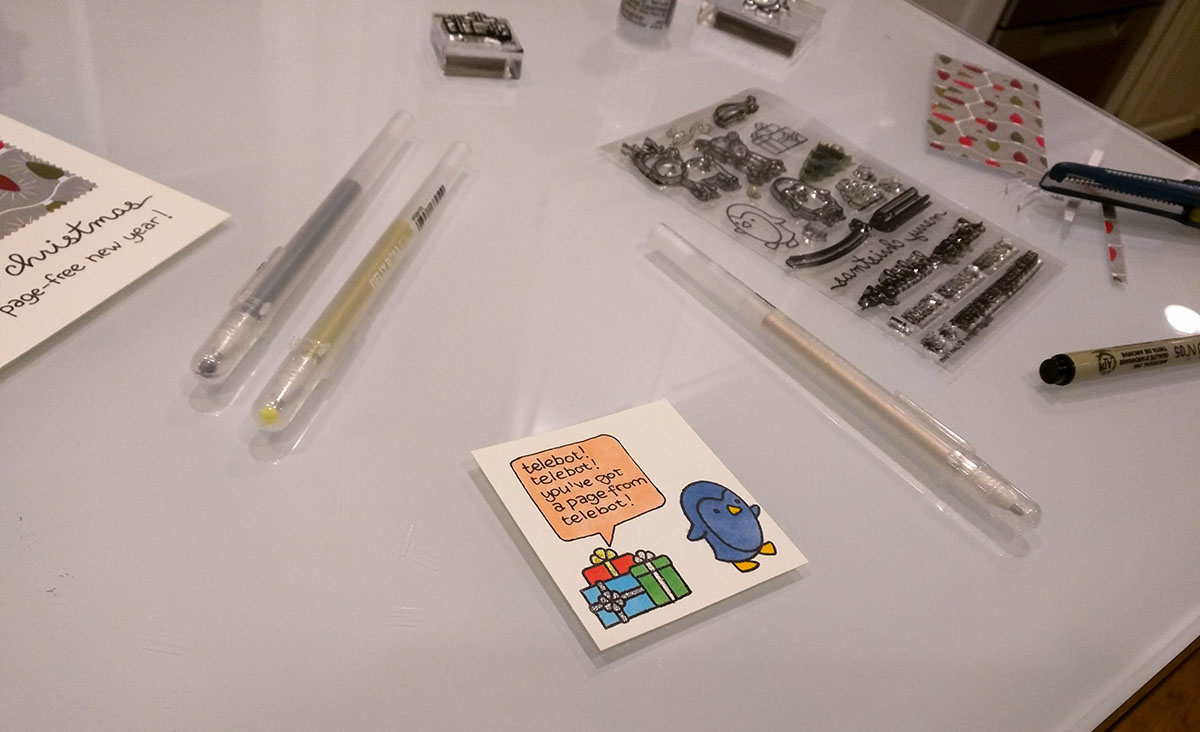
Finally, I used little foam squares to add some volume and make the picture rise above the card surface.
Here is the end result.
P.S. Dear Post Office, please don't lose any of my pretty cards, and deliver them on time. Thank you!
Comments