Gilding with Peter Thornton

Gilding is another one of those things that I knew nothing about. It's one thing to admire someone else's beautiful work, and another to have a deep understanding of the techniques they used to create the piece.
I will have to say right away that gilding is an extremely expensive hobby. In fact, I hope to make it part of my process, and become proficient enough at it so I would not longer have to use the somewhat shameful word hobby for it. I tend either to do my best (or reasonably well) at things, or not do them at all, and thus very few things would fall under the "hobby" category. Maybe I could say my hobby is to collect mugs with cats on them — I do a pretty half-hearted effort, and have maybe a total of 6 mugs I've accumulated over twice as many years. Anyway, I digress.
Class
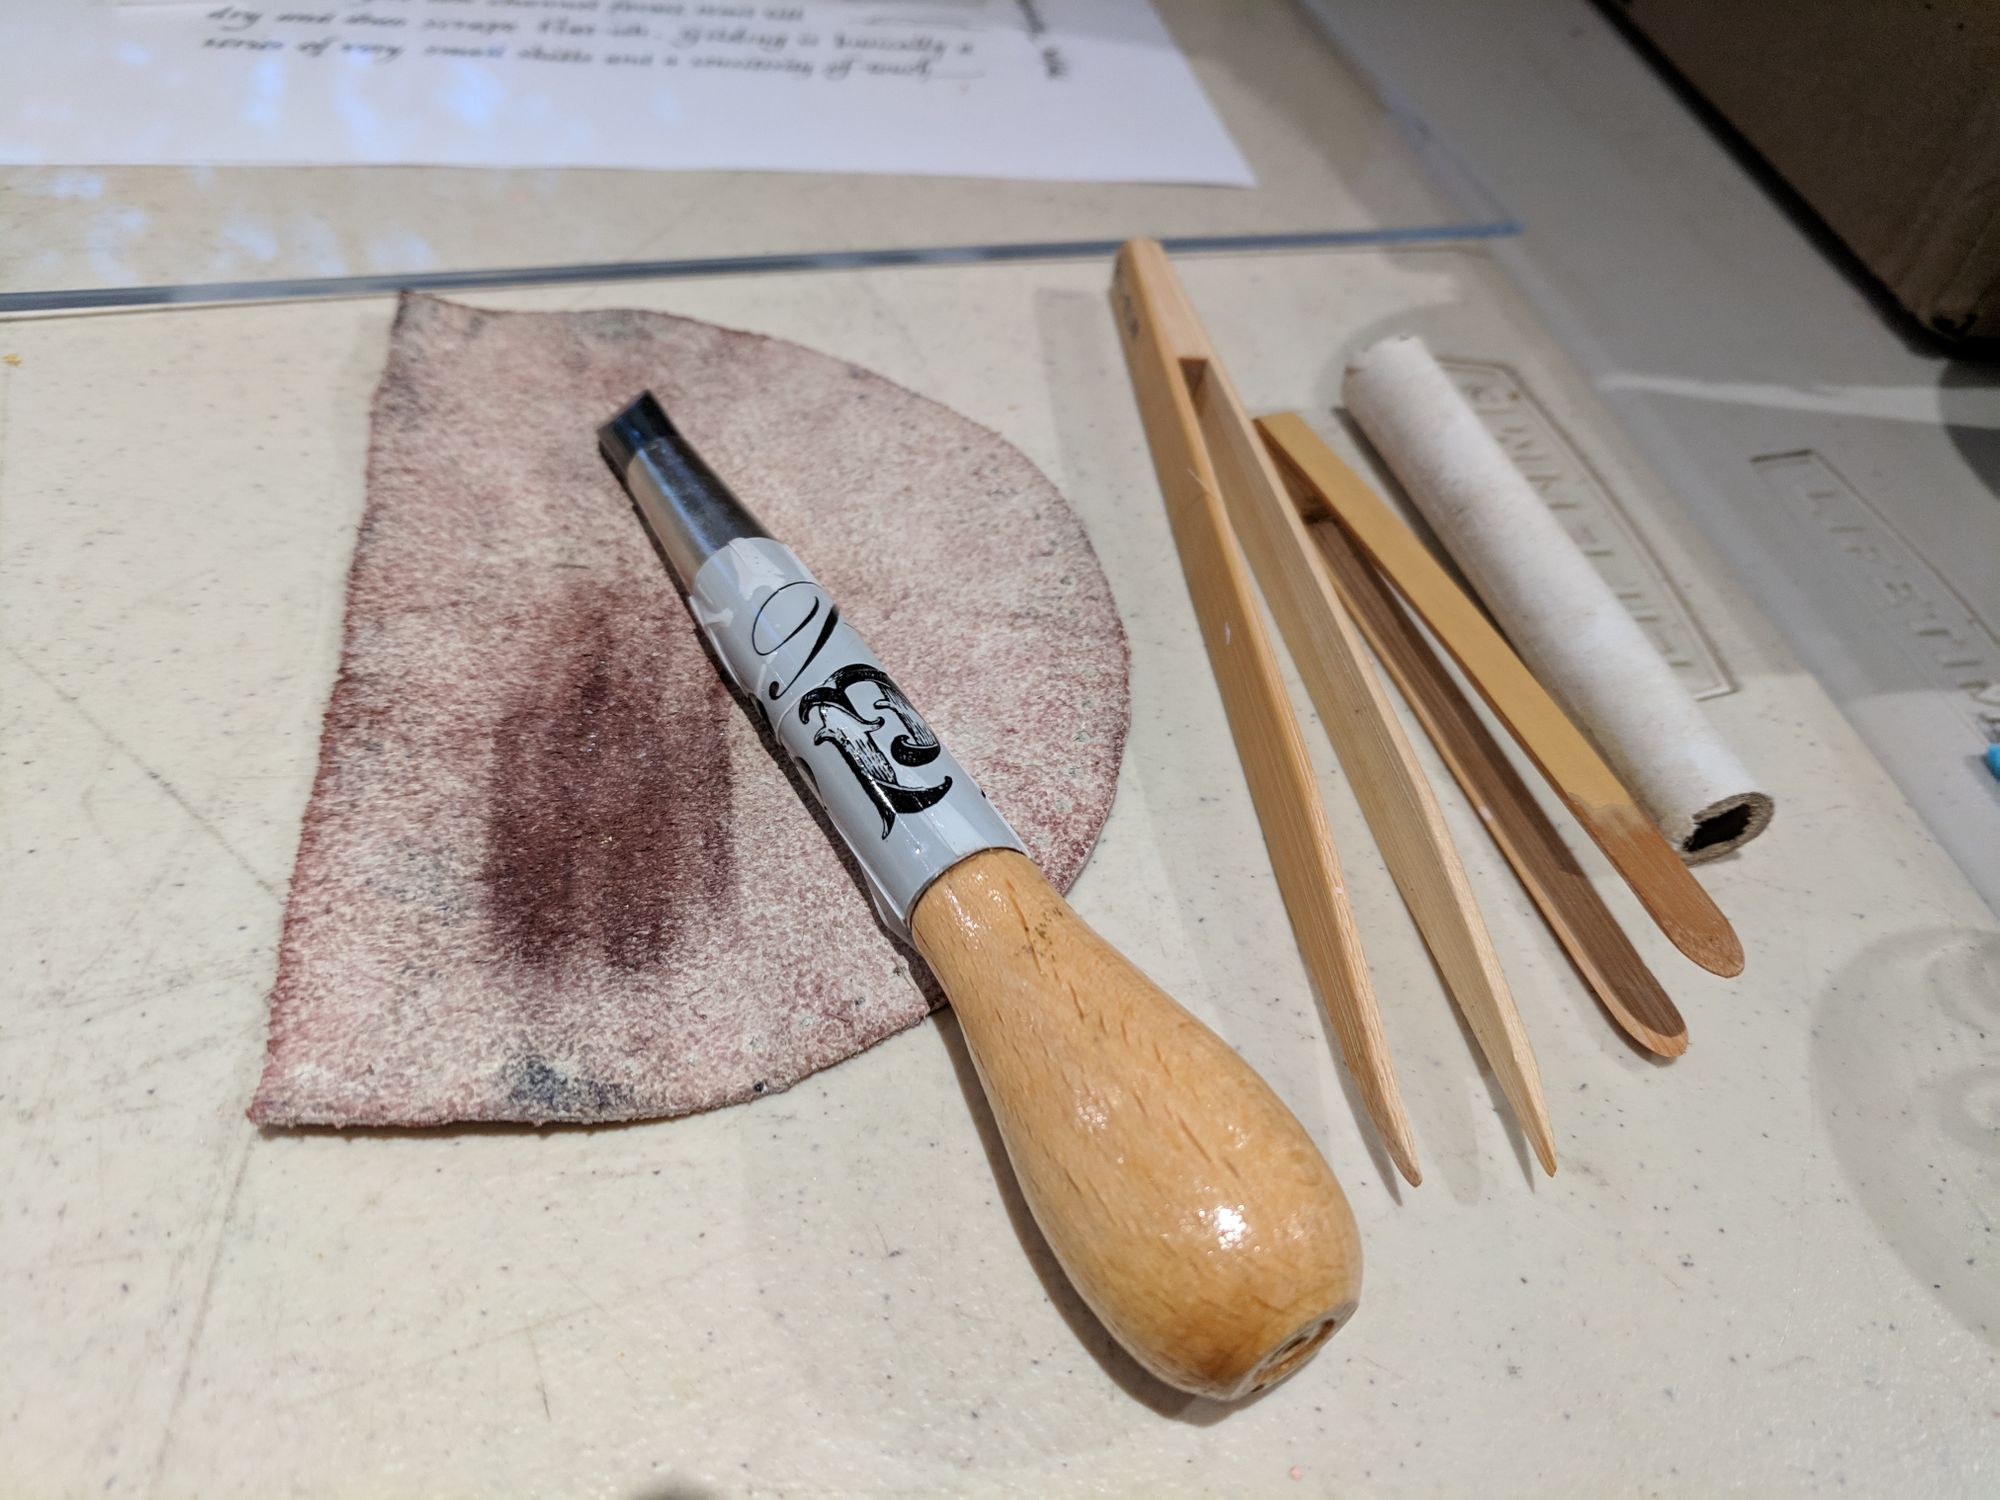
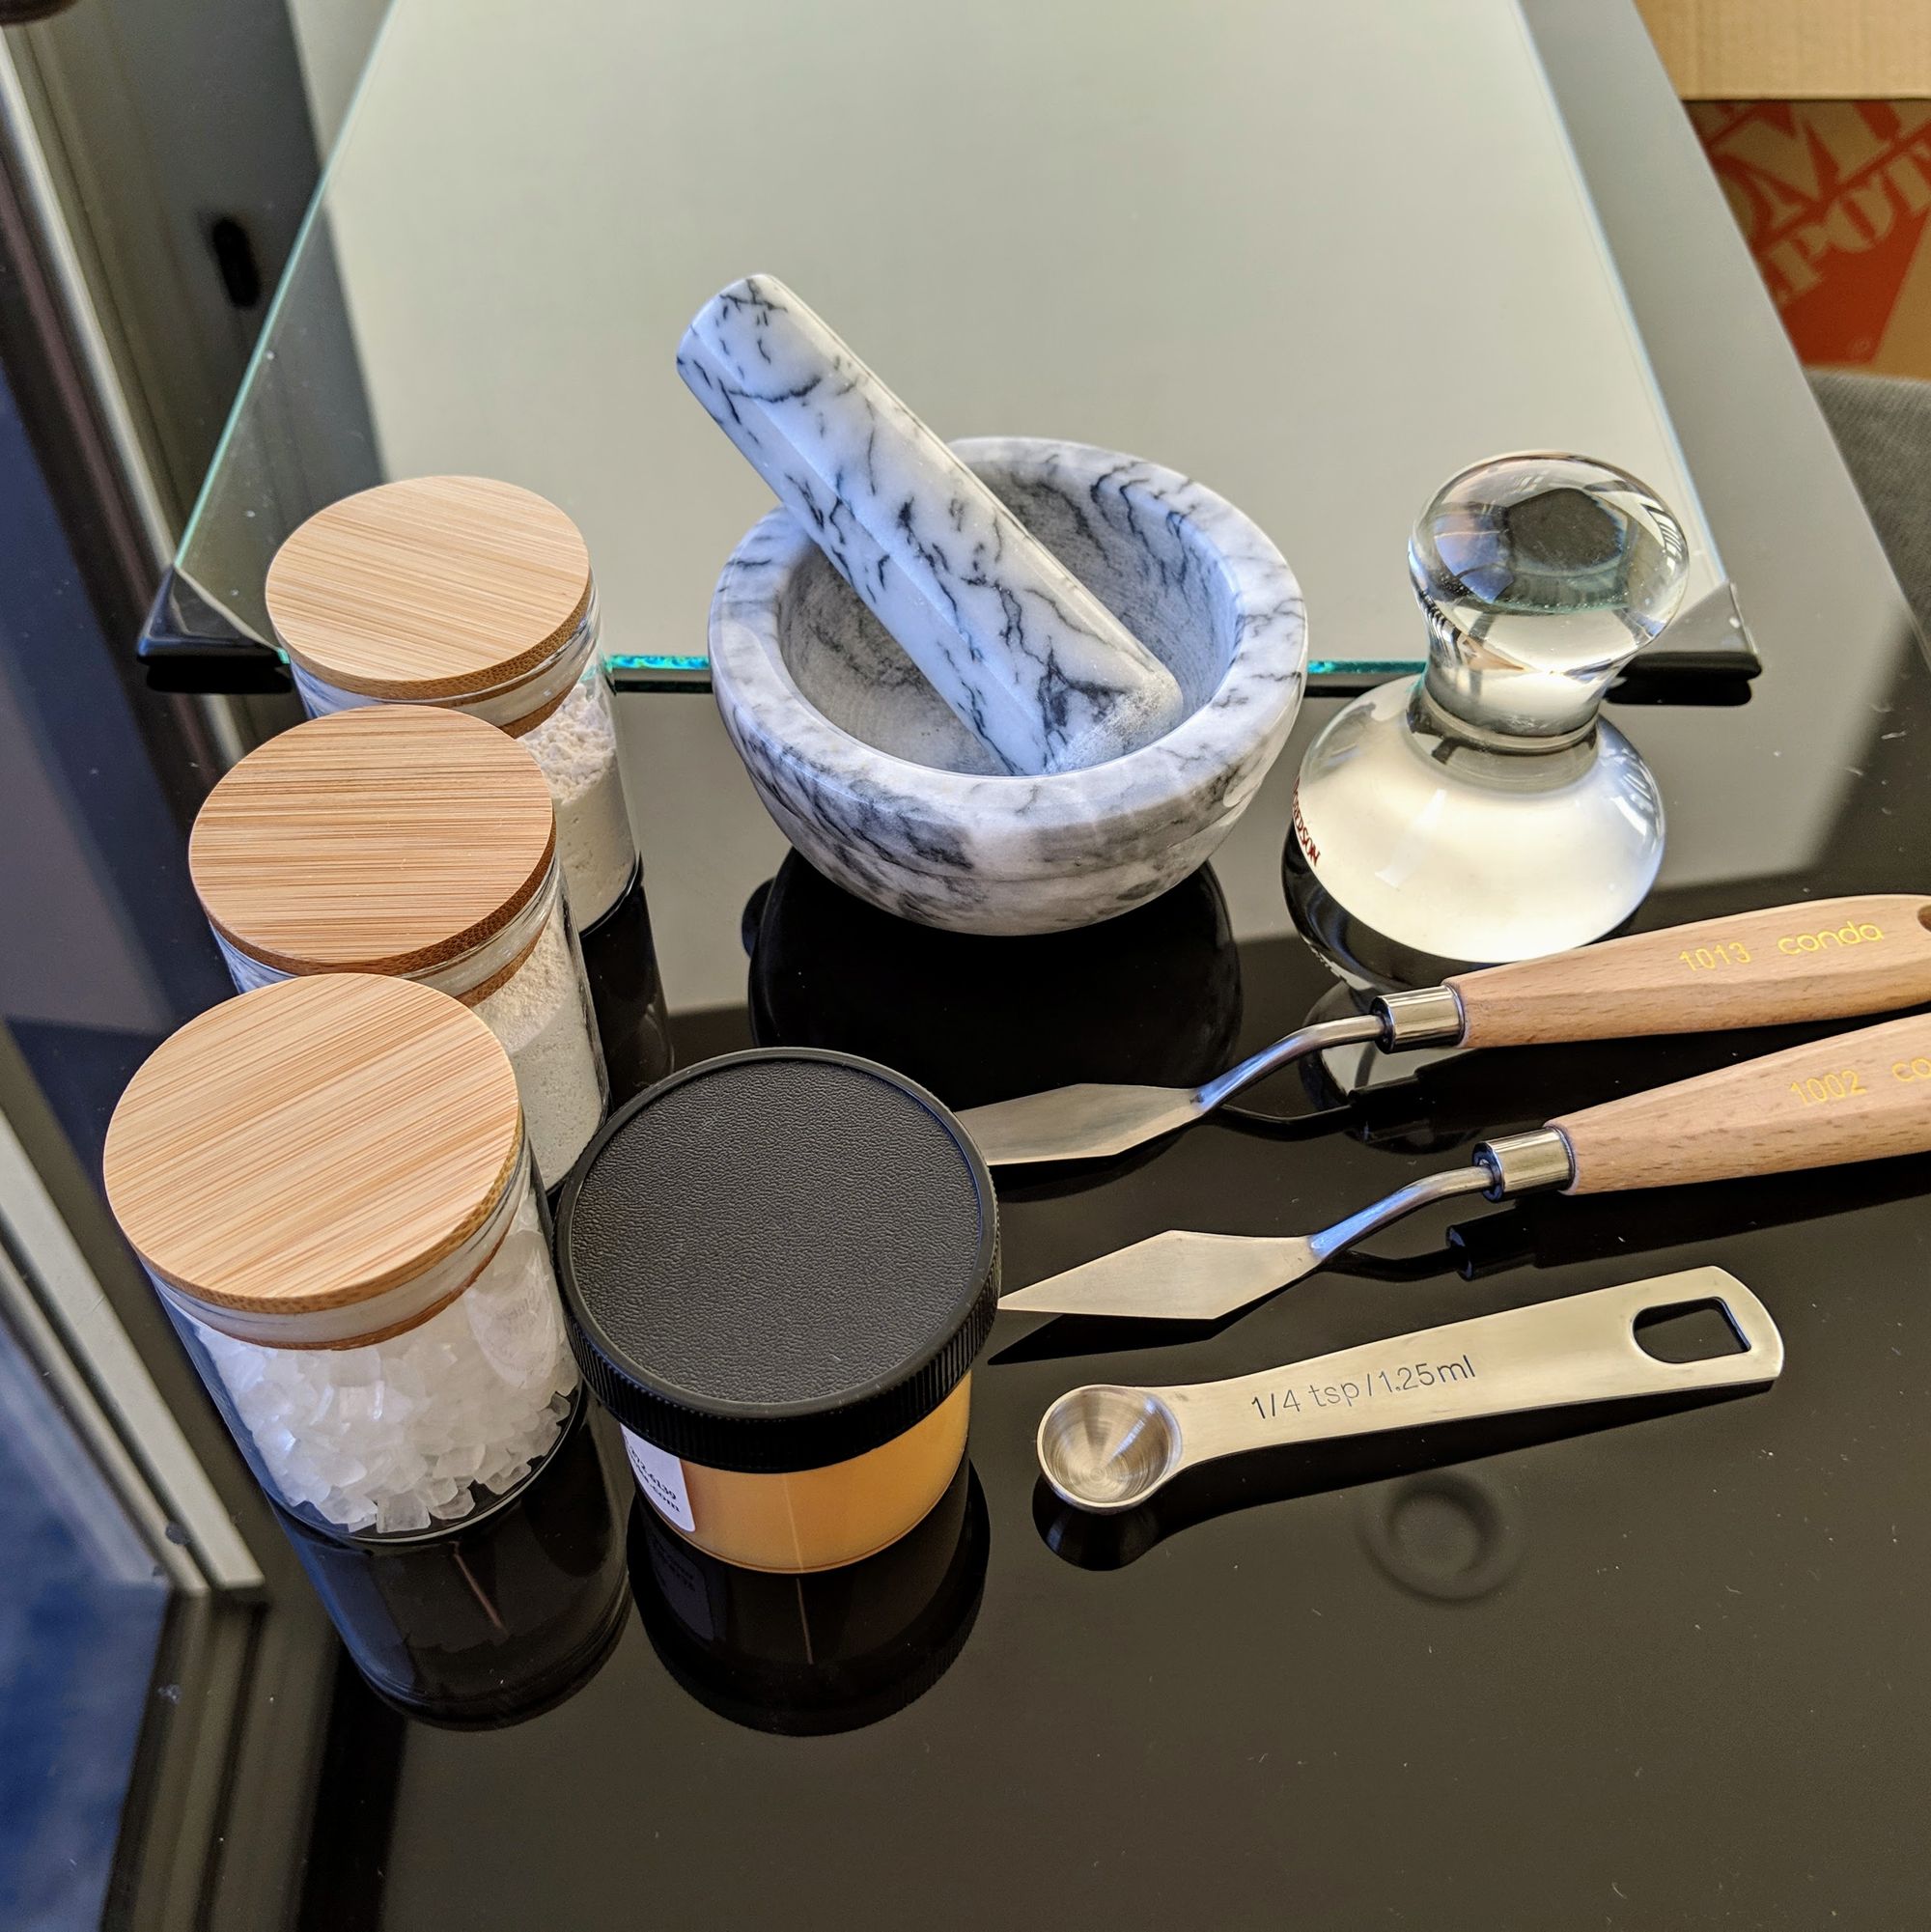
One of the most expensive items (except for gold leaf itself) is a good burnisher. Peter said that old hematite ones were great, but the newer ones are s0-so. I ended up buying an agate one later. For the workshop, Peter kindly let us use his tools.
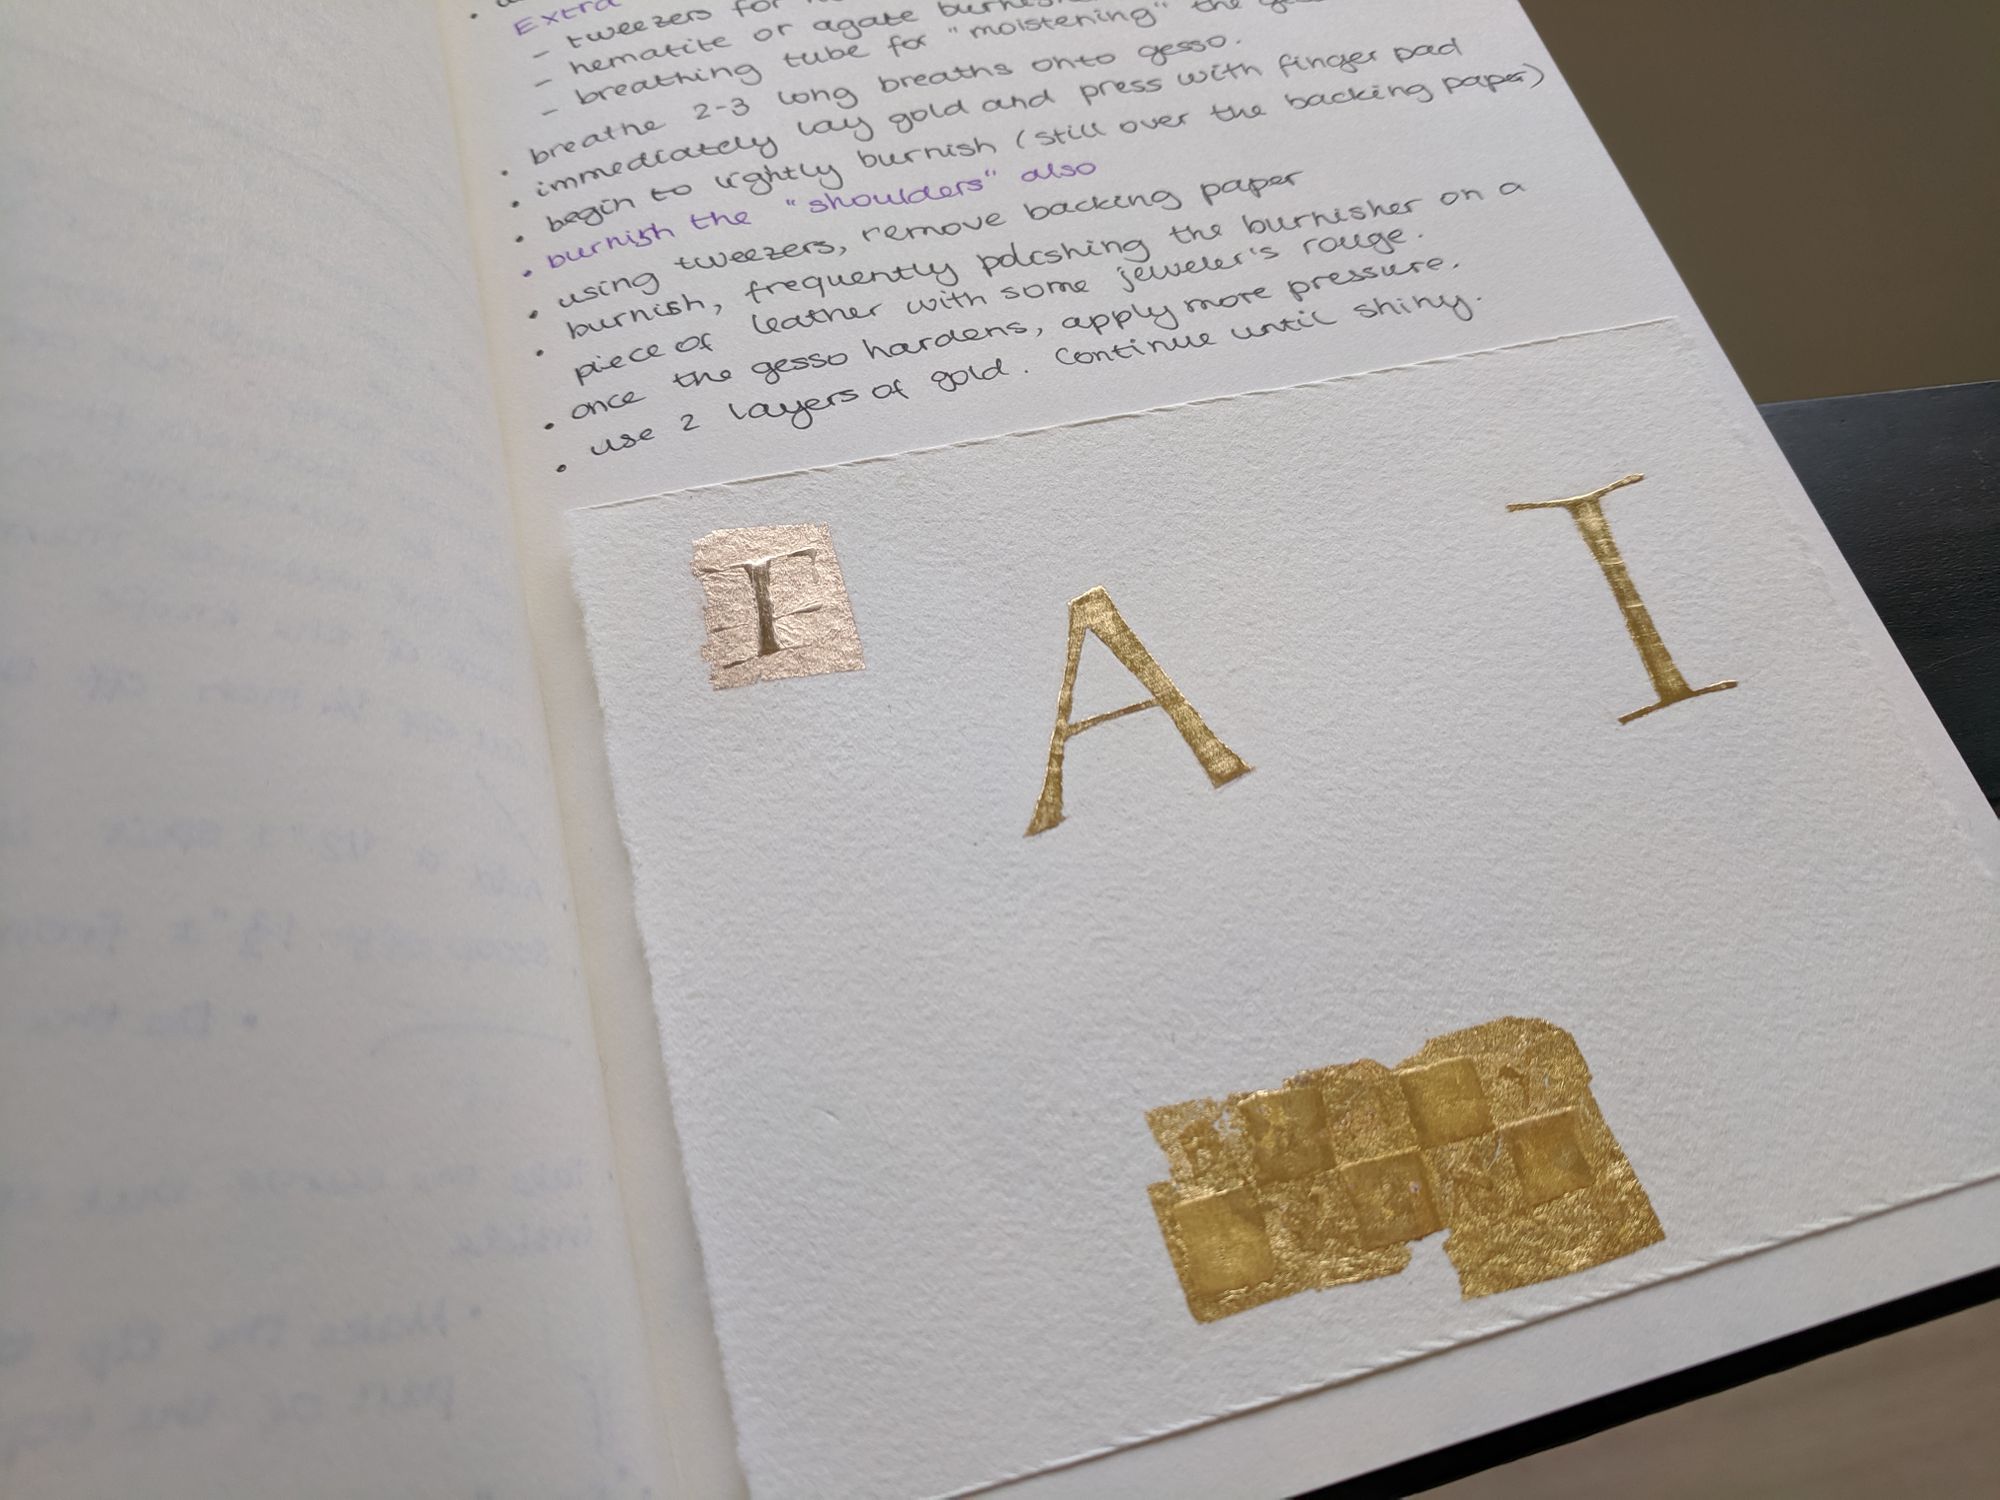
The first task was to guild a square. It is surprisingly a lot of work, since you have to apply a lot of pressure to burnish the gesso.
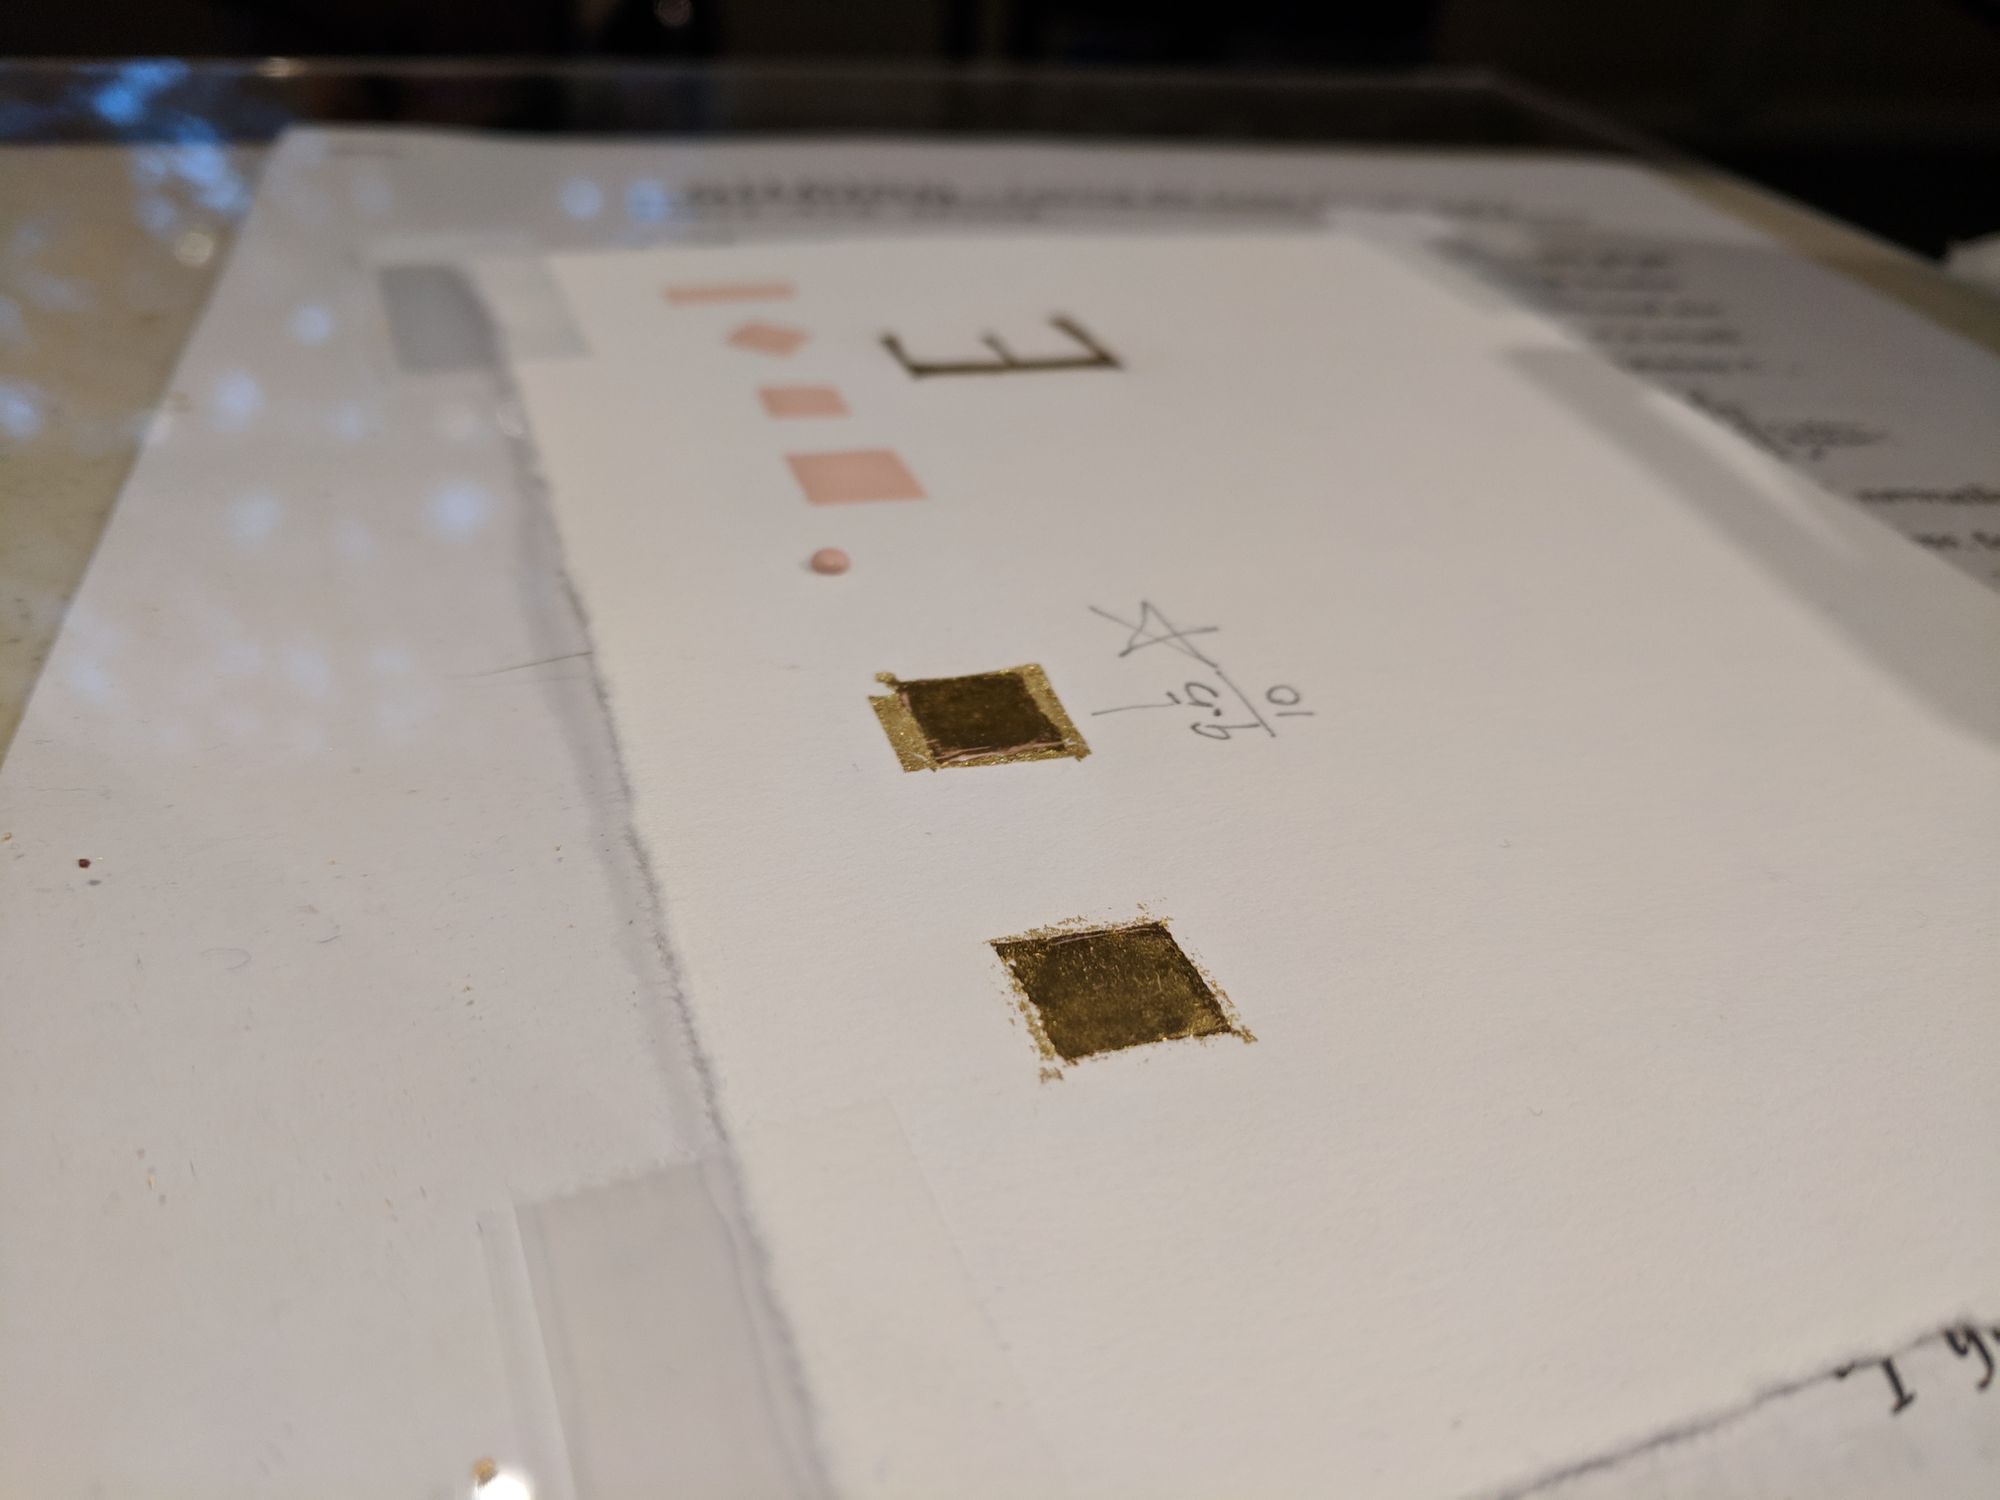
I got 9.5/10 for mine :)
Peter shared his gesso recipe with the class, and we got a chance to make some as well. However, we were using the gesso that the previous group had made the day before, since it needed to first dry out overnight. I am not actually sure why, since it is supposed to reconstitute with water, so in theory it could be used fresh.
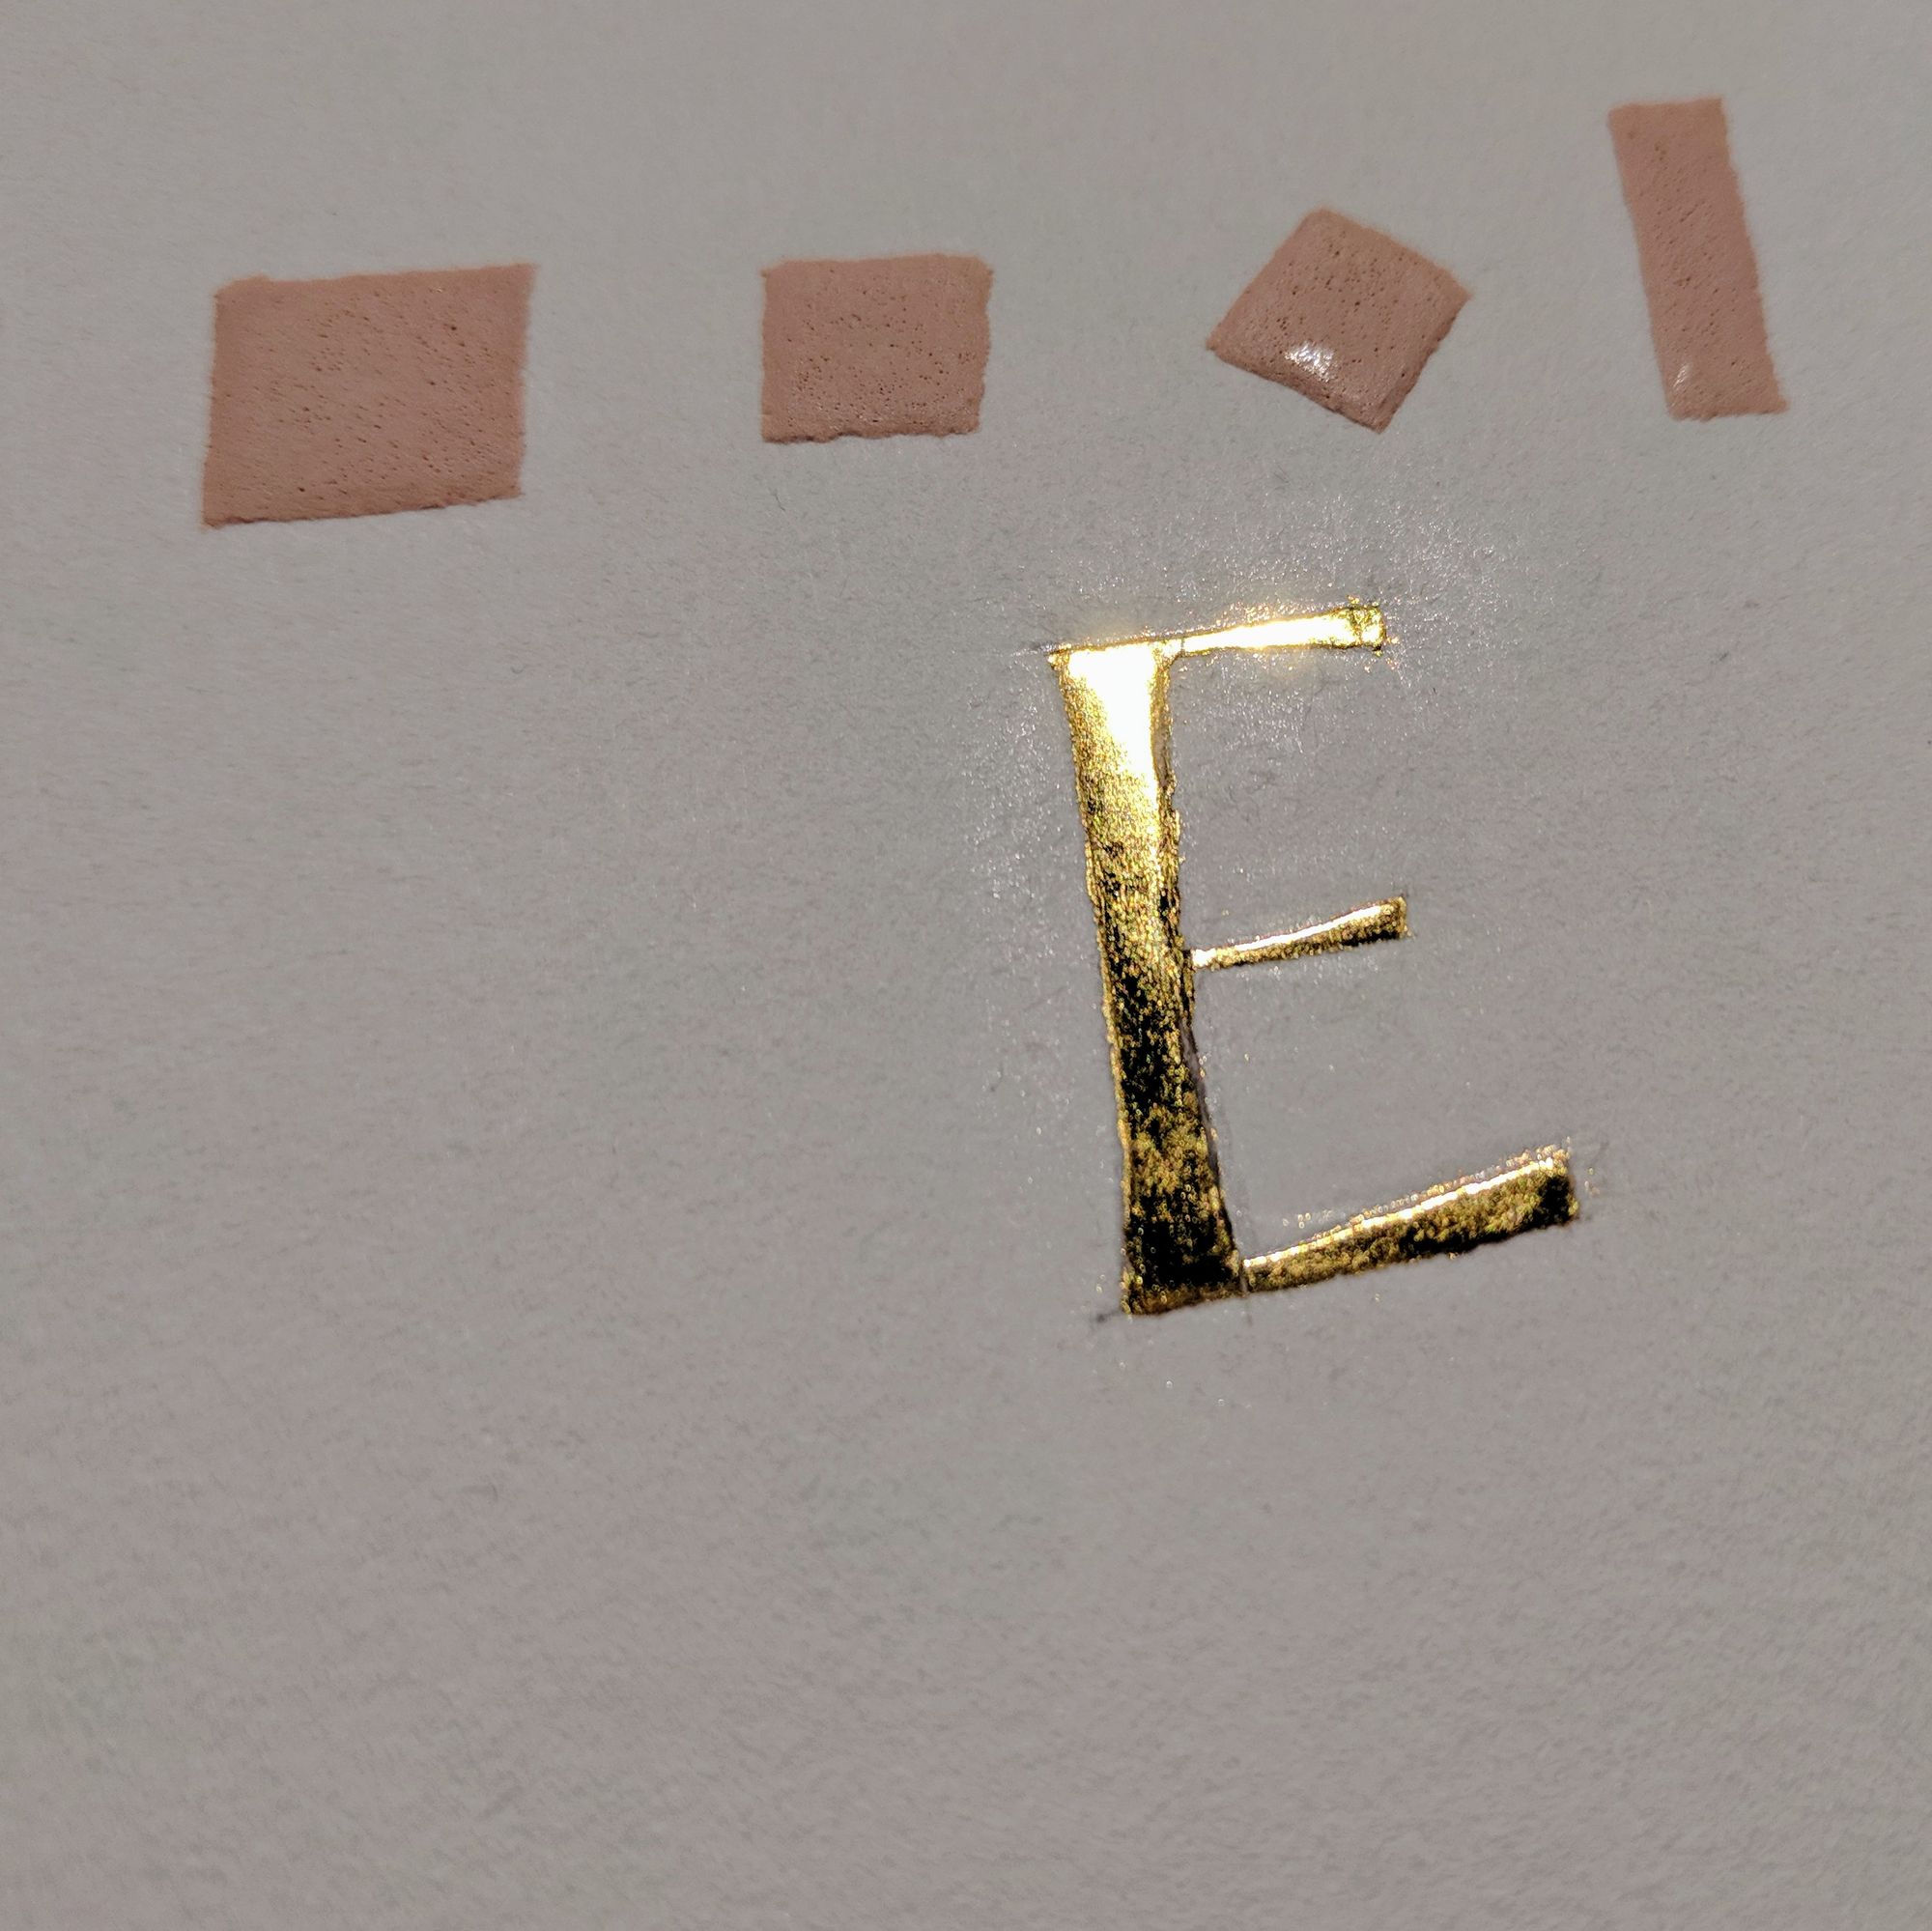
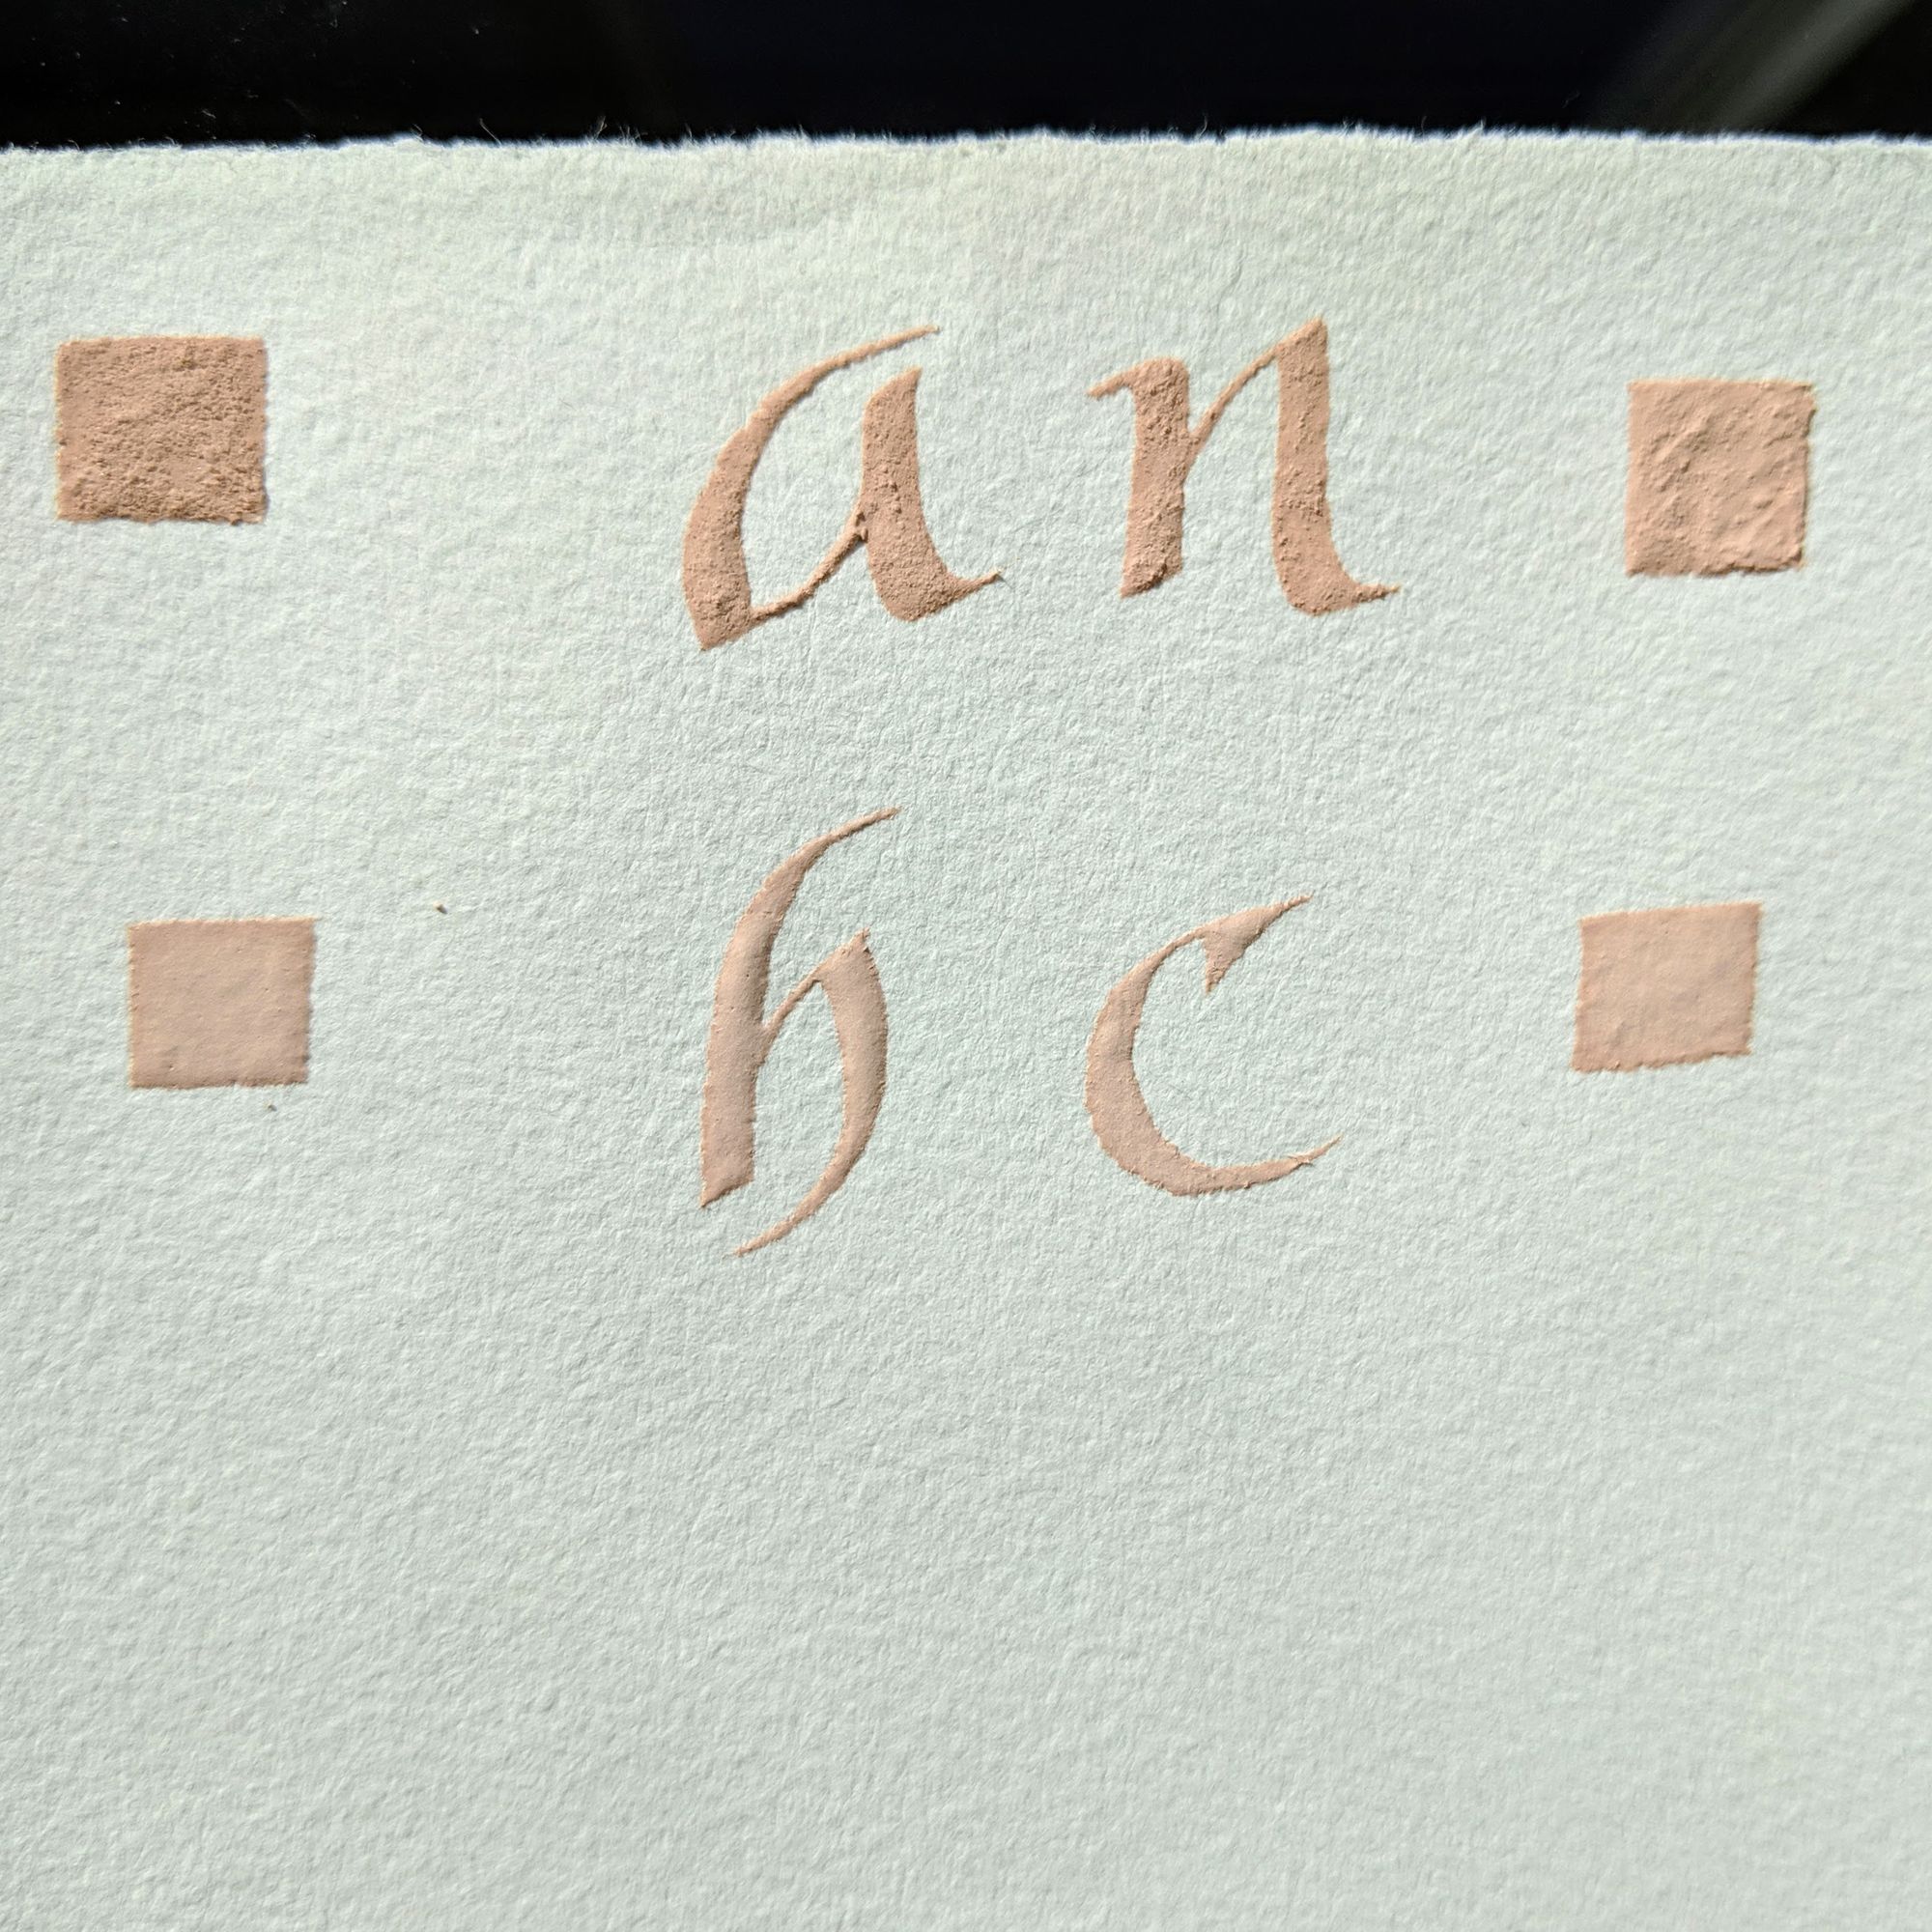
After doing some squares, we went onto simple letters. One of the issues I ran into a lot was burnishing the paper around the letter too much. I think you just need to be careful and not apply pressure outside of the gesso area, and that is pretty much all there is to it.
Peter also showed us a technique where only some of the surface of the paper is covered with gesso, and then gold is applied in a square, so you have both glossy and matte parts.
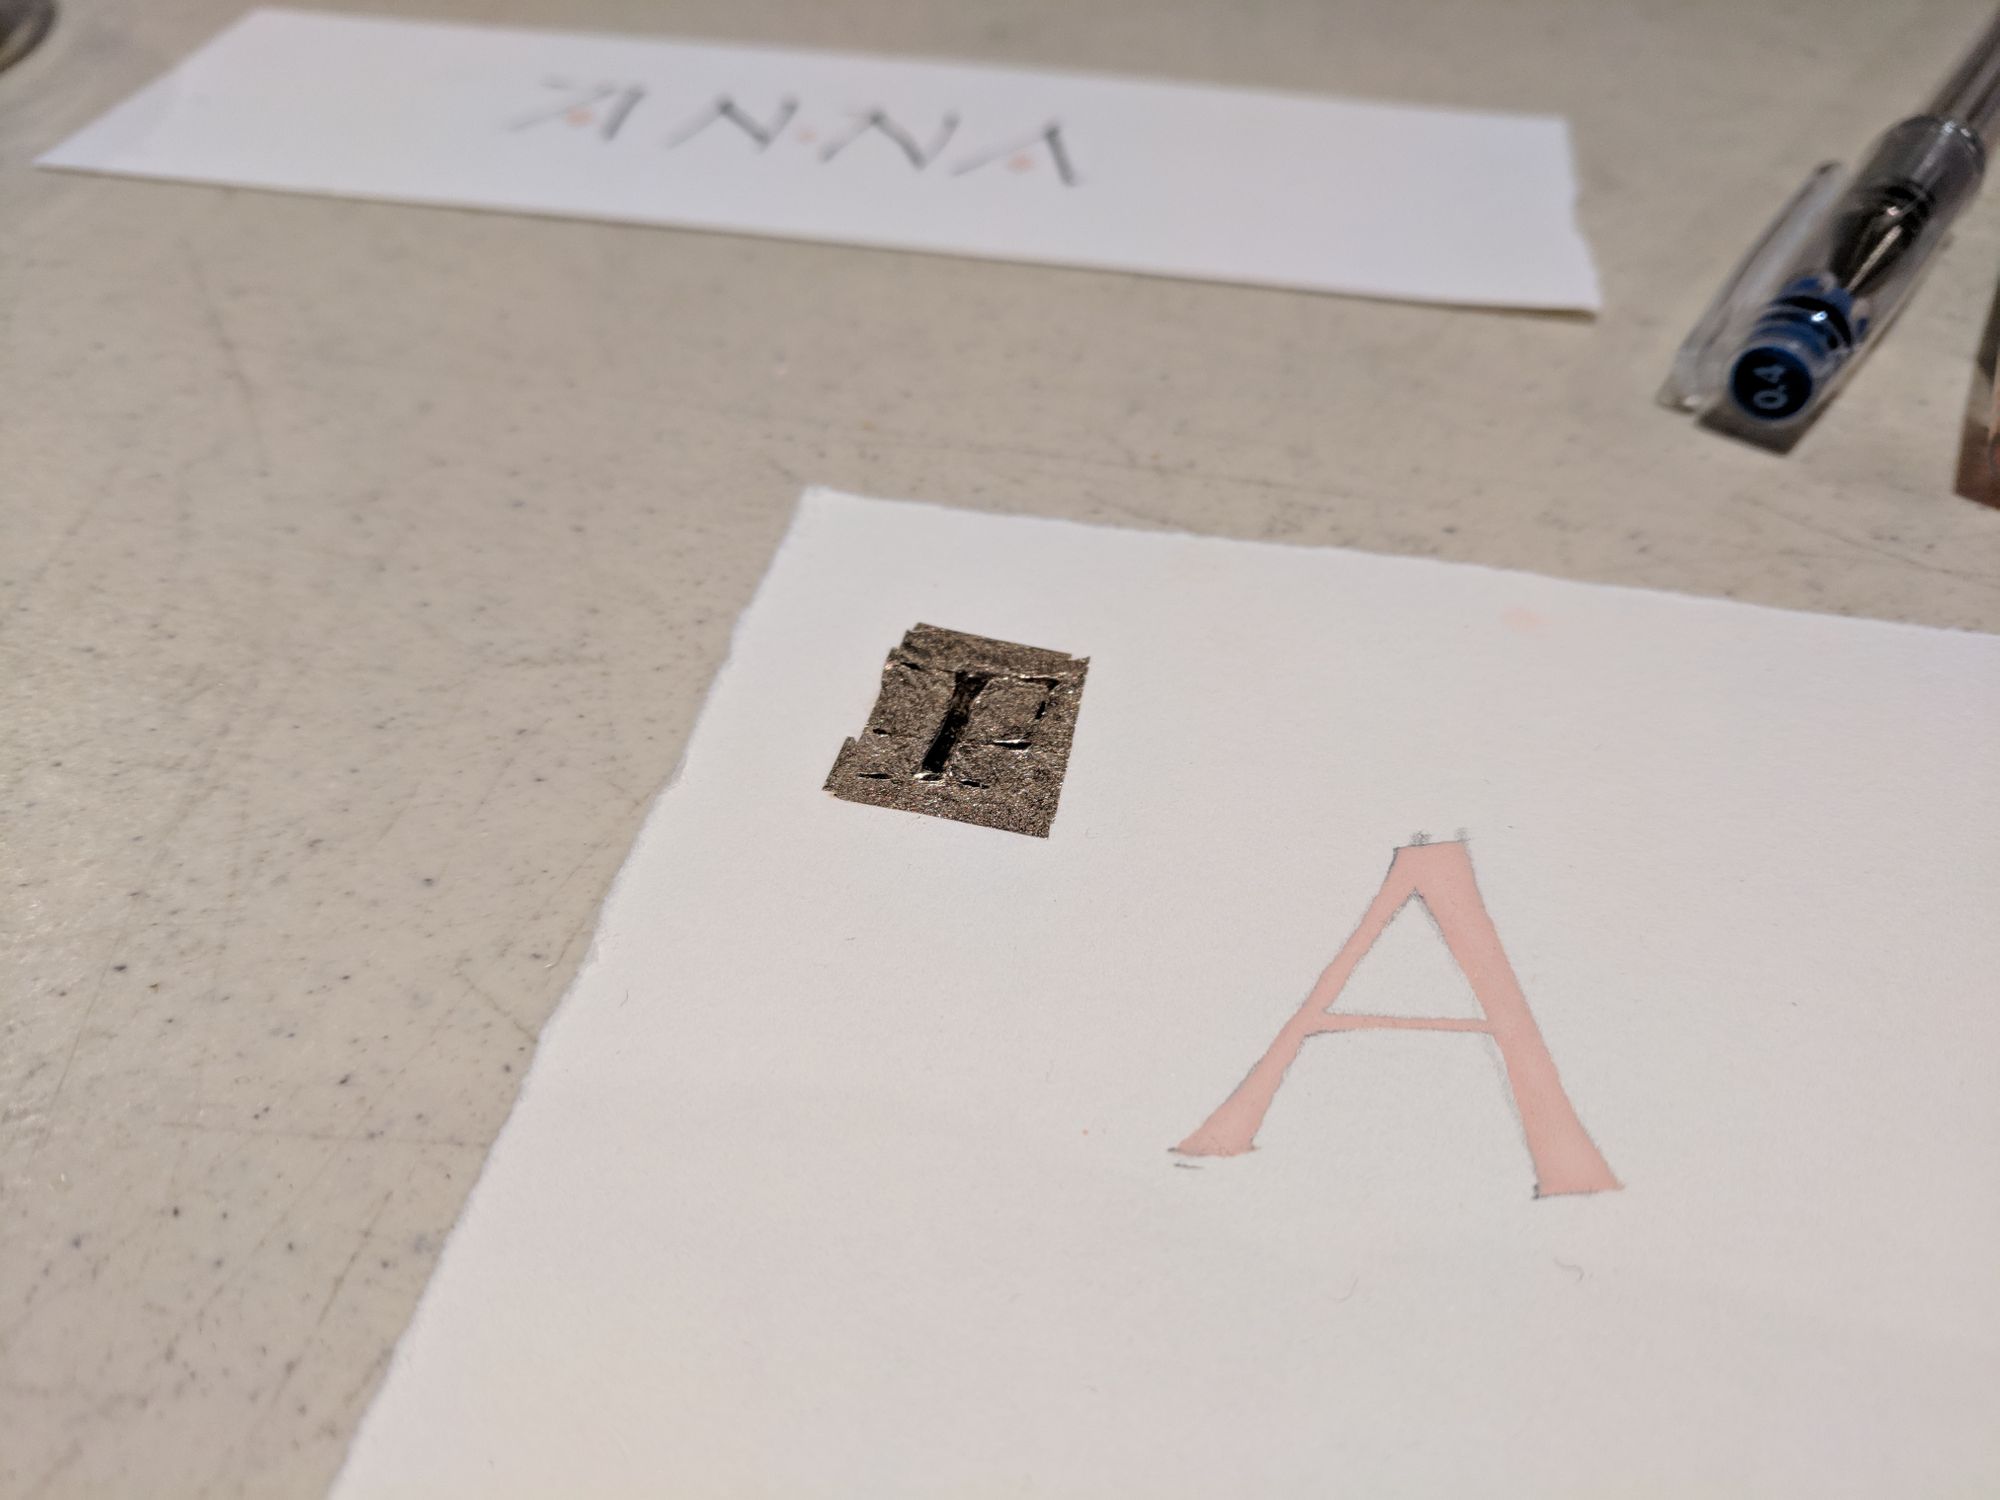
The challenge with this technique is that the gold will simply detach and fly away if not fixed. He suggested to apply a light wash of PVA glue over it, but that did make the gold a tiny bit less shiny. Although the way I have it in the pictures, you can't even tell. I applied the PVA glue before pasting the sheet into my notes.
Trying it at home
Once I got all of my tools and ingredients in the mail (it took a while, especially since the glass muller for crushing the gesso ingredients came all the way from Europe), I decided to try to replicate my class experience.
I carefully measured the right amounts of all the crazy powders:
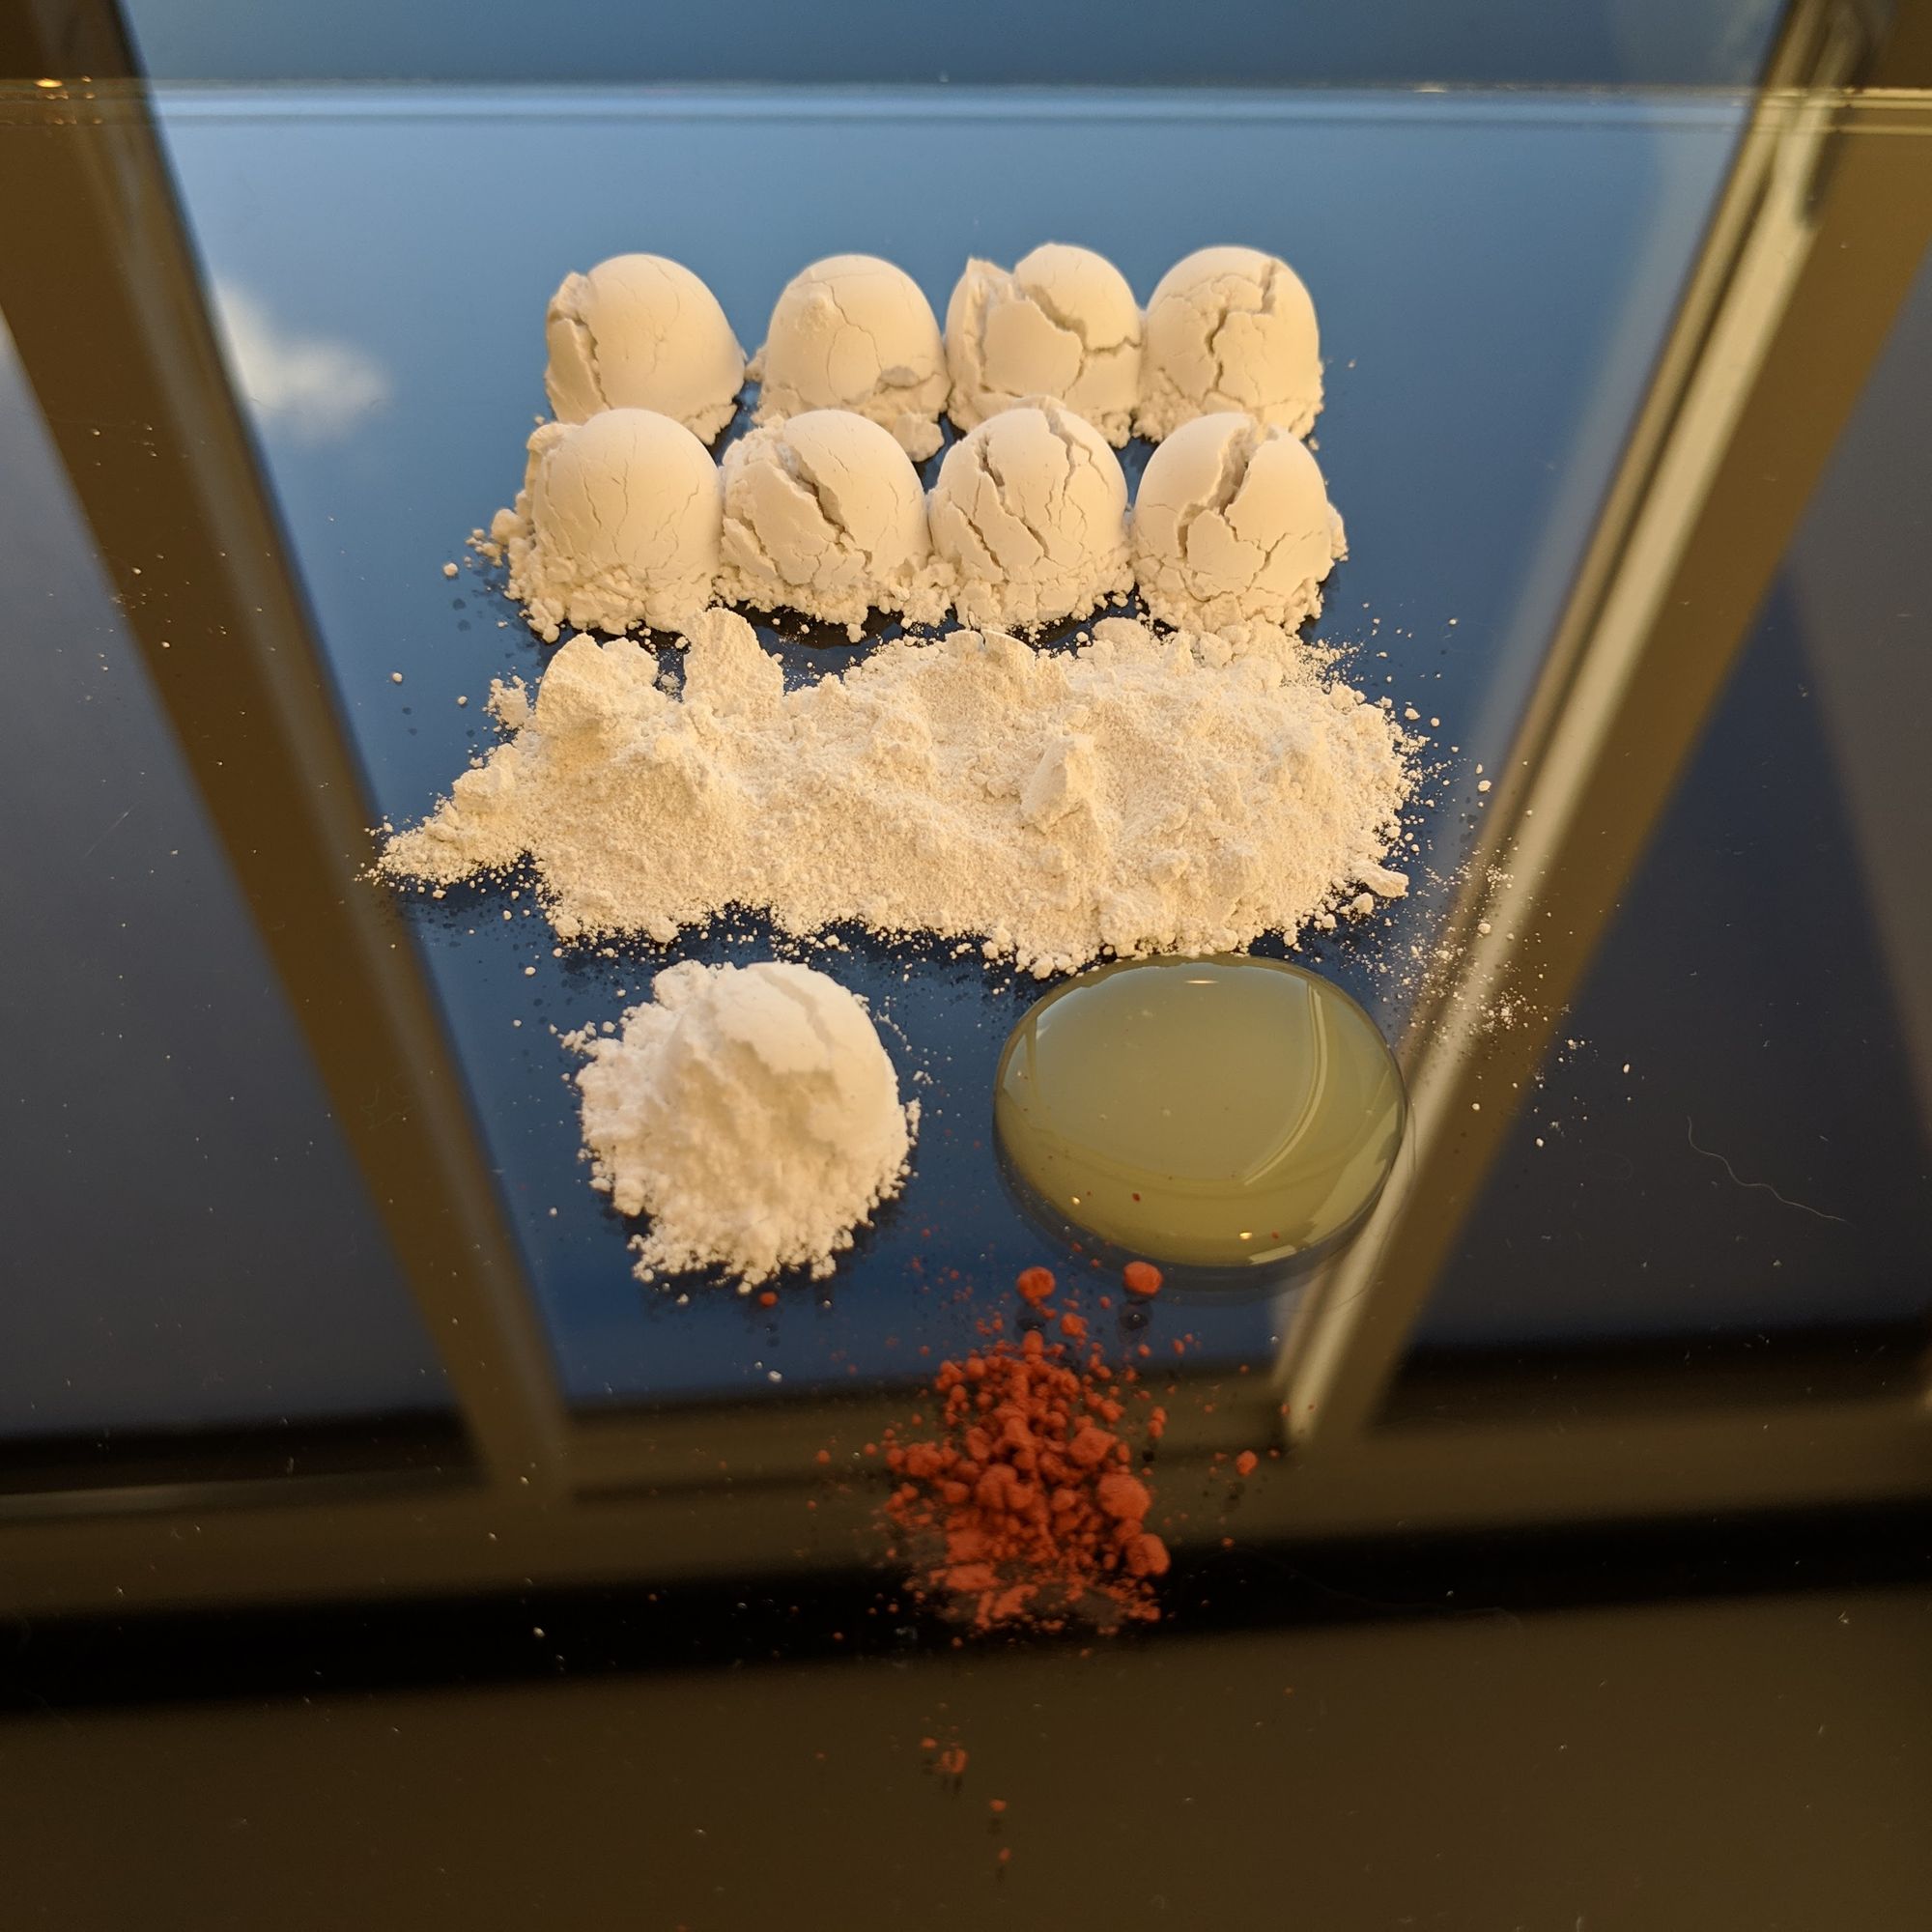
... and then ground them up like crazy. Or at least that is what I thought.
In reality, my first batch of gesso came out way too grainy. It was completely unusable.
I decided to put it through another round of grinding.
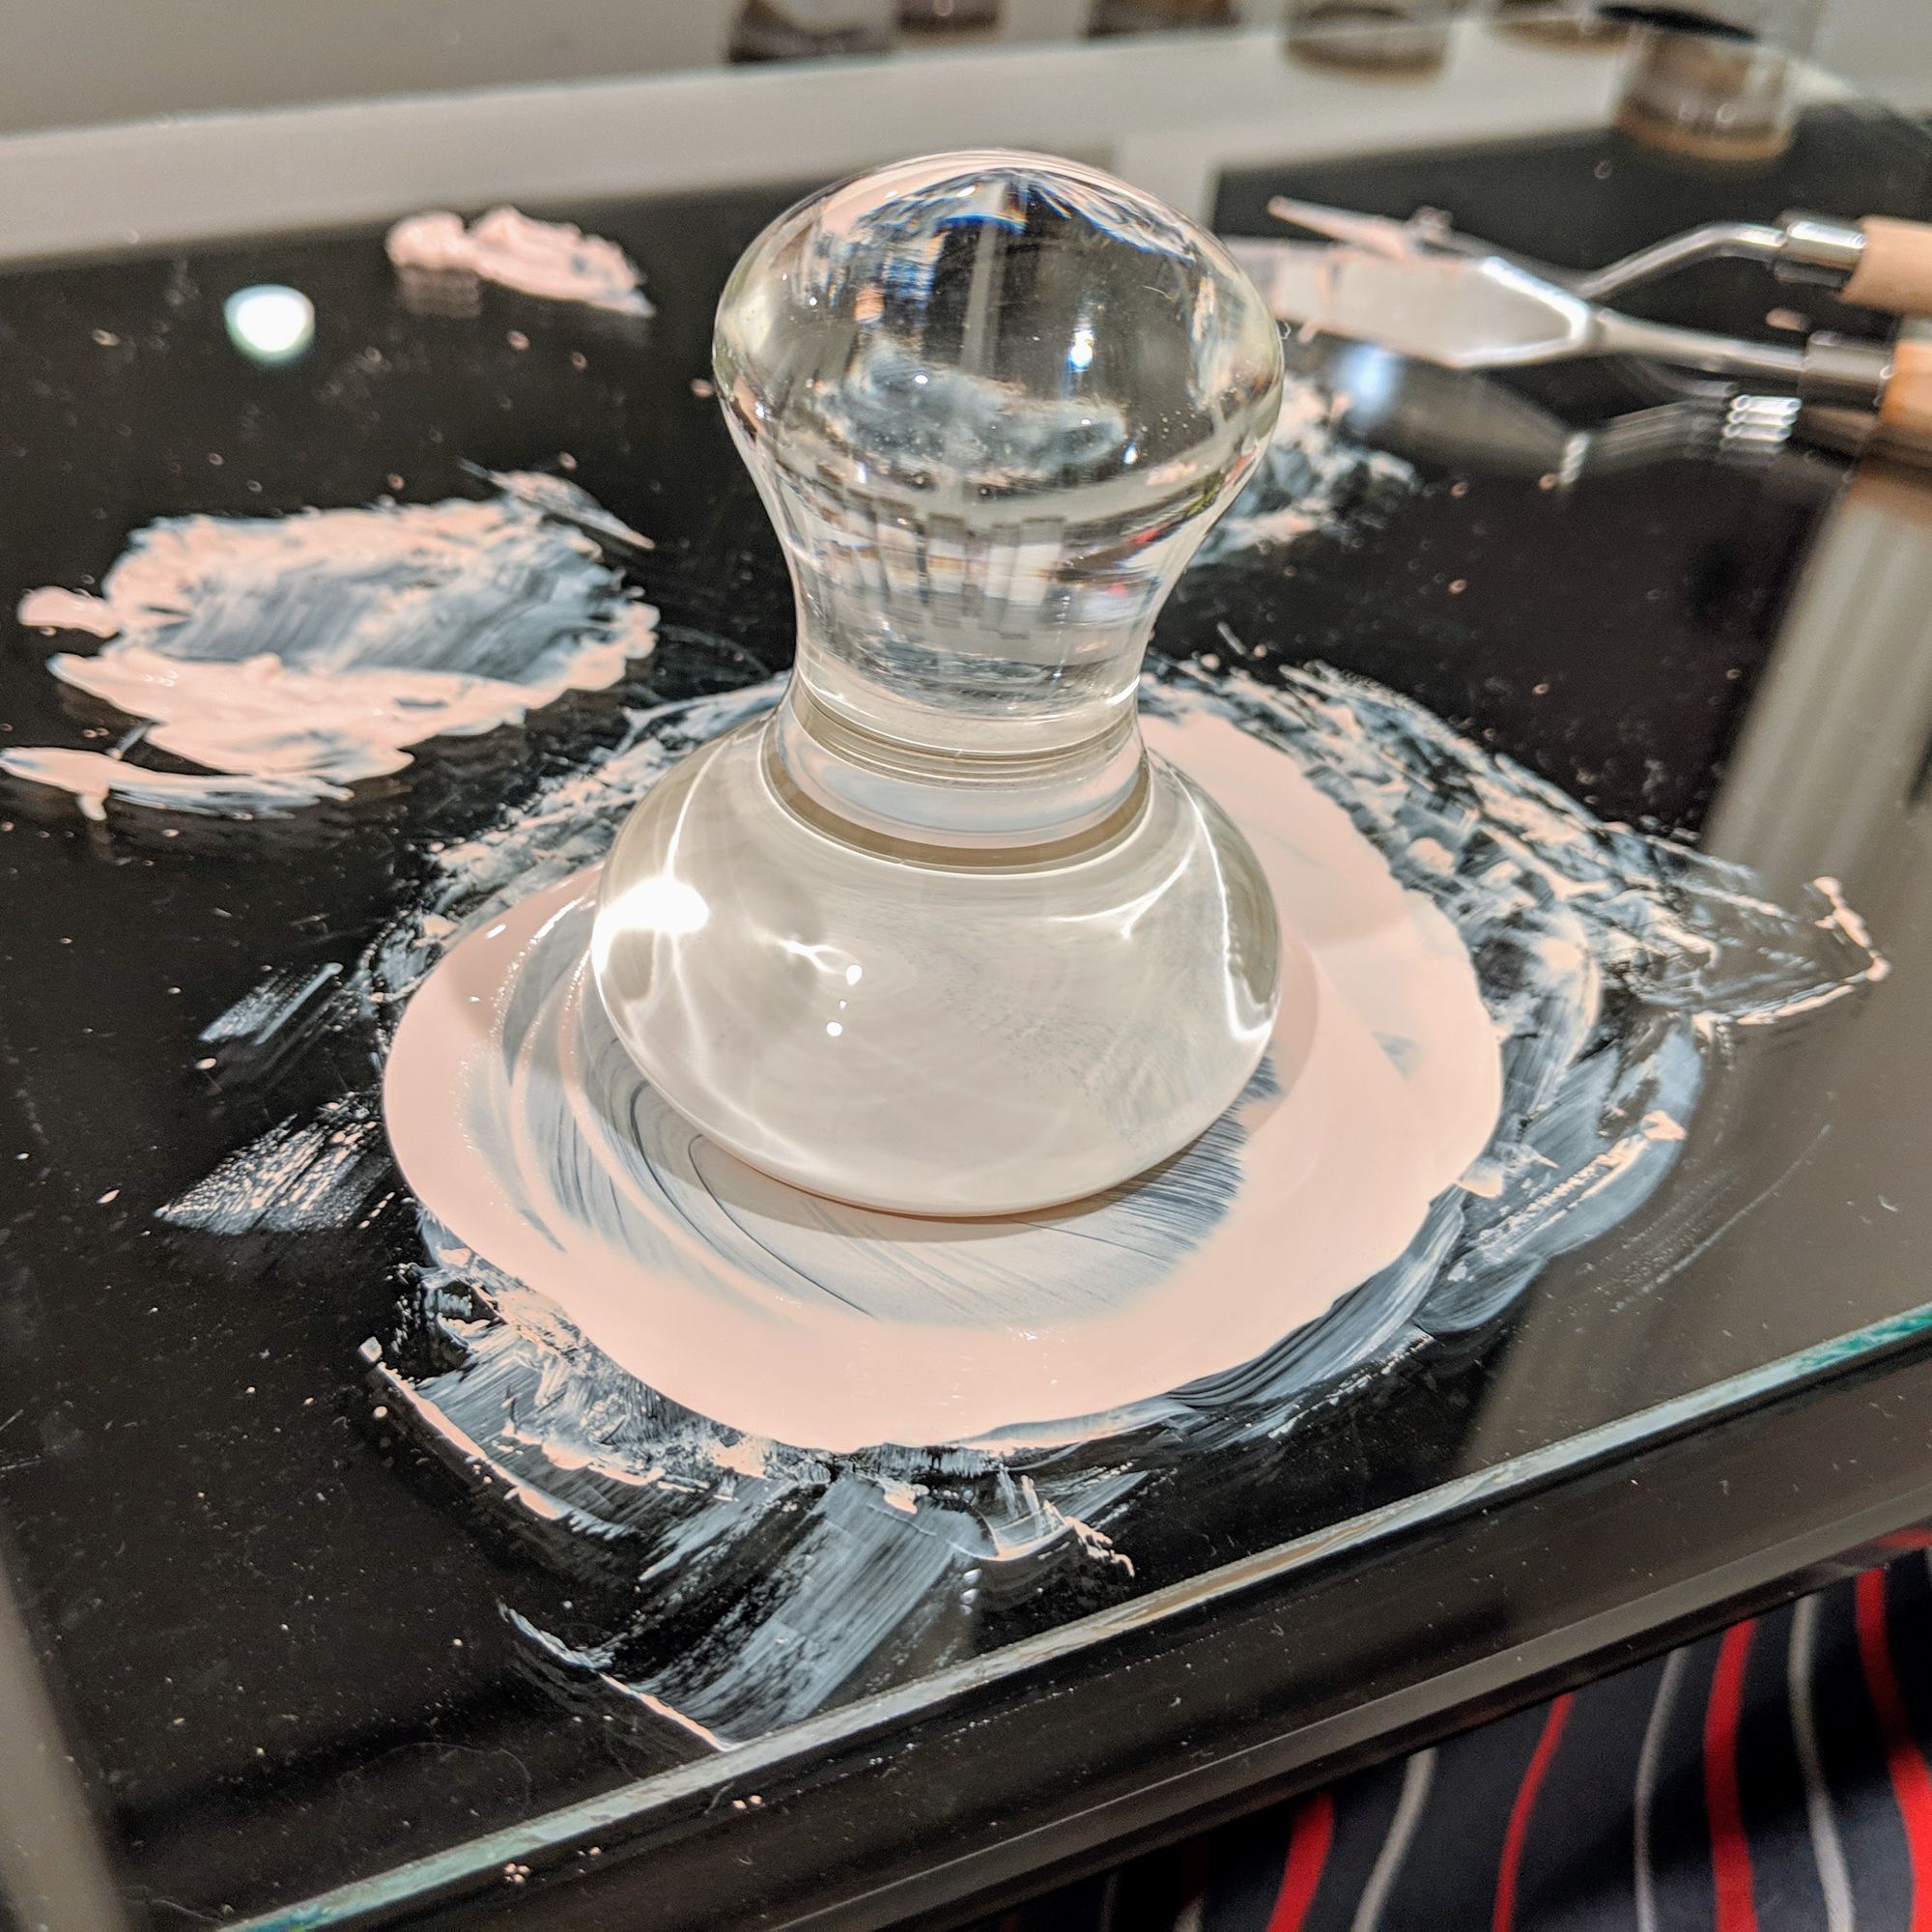
As you can see in the picture below, that definitely helped with the particle size:
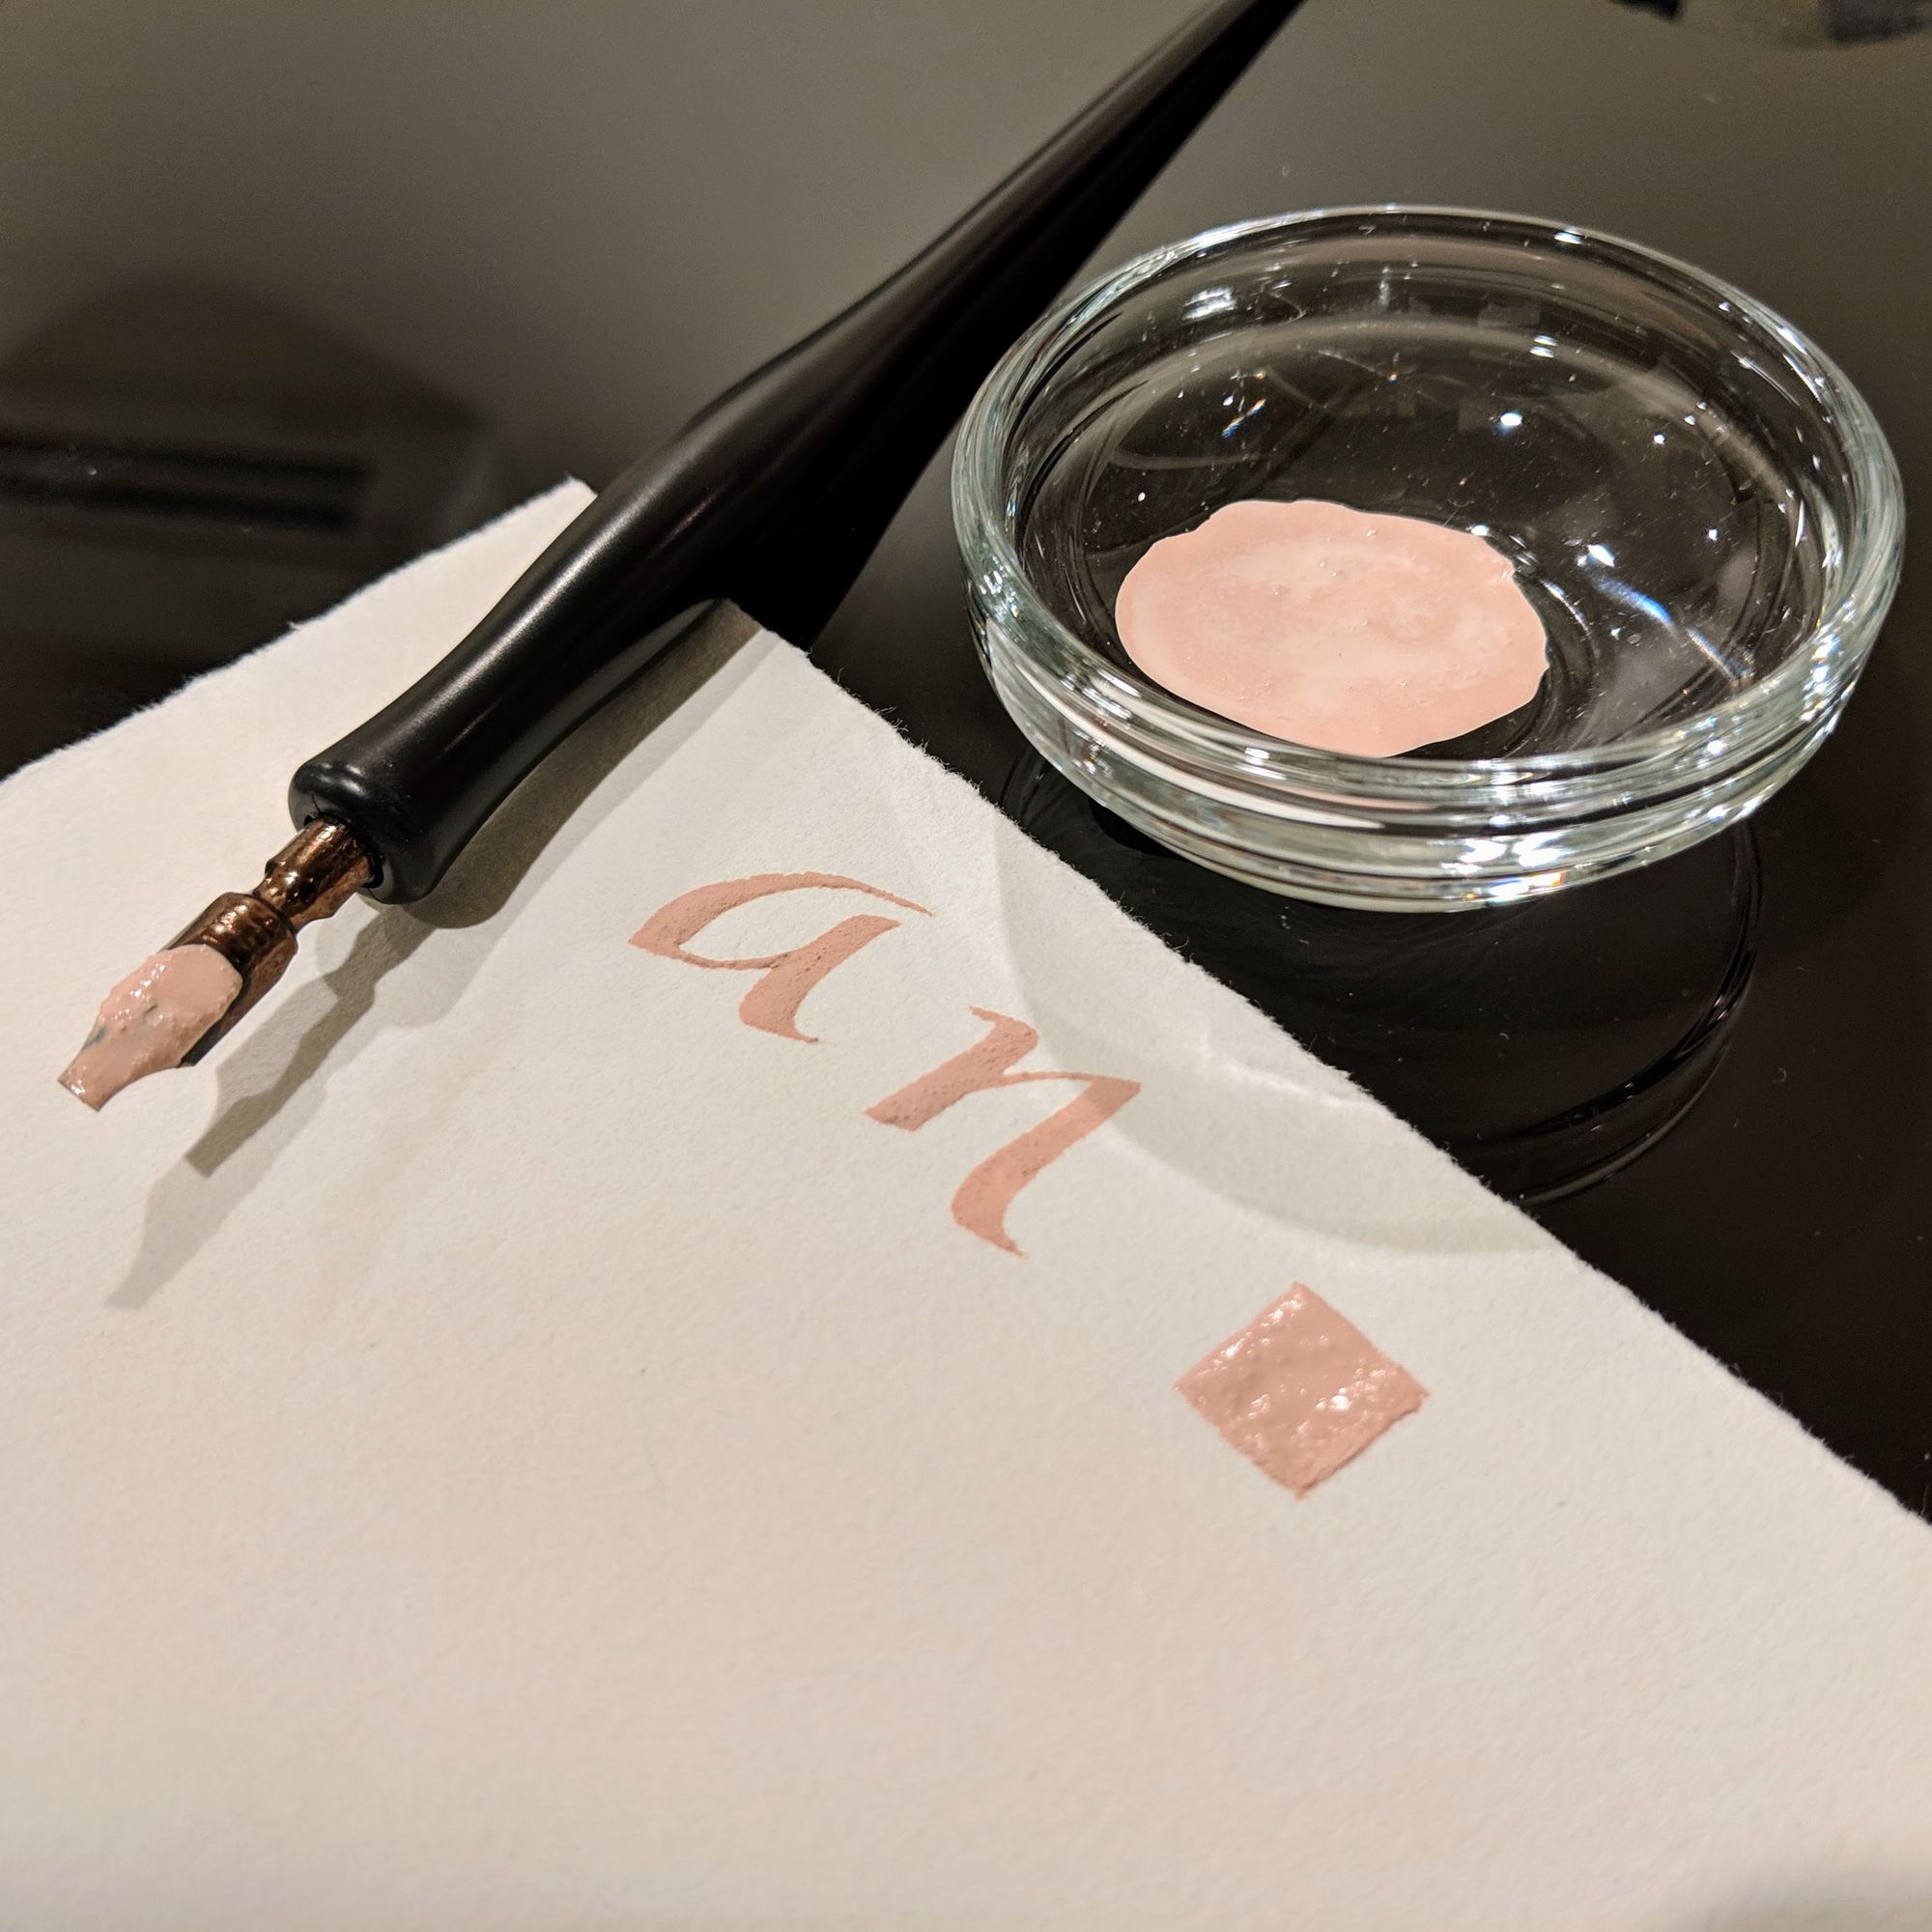
Unfortunately, when I tried to apply gold leaf, it simply didn't stick. I was so disappointed I even ordered some of the "pink stuff" to try it as well (I was not a fan, but maybe I was using it wrong or something). Then I tried adding more glue to my gesso, since that seemed like the right approach to solving the "won't stick" problem.
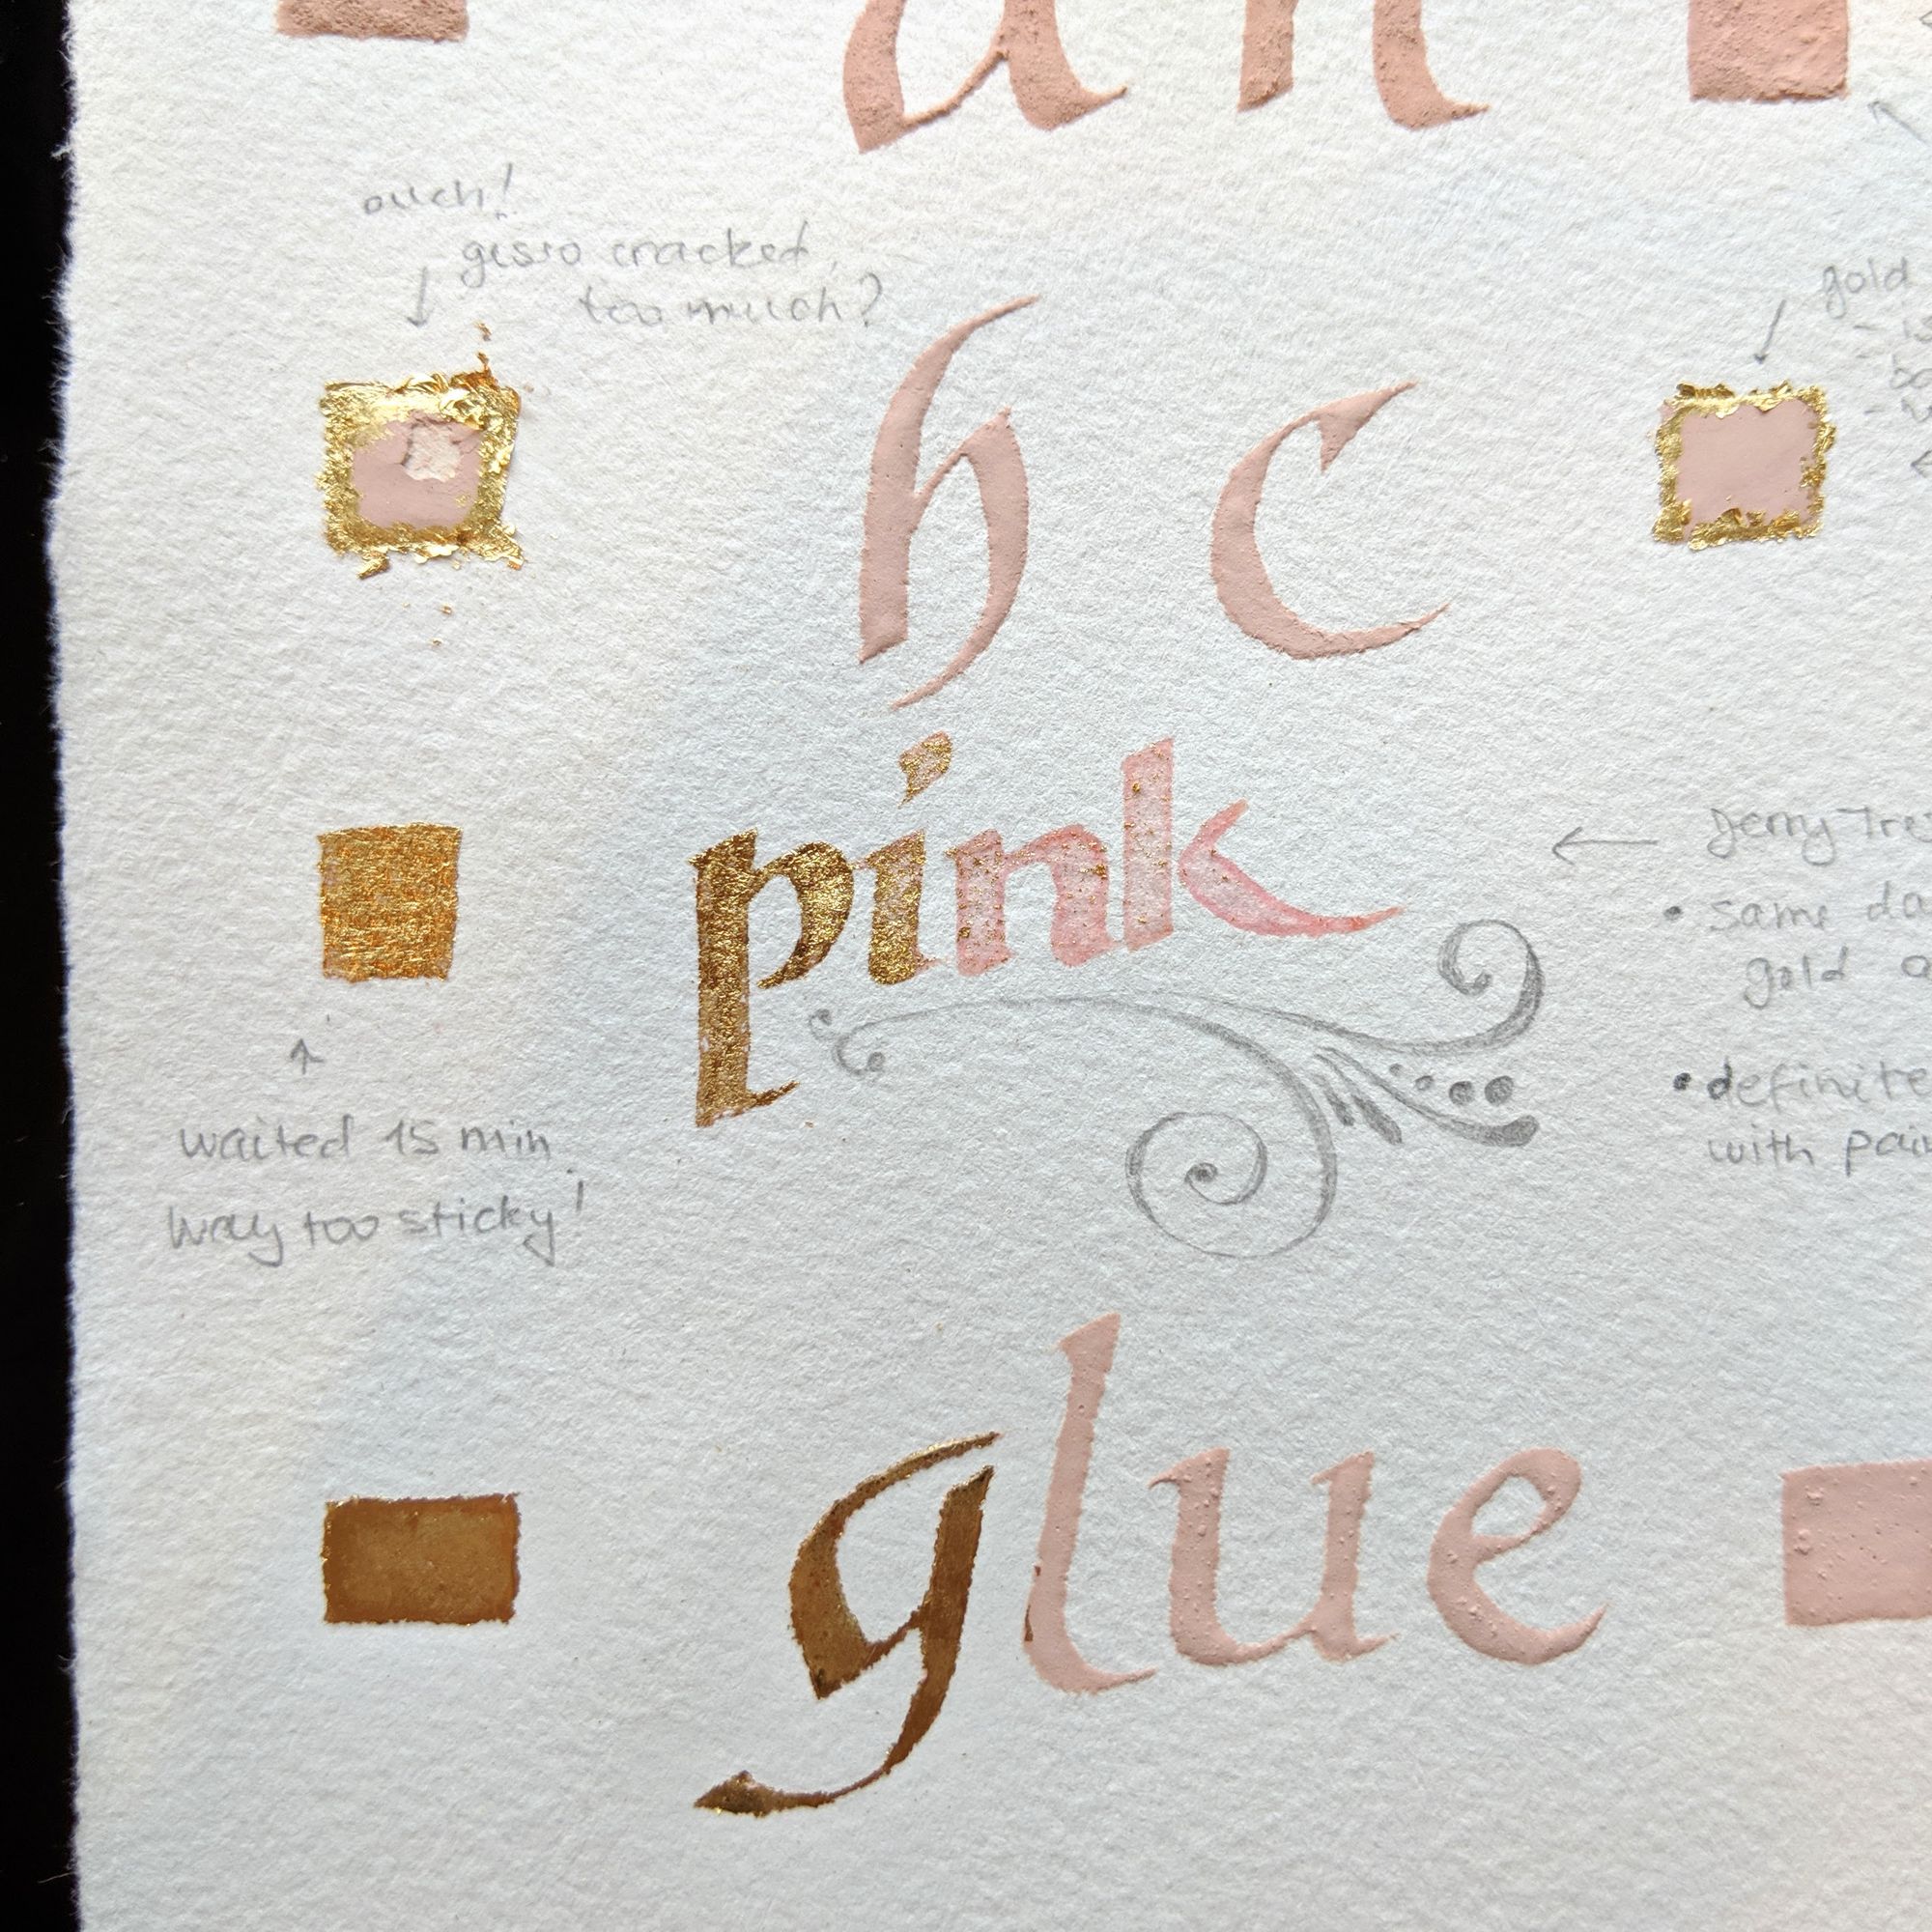
It definitely worked better with the glue, but I overdid the burnishing part on the paper, so it lost all of its texture.

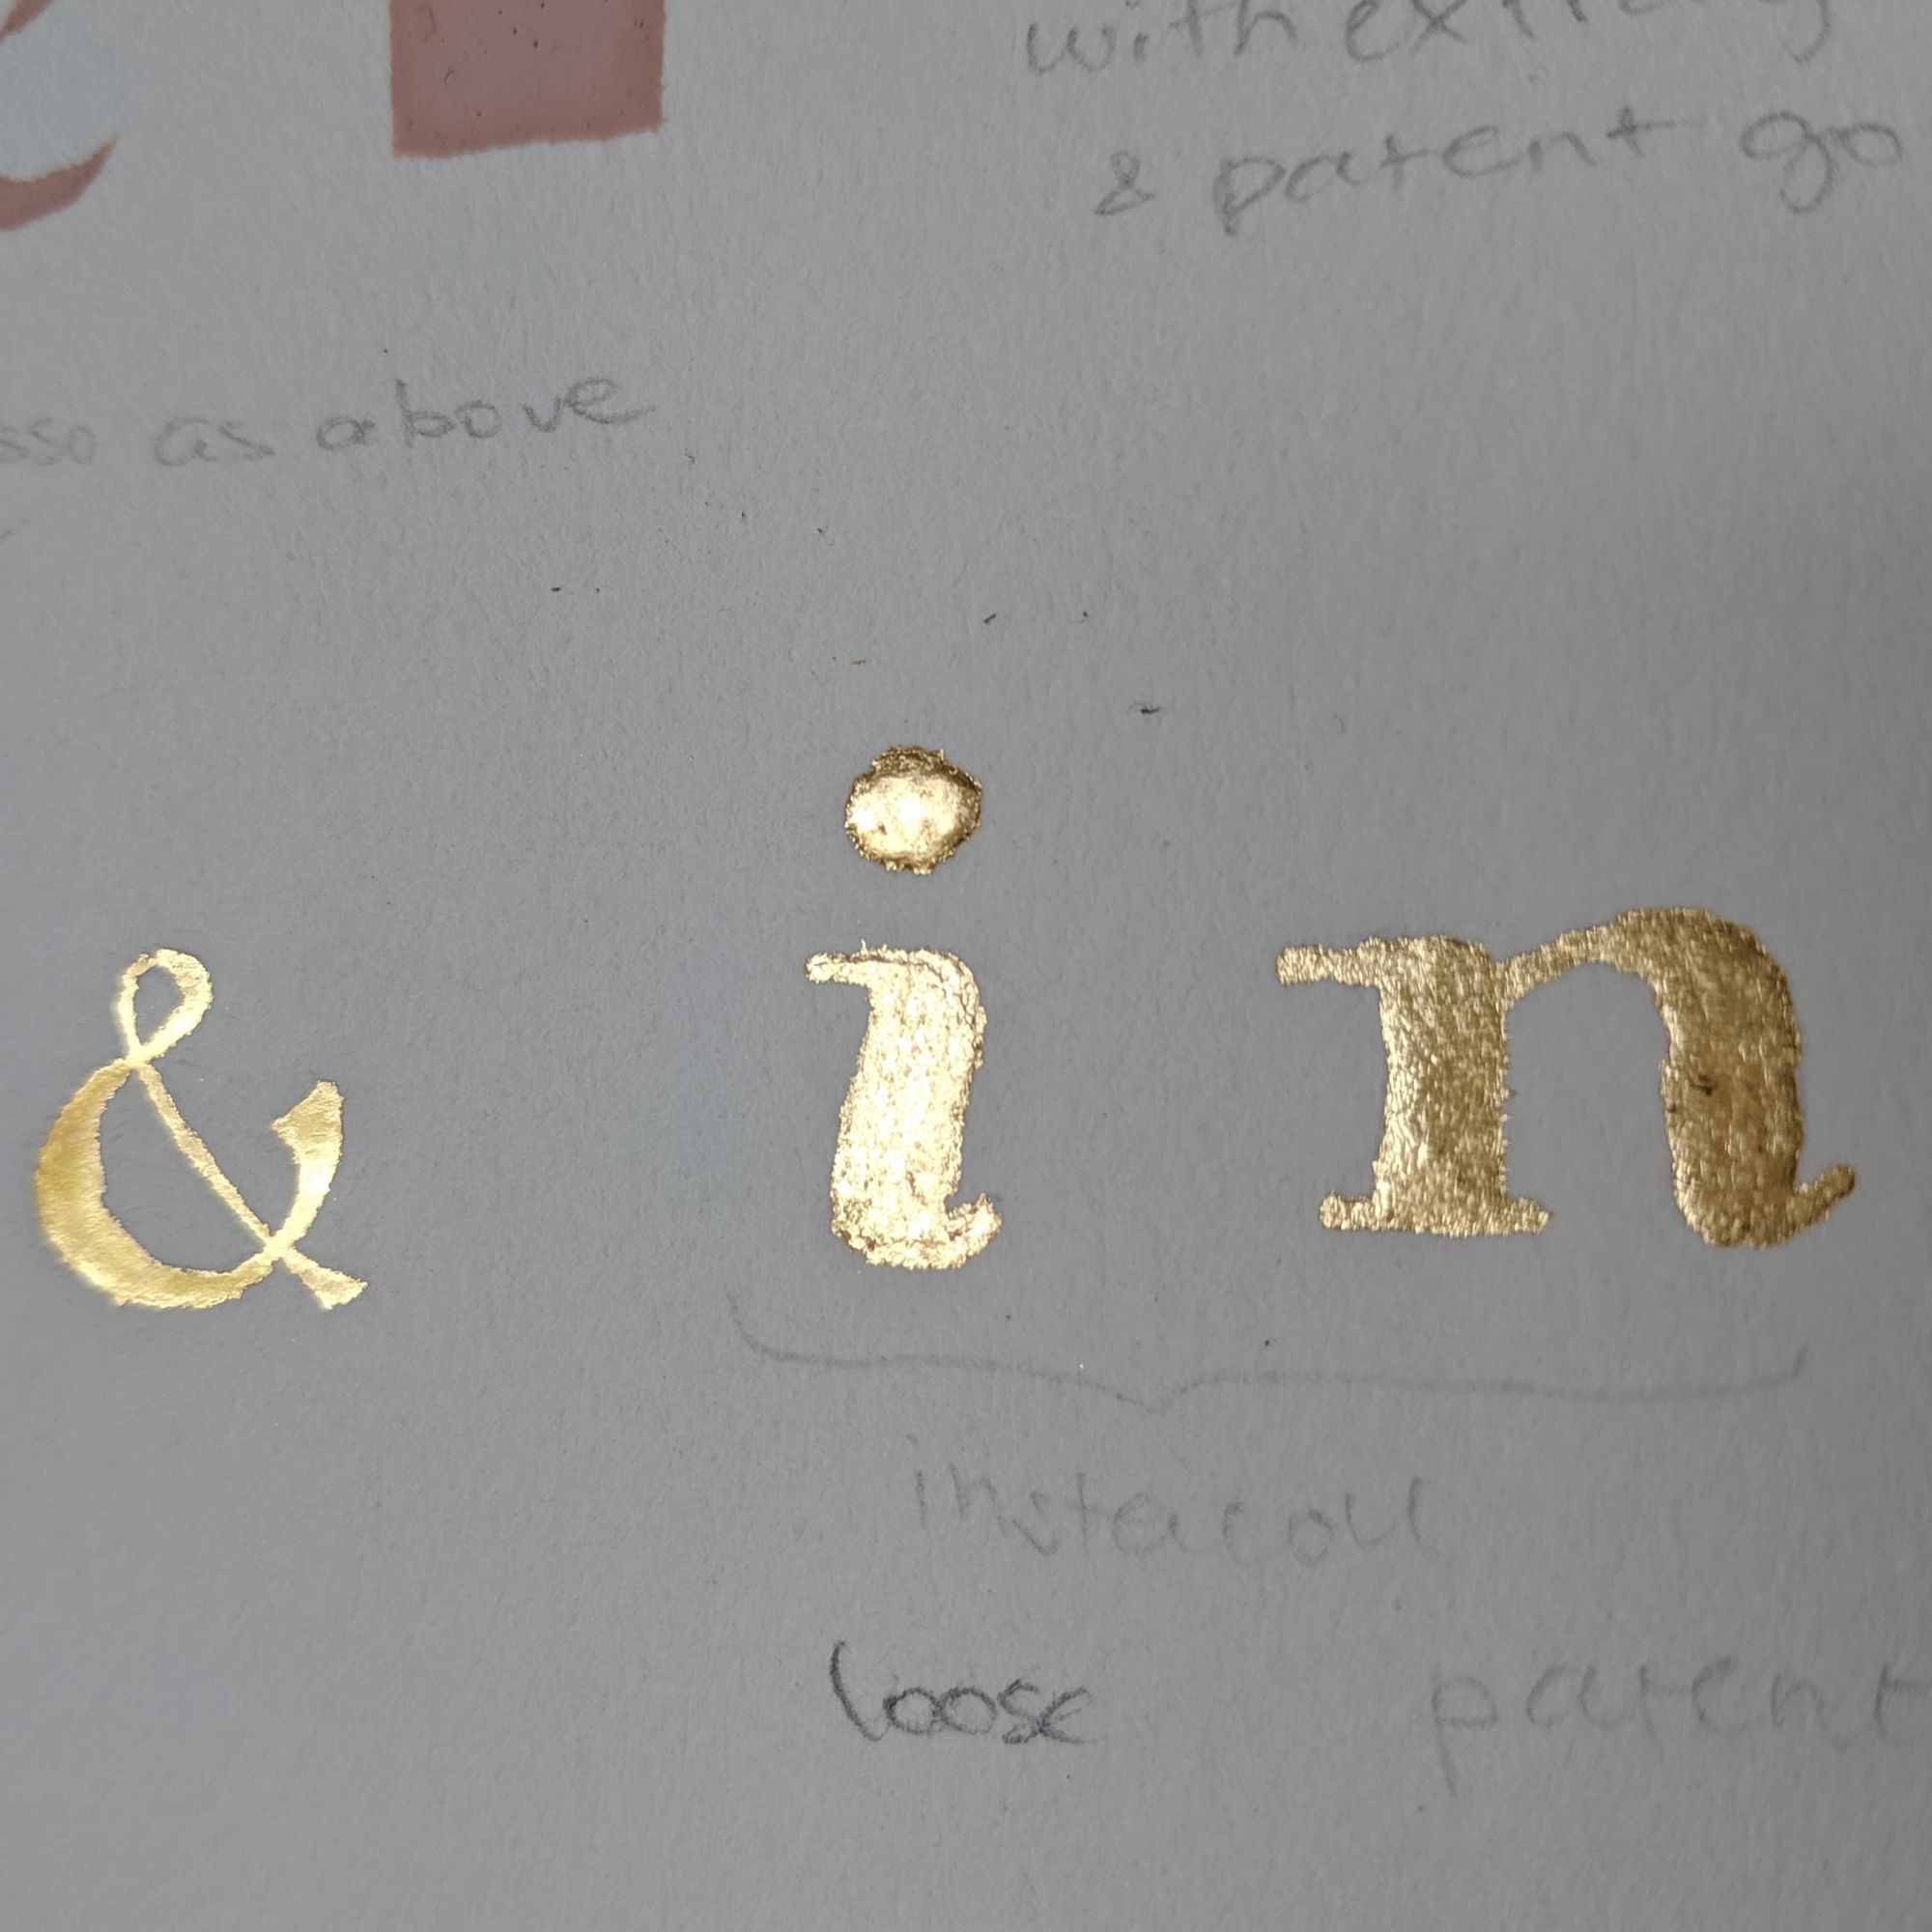
In the workshop, we had used loose-leaf gold, but I accidentally got patent gold. I might have been imagining things, but it just didn't seem to stick as well, so I decided to test that theory, and got some loose-leaf as well.
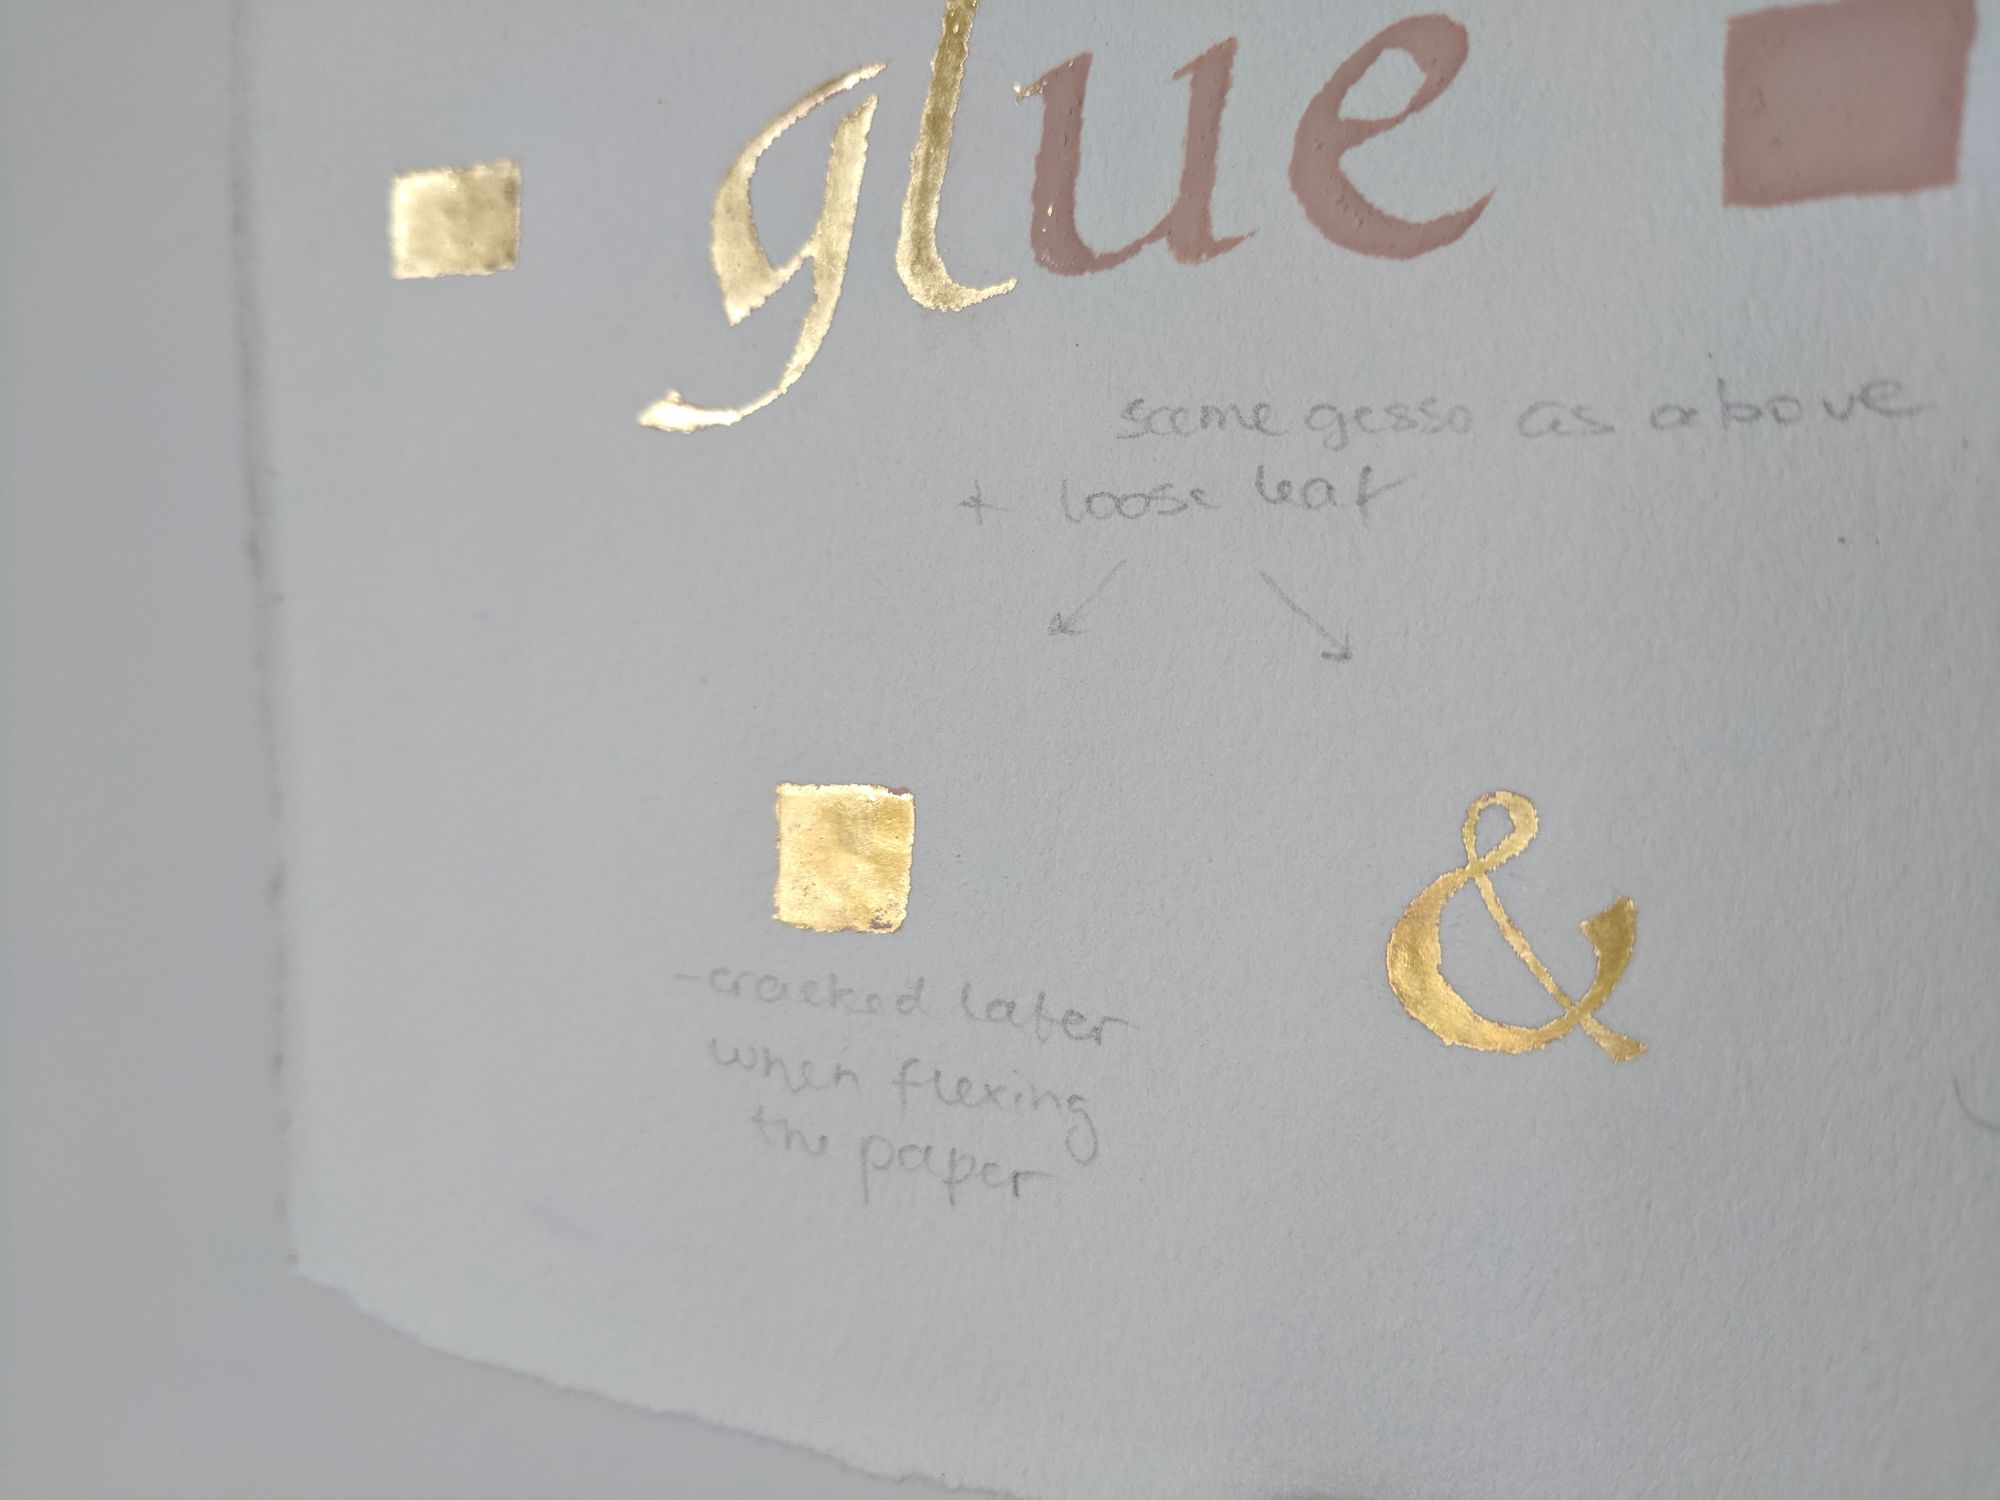
It seemed to work better for me, but I really don't have a scientific explanation.
Finally, I decided to try some Instacoll as well, to have a complete overview of the options. It worked quite well, but the surface looks bumpy. A friend of mine said that it can be pre-burnished through thin non-stick paper before applying the gold leaf, but I have not tried that yet.
I am hoping to use gilding in one of my upcoming projects, so I will definitely need to practice more before I do that.
Comments